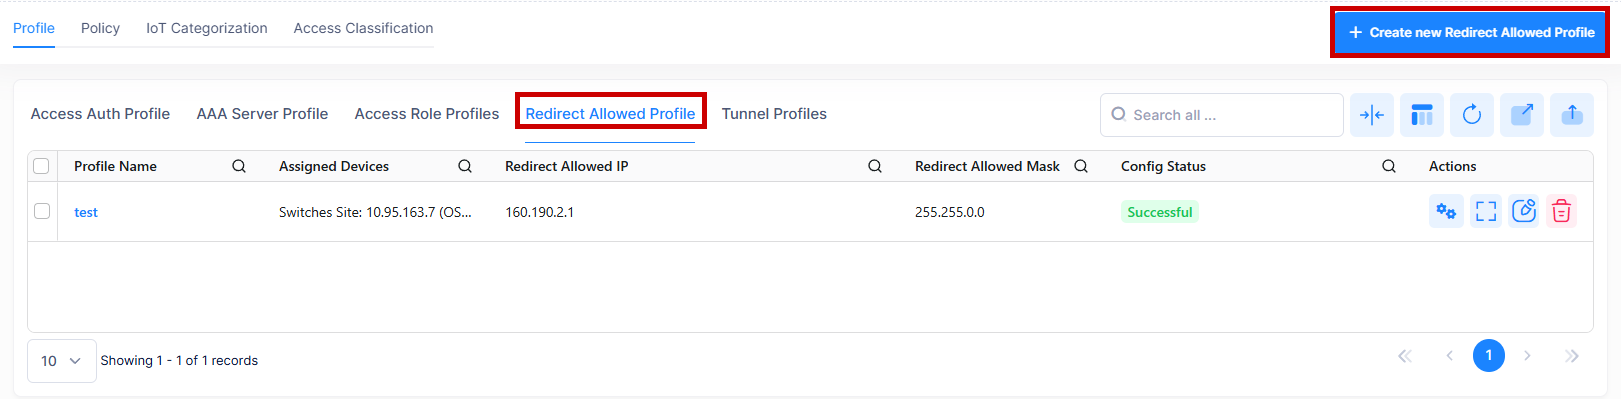
The Redirect Allowed Profile Screen displays information about all device to which a Redirect Allowed Profile has been assigned.
Use the Redirect Allowed Profile screen to display information about all of the configured Profiles. This screen also allows you to create, edit, delete profiles for devices and manage device configuration on the network. To access the Redirect Allowed Profile screen, click on Network Access > Unified Access > Profile > Redirect Allowed Profile under the “Configure” section of the OmniVista Cirrus Menu.
Creating a Redirect Allowed Profile
The Create Redirect Allowed Profile screen sets basic settings and network assignments for configured devices. To access this screen, click on Create new Redirect Allowed Profile.
The screen provides the following step-by-step process for creating a Redirect Allowed Profile:
-
Basic information - Enter the basic information for creating a new Profile.
-
Network Assignment - Select Switch devices from one or more Sites. The Setting is applied to the Switch devices in the selected Sites/Switch groups.
Complete the following sections of the Create new Redirect Allowed Profile screen, then click on Create.
-
Redirect Allowed Profile
-
Profile Name - Configures the Redirect Allowed Profile name.
-
Redirect Allowed IP - Enter the Redirect Allowed IPv4 or IPv6 address. (Note: Redirect Allowed Profile does not support IPv6 address configuration on the Switch)
-
Redirect Allowed Mask - Enter the Redirect Allowed subnet mask.
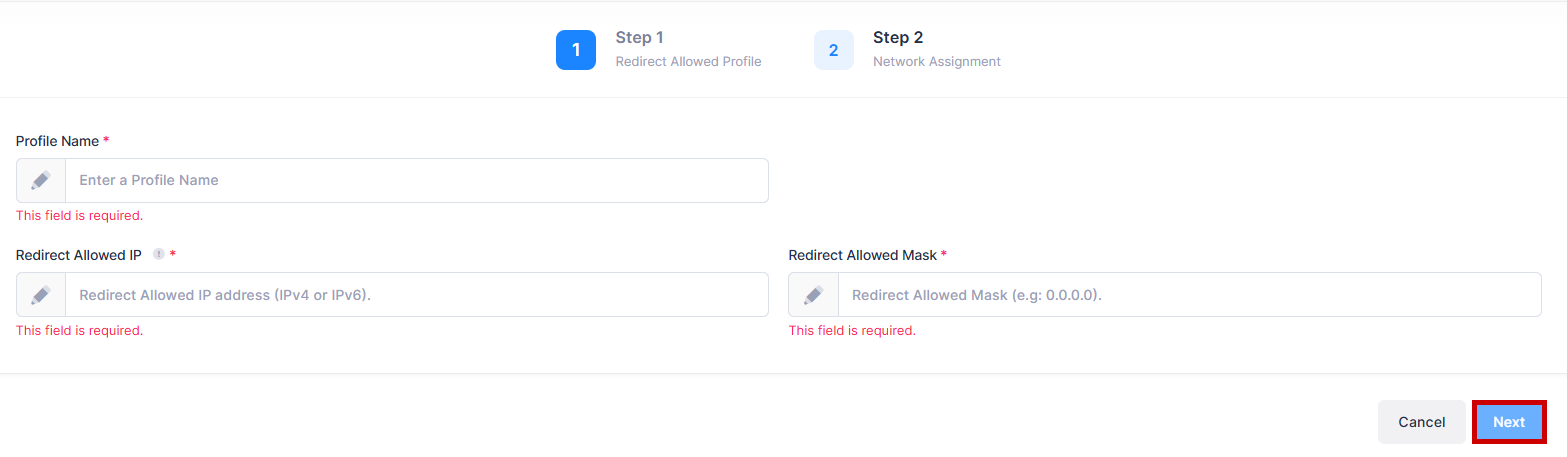
Complete the fields for this section on the Redirect Allowed Profile tab as described above, then click Next to move to the next tab (Step 2).
-
Network Assignment
The Network Assignment tab is used to select the AP(s) or Switch devices from the available list of devices to which the Redirect Allowed Profile will be applied to devices within those groups. Complete the network assignment as described below, then click Create.
-
Device Assignment - Select the specific set of Devices from the available list to assign the profile.
-
Group Assignment - Select the specific group of Devices from the available list to assign the profile. The Redirect Allowed Profile is applied to the selected group of devices from the list.

-
Devices - Select the Device(s) associated with the selected Site. The Redirect Allowed Profile is applied to the selected devices.
-
Groups - Select the Device Group(s) associated with the selected Site. The Redirect Allowed Profile is applied to devices in the selected Device Group(s).
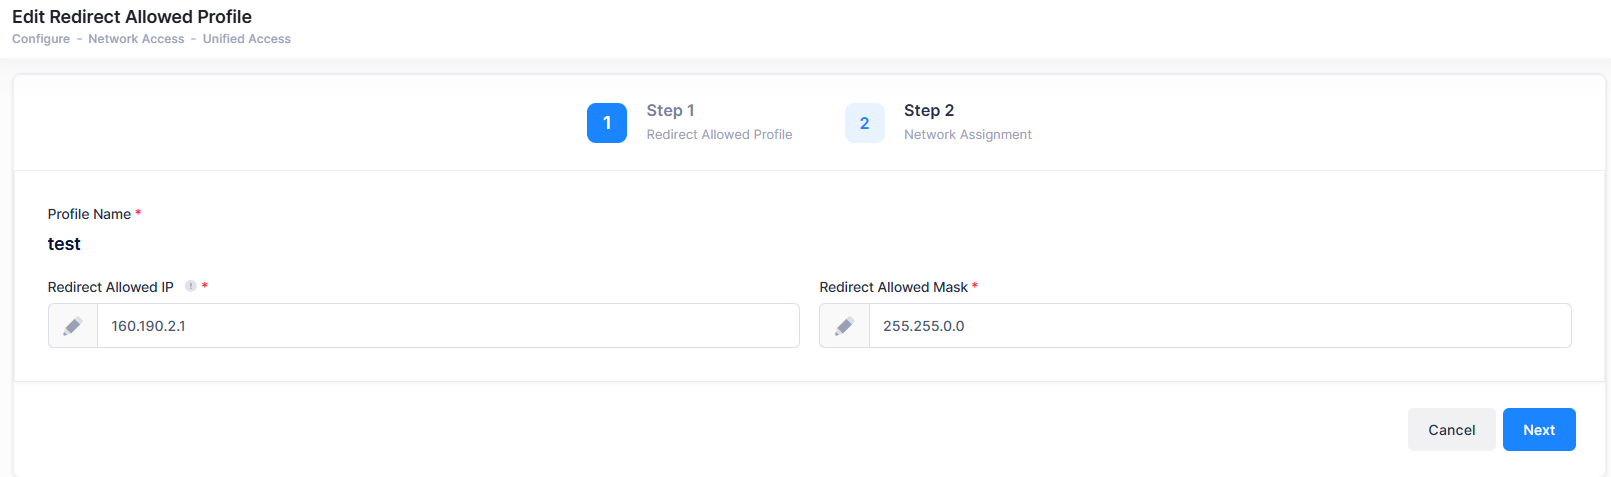
Editing a Redirect Allowed Profile
You can edit the values for an existing Profile by accessing the Edit Redirect Allowed Profile screen. Use one of the following methods to access the edit screen:
-
Select the Profile name to edit by clicking on the checkbox next to the Profile name, click on Actions, then select Edit from the drop-down menu.
-
Click on the pencil icon under the “Actions” column next to the Profile that you want to edit.

The following Edit Profile screen displays. Edit the fields as described above, then click on Save.
Deleting a Redirect Allowed Profile
To delete a Profile, use one of the following methods to select the profile you want to delete:
-
Select the profile to delete by clicking on the checkbox next to the profile, click on Actions, then select Delete from the drop-down menu.
-
Click on the trash can icon under the “Actions” column next to the profile that you want to delete.

When you select the profile you want to delete, the following confirmation prompt appears:
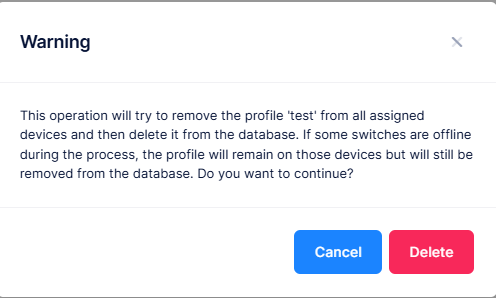
Click on Delete to confirm that you want to delete the Redirect Allowed Profile.
Display Additional Redirect Allowed Profile Information
To display additional information about a specific profile, click on the Additional Information icon under the “Actions” column. The information displayed on this screen is defined below.

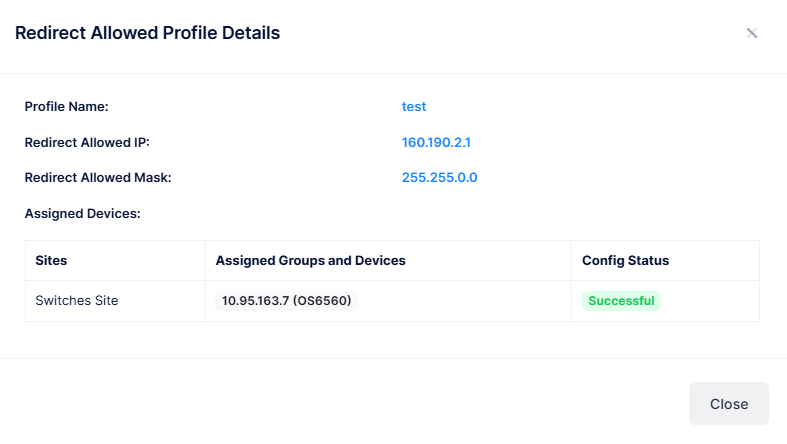
The following information is displayed for each Redirect Allowed Profile:
-
Profile Name - Specifies the Redirect Allowed Profile name.
-
Redirect Allowed IP - Specifies the Redirect Allowed IPv4 or IPv6 address. (Note: Redirect Allowed Profile does not support IPv6 address configuration on the Switch)
-
Redirect Allowed Mask - Specifies the Redirect Allowed subnet mask.
-
Config Status - The status of applying the profile to devices (Successful, Failed, Pending, or Partially Failed).
-
Pending - The configuration is being pushed to the devices and has still not received any response from any device.
-
Failed - The configuration failed to apply to all the selected devices. Possible reasons include a timeout while applying the configuration due to the device being unreachable or a network issue, or the configuration being invalid and rejected by the device. Check alerts to identify the specific reason.
-
Successful - The configuration is pushed to all the selected devices successfully.
-
Partially Failed - The configuration is pushed to some devices successfully, while to others it failed or remains in a pending state.
-
-
Assigned Devices - The AP Groups, Switches and associated Sites to which the Redirect Allowed Profile is applied.
Display and Manage Device Configuration Details
The Redirect Allowed Profile list shows information for the configured Redirect Allowed Profiles. To view detailed switch configuration for a specific Profile, click the Profile Name below or select the Manage Device Configurations under the “Actions” column.
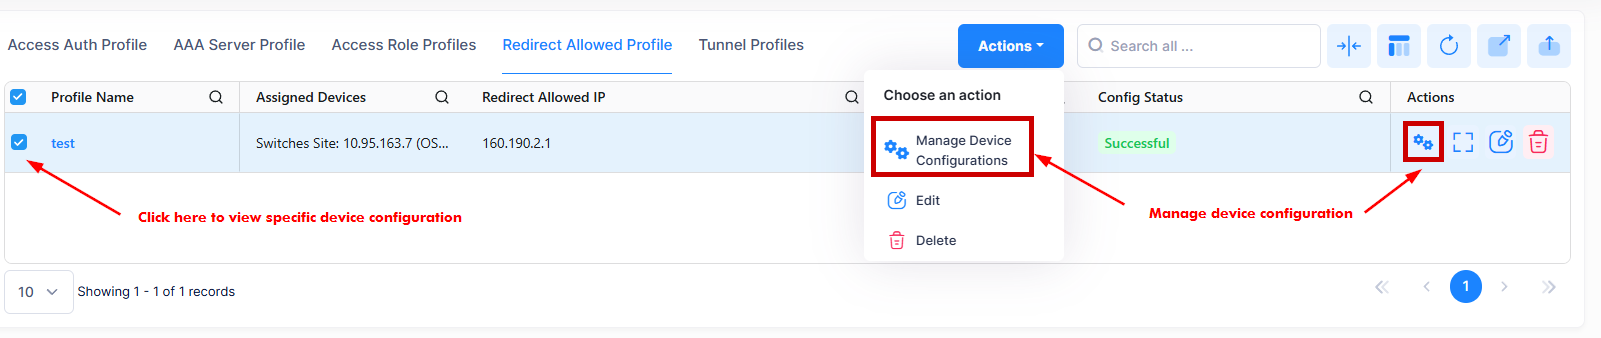
The following screen appears:

You can now view the current profile configuration for selected Switch that is assigned to a Redirect Allowed Profile. This screen also allows you to export, search and filter the data. You can click the back icon on the top right to navigate to the Redirect Allowed Profile List page.
The following Device Configuration of the selected Profile is displayed.
-
IPv4 Address - The IPv4 address of the device.
-
Device Friendly Name - The name assigned to the device is derived from the Preferred Device Naming convention specified in the user preference settings. By default, the Friendly Name is set to IP Address (System Name).
-
Config Status - The configuration status of the device. (Successful or Failed or Pending).
-
Pending - The configuration is being pushed to the device and is still not receiving a response from the device.
-
Failed - The configuration failed to apply to the device. Possible reasons include a timeout while applying the configuration due to the device being unreachable or a network issue, or the configuration being invalid and rejected by the device. Check alerts to identify the specific reason.
-
Successful - The configuration is pushed to the device successfully.
-
-
Redirect Allowed IP - Specifies the Redirect Allowed IPv4 or IPv6 address. (Note: Redirect Allowed Profile does not support IPv6 address configuration on the Switch).
-
Redirect Allowed Mask - Specifies the Redirect Allowed subnet mask.