-
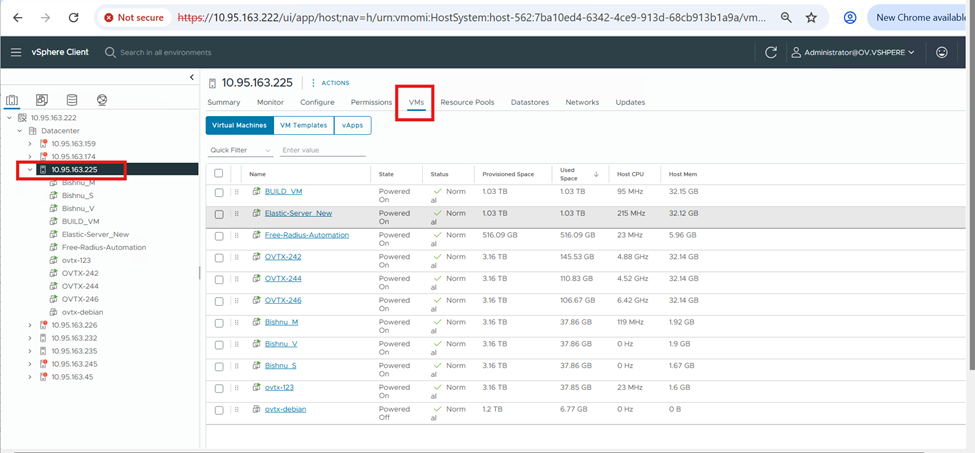
Login to vSphere Client and select the ESXI server on the left side of the screen from which you want to create the ovtx nodes.
-
Click on the VMs button.
-
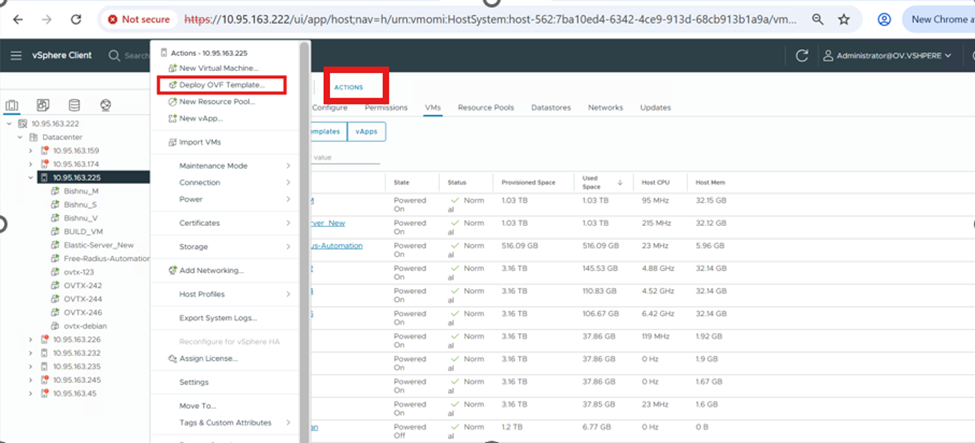
Click on the Actions button and then click on the Deploy OVF Template option or right-click on the required ESXI server and then click on the Deploy OVF Template option.
-
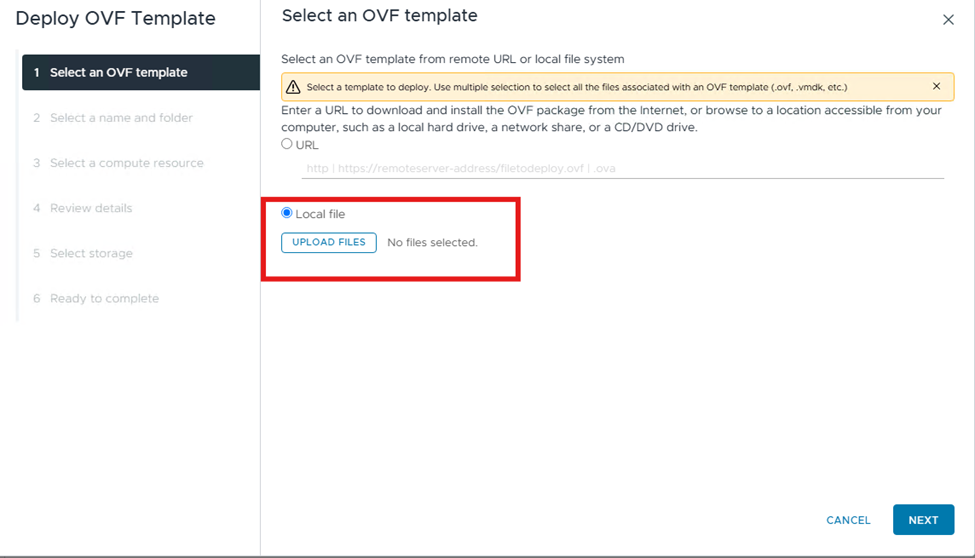
Select the Local file radio button and click on the UPLOAD FILES option.
-
Select the downloaded OVA file and then click on Open.

-
Click on the Next button.
-
Enter the virtual machine name and then click on the Next button.

-
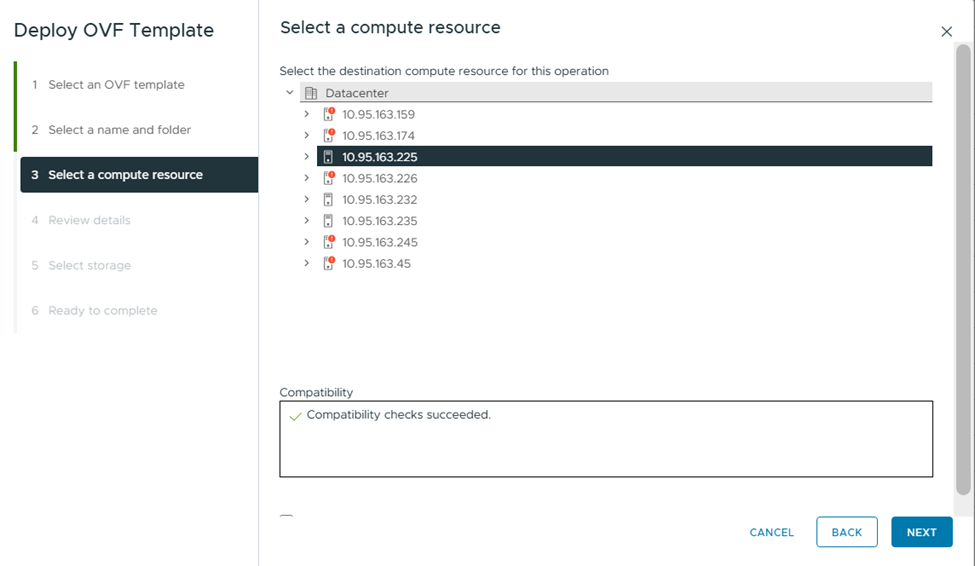
Choose the ESXI server or keep the default one and then click on the Next button.
-
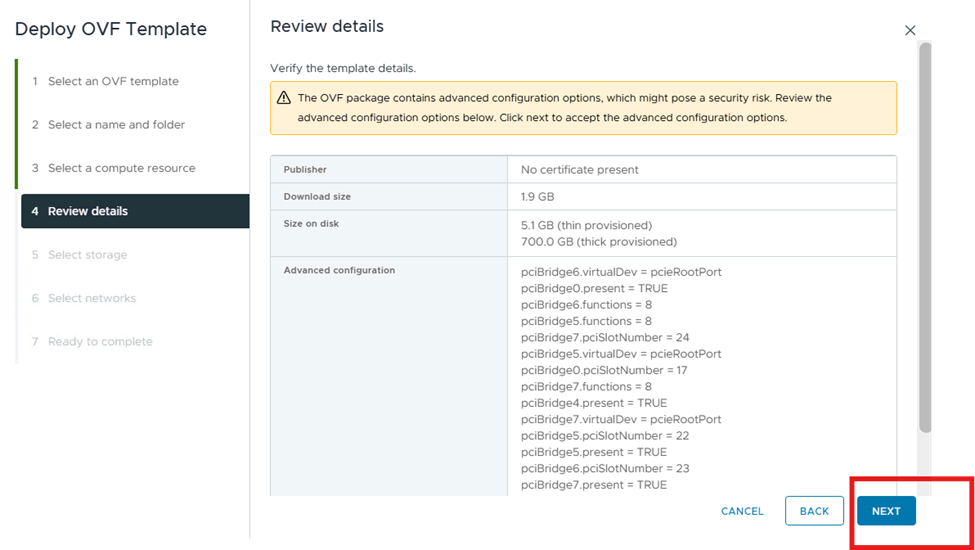
Click on the Next button.
-
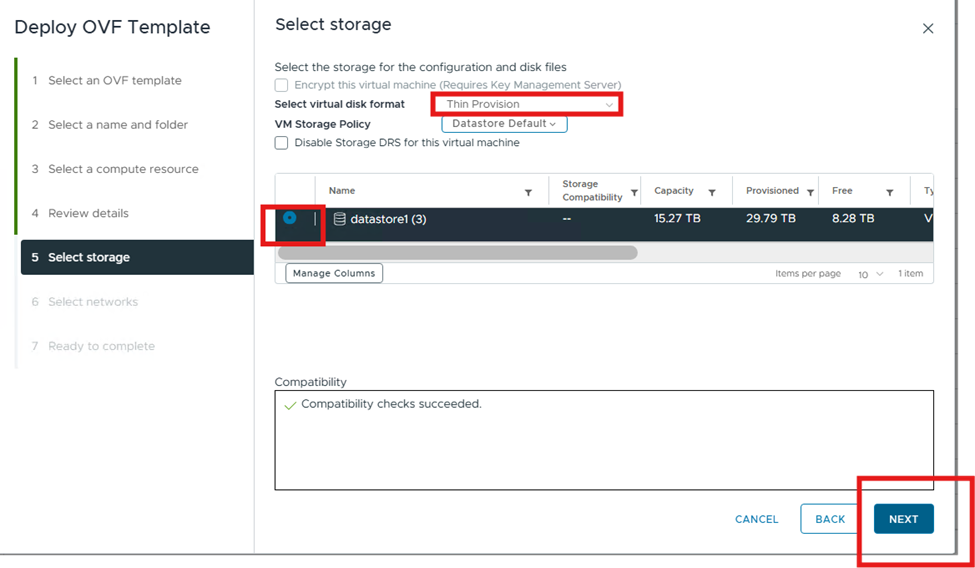
Select the datastore radio button and then select select virtual disk format as Thin Provision and then click on the Next button.
-
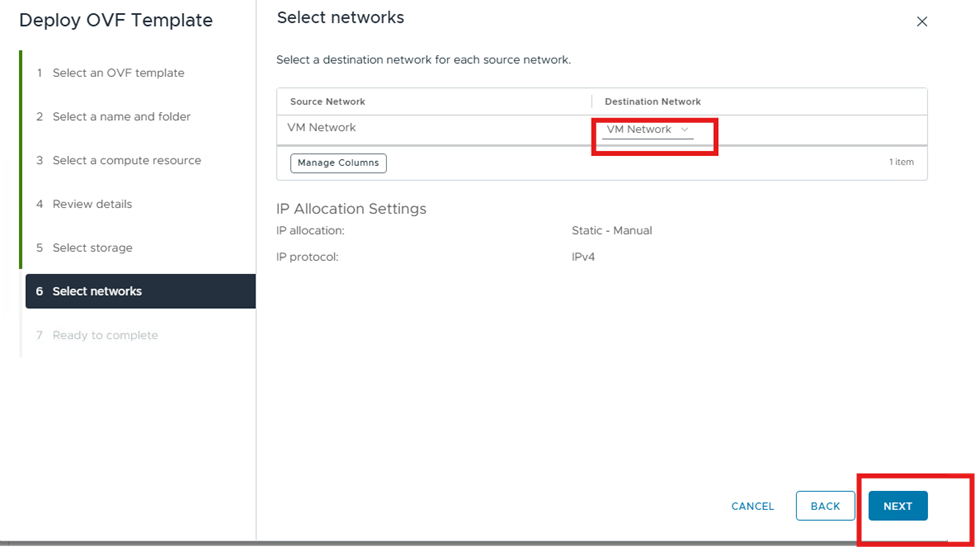
Select the network adapter based on your network and then click on the Next button.
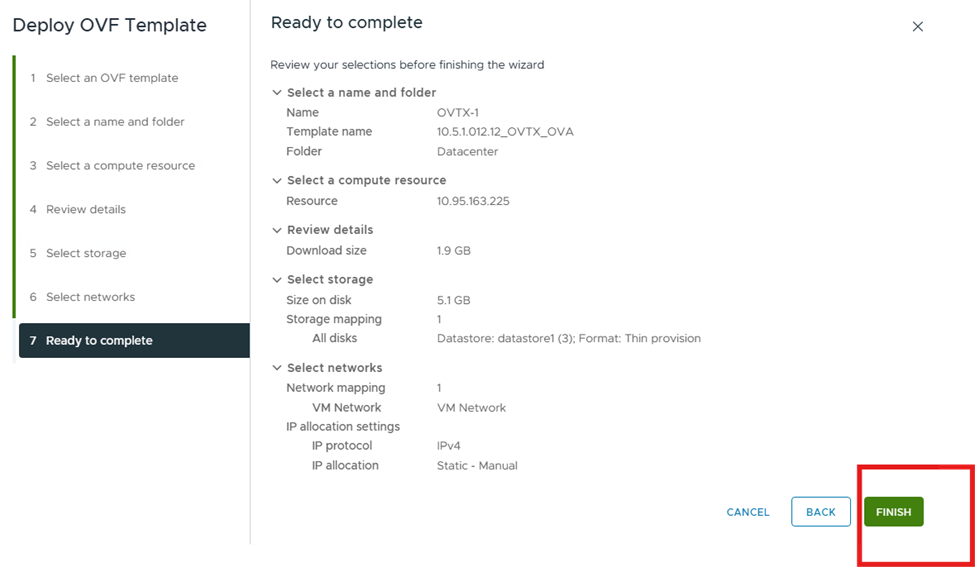
12. Review the details and then click the Finish button.
-
Wait until the process is completed.
-
Follow the remaining steps from step 8 from the link below: