-
Login to ESXI server and click on Create / Register VM button.
-
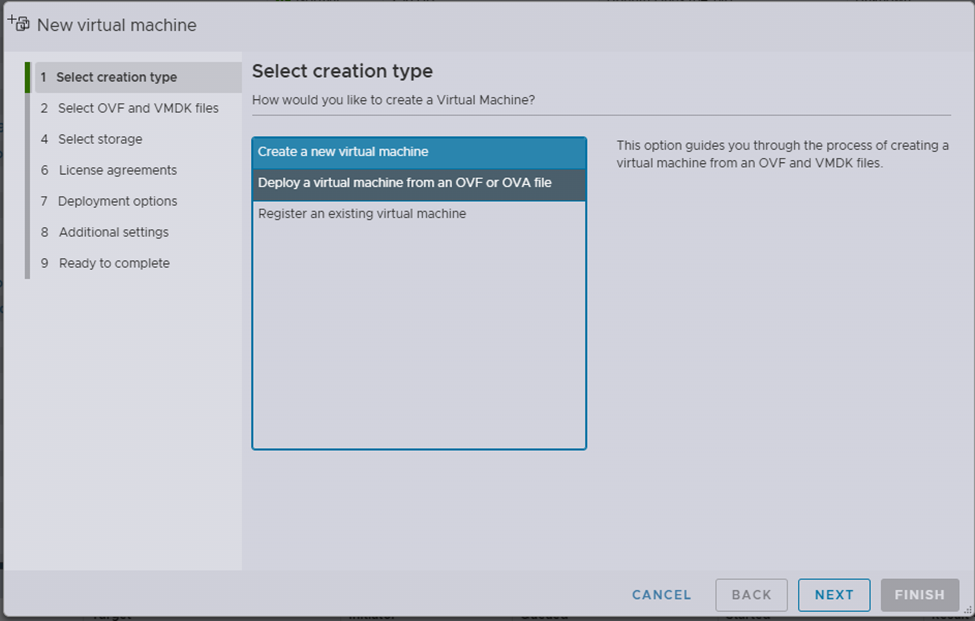
Select Deploy a virtual machine from an OVF or OVA file option and click on Next button.
-
Enter the Name (ex: ovtx-13171) and click on Click to select files or drag/drop option and select the downloaded OVA file.

-
Click on Next button and then click on Next button again.
-
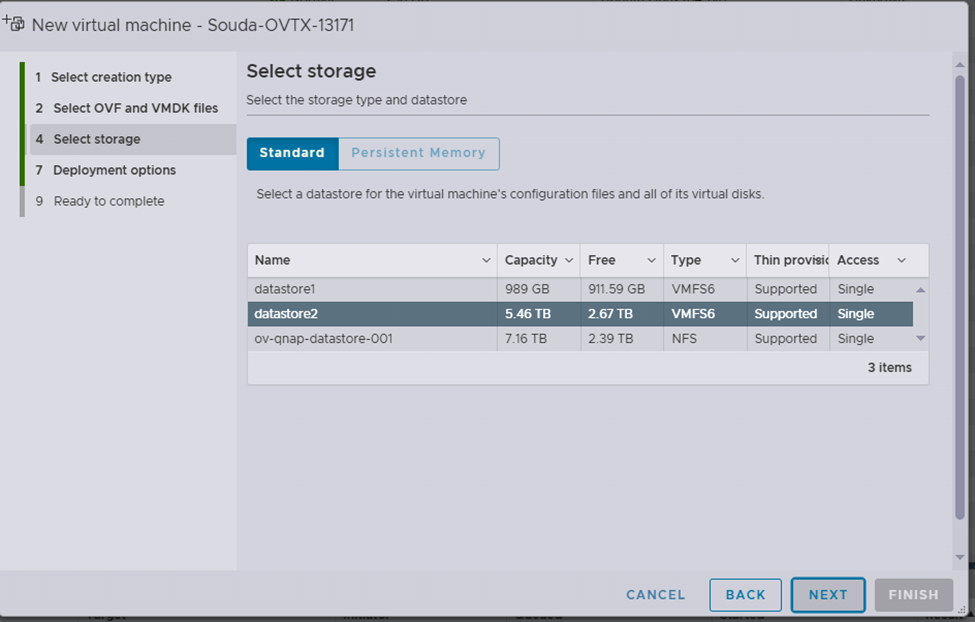
Select the storage option.
Disk Provisioning may be set to Thick as the default option. Select the Thin option if the total disk available for 3 nodes together is less than 9TB.
-
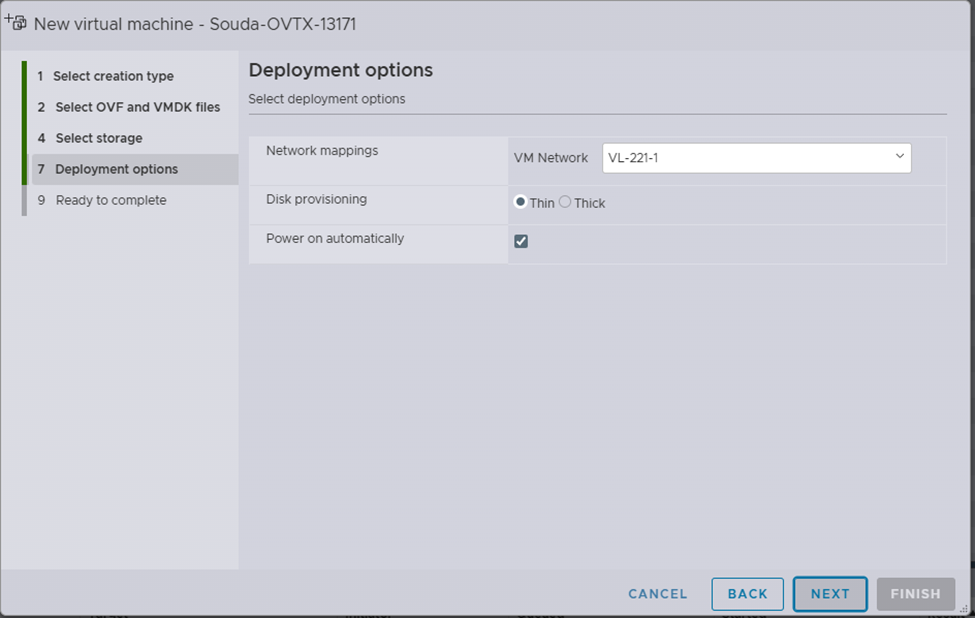
Select the NIC card from the dropdown based on your network and then click on Next button and then click on Finish button.
-
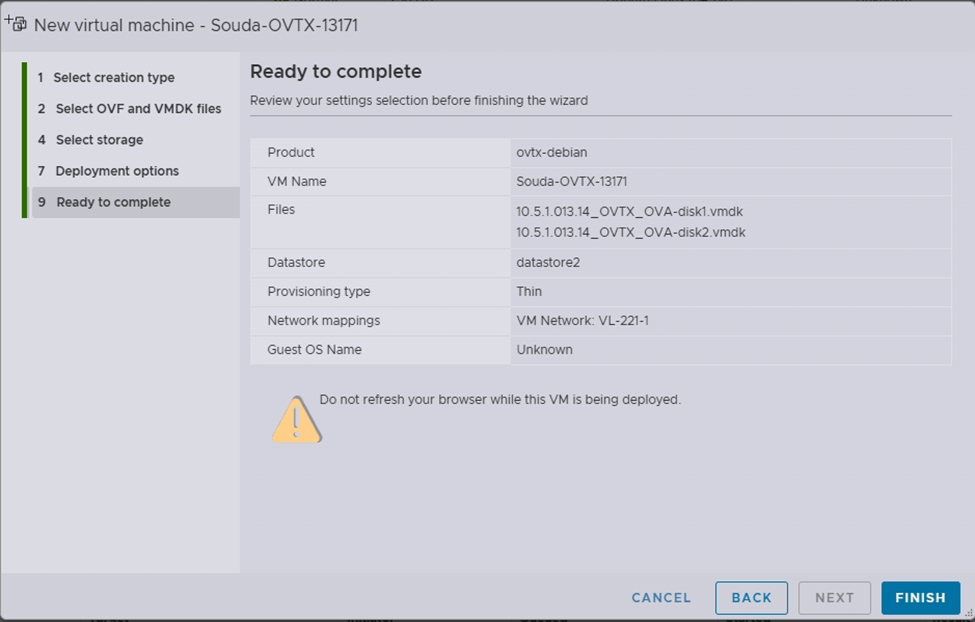
Wait until the process is completed.

-
Open the console of the created VM and click on Enter.
-
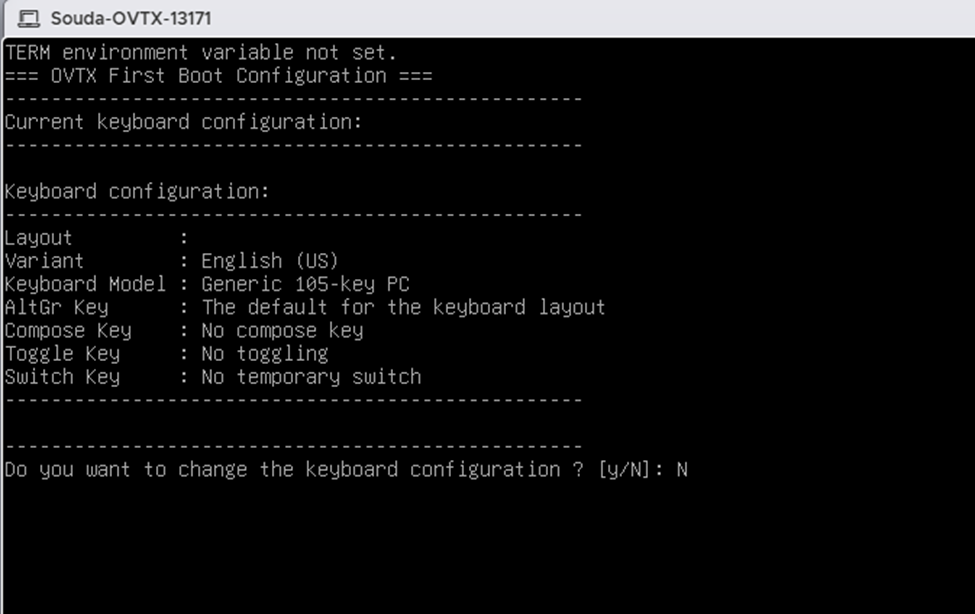
Follow the screen prompts to configure the keyboard options.
-
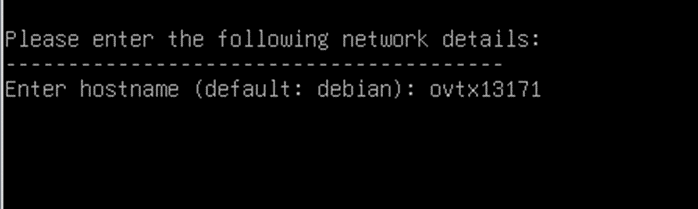
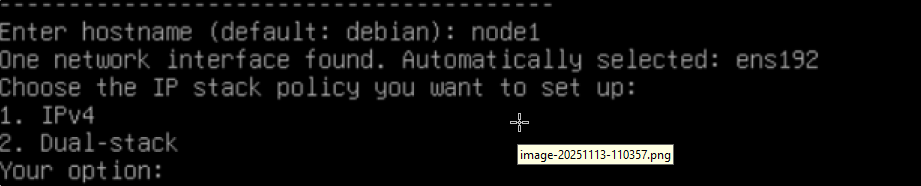
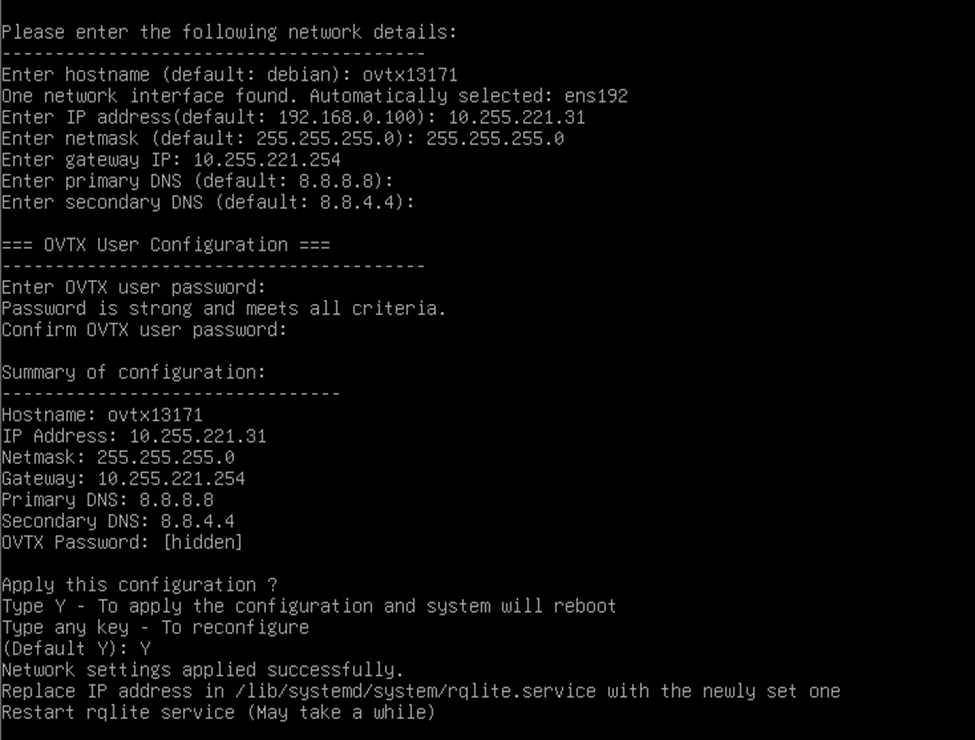
Enter the hostname: For example : ovtx13171. (Use a different hostname for each of the three VMs.)
-
Choose the IP stack policy.
If the Dual-stack policy is chosen the AP and Switch will be managed through both IPv4 and IPv6. You must enter both IPv4 and IPv6 details.
-
Enter IP address: For example 10.95.161.31. (Use an available IP address from your network corresponding to the NIC selected in the step above)
-
Enter netmask: For example 255.255.255.0.
-
Enter gateway IP: For example 10.95.161.1.
-
Set the primary DNS and secondary DNS to the settings that will be able to resolve myovterra.myovcloud.com. If left blank, defaults will be used.
-
Configure the ovtx user password
-
Enter ovtx user password:
-
Confirm ovtx user password:
-
Apply this configuration (y/n) : y
-
The system will reboot. Wait for sometime and then the ovtx login prompt will be displayed.
-
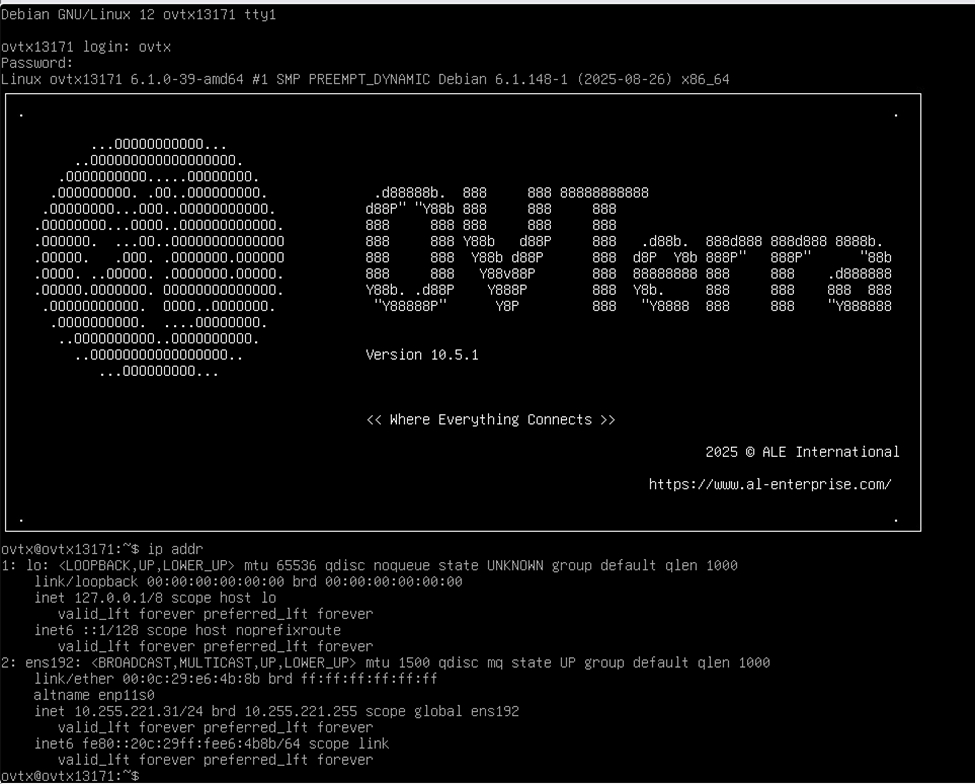
Login with username ovtx and with the configured password.
-
Run the command ip addr to confirm the IP address is correctly configured.
-
Create a 2nd and 3rd node following the above steps but with different IP addresses.