Terminal
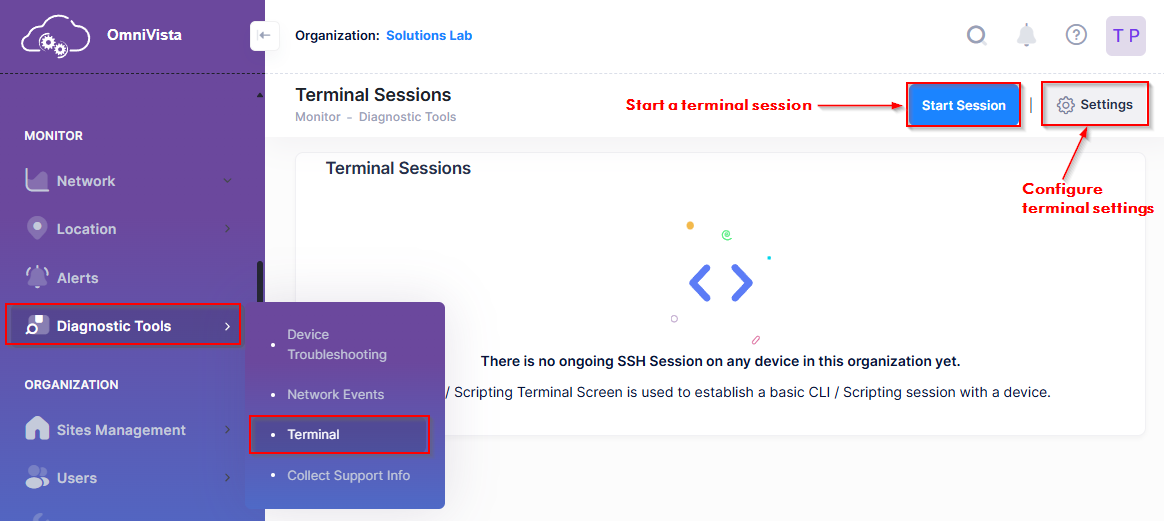
The Terminal application allows you to establish a basic CLI/Scripting session with a device in the Organization. To initiate a terminal session, click on Diagnostic Tools > Terminal under the “Monitor” section of the OmniVista Cirrus Menu. The Terminal Sessions screen displays.

The Terminal Sessions screen displays a list of any open sessions with devices that belong to the current Organization. Use this screen to start a new session and configure format settings for the terminal session.
Connecting to a Device
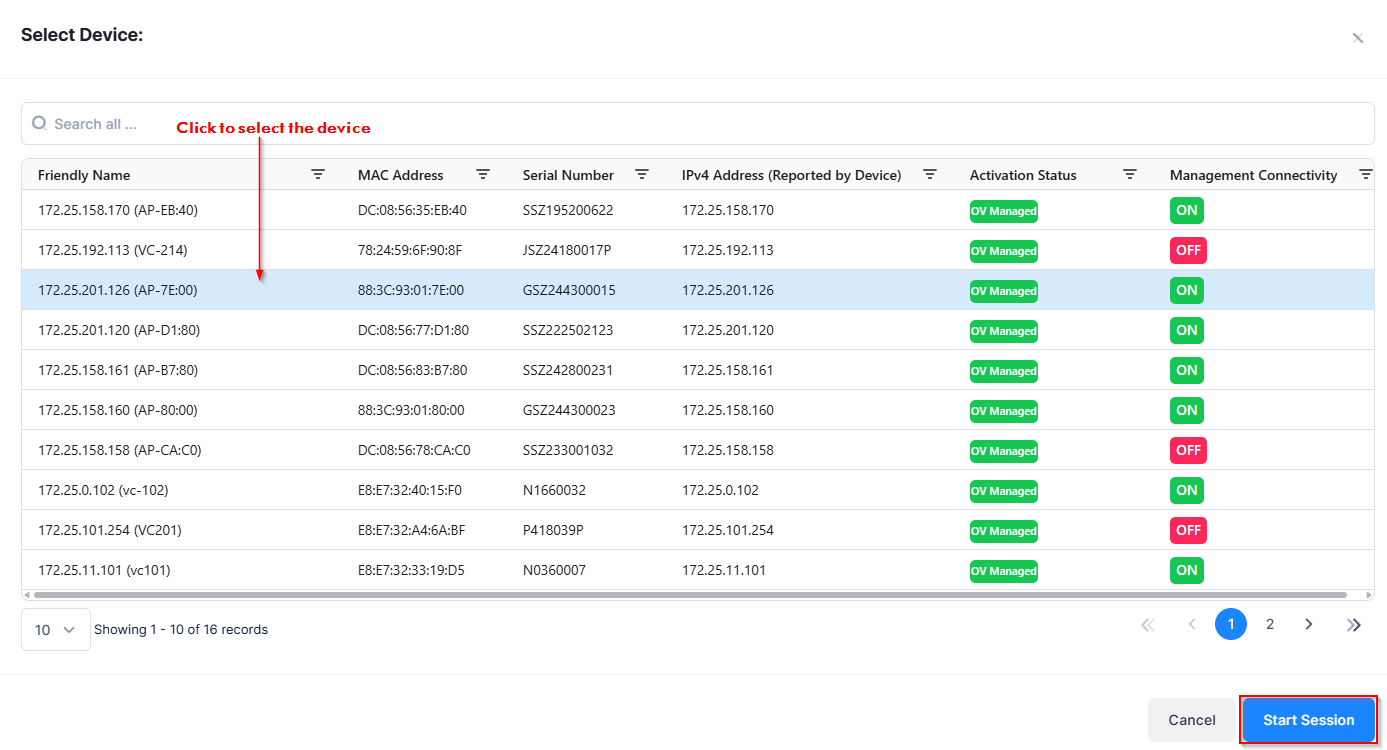
To connect to a device, click on Start Session. The following Select Device screen opens and displays only devices that are fully managed (“Management Connectivity” set to “On”) and the “Activation Status” is set to “OV Managed”. Connecting to a device that is not “OV Managed” is not supported.

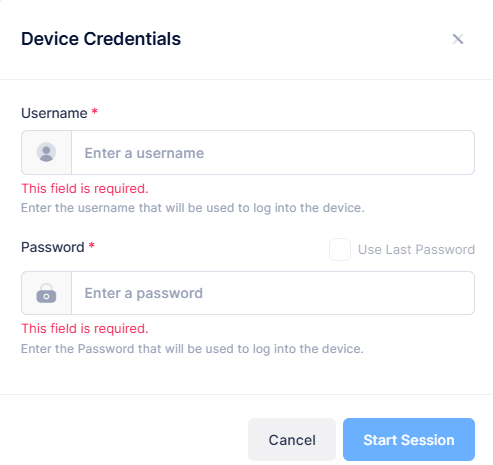
On the Select Device screen, click on the device entry to select the device for the terminal session. After selecting the device, click on Start Session. You are then prompted to enter the Username and Password required to log into the device.

Enter the Username and Password, then click on Start Session to open an SSH (Secure Shell) connection to the selected device.
Make sure that the SSH Login option is enabled in the Provisioning Configuration associated with the AP Group to which the device belongs. If it is not enabled, connecting to the device will fail.
Session Preferences
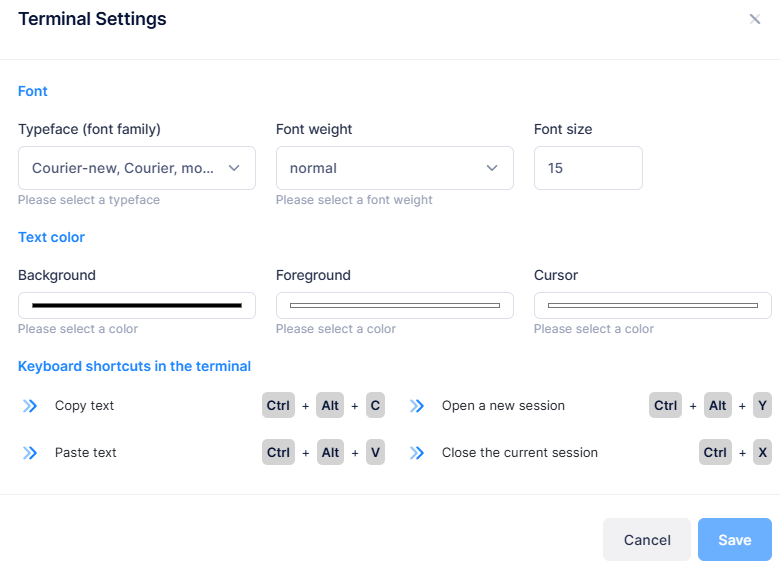
To configure the appearance of a terminal session (for example, font, text color), click Settings on the Terminal Sessions screen. The following Terminal Settings screen opens.

The Terminal Settings screen displays the current font and text color settings and also shows the keyboard shortcuts that are available within a terminal session. Modify the Font and Text Color, as desired, then click on Save to apply your changes. The next terminal session will reflect your font and text color changes.
