Scheduled upgrades can be configured from the Device Catalog screen (Configure > Inventory > Device Catalog) by selecting one or more devices in the Device List and clicking on Actions. From the Actions drop-down menu, select Edit Device - Schedule Software Upgrade to open the Schedule Software Upgrade screen.
Similar to the Create an Upgrade Schedule screen, the Schedule Software Upgrade screen provides the following step-by-step process for configuring an upgrade schedule for selected devices:
Step 1. Set Software Version - Specify the software version to use for the upgrade.
Step 2. Set Schedule - Select an existing schedule or create a new schedule for upgrading the device.
Step 3. Review - Review the configured schedule parameters before saving the desired settings.
Use Next and Previous to navigate between the tabs.
Step 1. Set Software Version
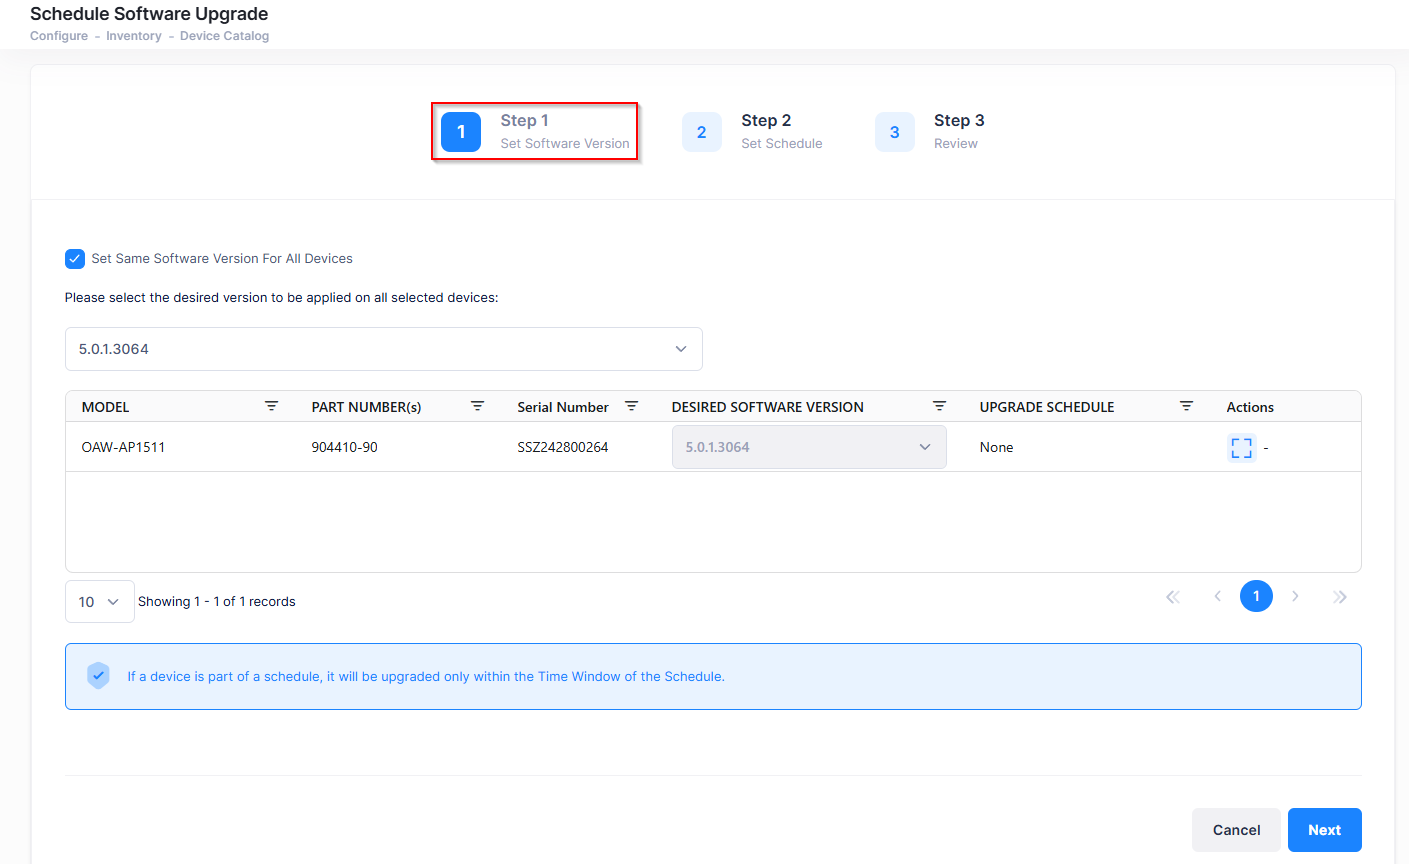
This screen displays the device(s) that were selected for the upgrade schedule. Use this screen to specify the software version to which the devices will be upgraded.
-
Set Same Software Version for All Devices (same models only) - Select an upgrade software version to upgrade all devices to that software version. The devices must use the same base software. If not, the "Do Not Upgrade" is your only option.
-
Set a Different Software Version for each Device - Make sure the “Set Same Software Version for all Devices” option is not checked. Under the "Desired Software Version" column, select the upgrade software version for each device.
-
When upgrading OS6360, OS6465, OS6560, and OS6570M switches to AOS 8.10R4, only 8.10.87.R04 non-secure images are offered. These images do not require a U-Boot update.
-
Modifying the default password of “admin” user is strongly recommended for all switches. Changing the password is a mandatory requirement for AOS versions 8.10.R04 and above.
-
If the default credentials have not yet been changed on the switch, you must set the new password on switches through the Management User Template by either creating a new template or editing an existing template. Otherwise, the switch will fail to onboard in OmniVista.
-
For switches running AOS 8.10.R03 or earlier, changing the default password is not mandatory but is still strongly recommended.
-
If a device is part of a schedule, it will be upgraded only within the Time Window of the Schedule.
After setting the software upgrade version, click on Next to move to the next tab (Step 2).
Step 2. Set Schedule
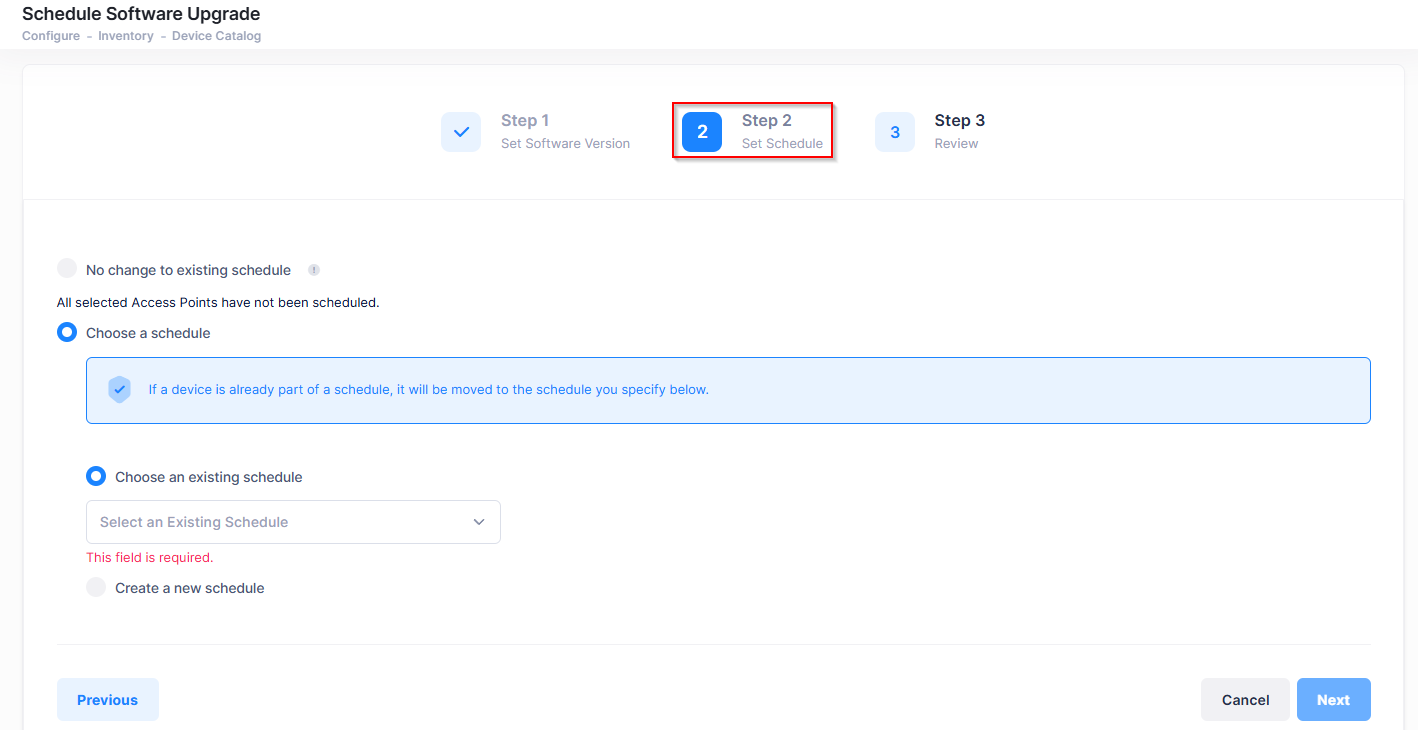
Specify the upgrade schedule by selecting one of the following options on the Set Schedule tab:
-
No change to existing schedule - Select this option if the device is already included in a schedule. The device will be upgraded based on the time window of that schedule. (If the device is not set in a scheduler, the upgrade occurs on the next call home).
-
Choose a schedule - Select a schedule that already exists or create a new schedule. Note that if a device is already included in an existing schedule, it will be moved to the schedule you specify with one of the following options:
-
Choose an existing schedule - Select an existing schedule from the drop-down menu.
-
Create a new schedule - Select this option to define a new schedule. Enter a schedule name, timezone, update frequency, update duration, and start/end date.
-
After setting the upgrade schedule, click on Next to move to the next tab (Step 3).
Step 3. Review
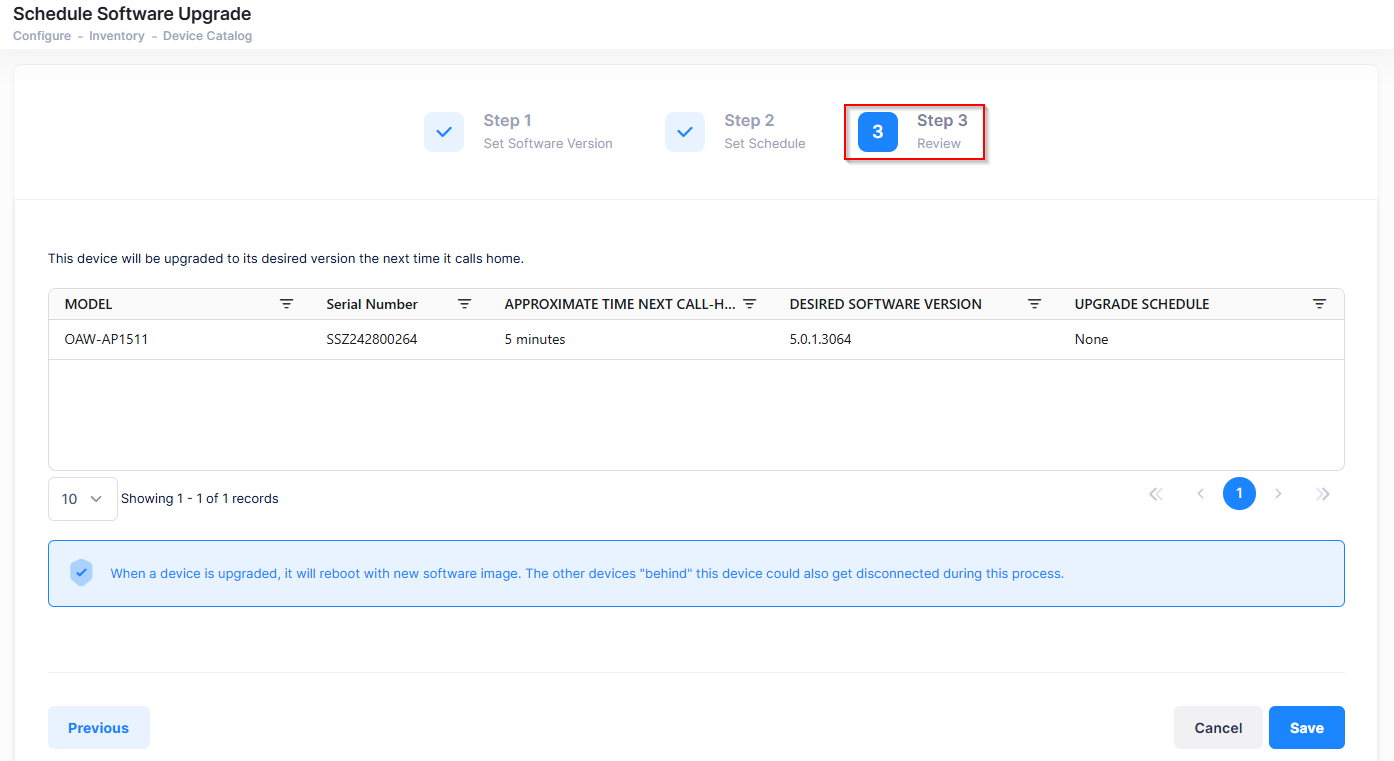
Review the selected device(s) and schedule that you configured. After reviewing the schedule parameters, click on Save to return to the Device Catalog List. A device will be upgraded to the desired software version the next time the device calls home.
-
If you created a new upgrade schedule for the device, it will appear on the Review tab and is saved to the Scheduled Upgrades List.
-
If you specified a different upgrade schedule for the device, the device is added to the selected devices for that scheduled upgrade.