MSP Users
As explained in Introducing OmniVista Cirrus 10, creating an Organization Management Portal consists of the following steps:
1. Creating an OmniVista Cirrus Account
2. Logging into OmniVista Cirrus
3. Requesting Access to the Organization’s Management Portal.
Once the MSP User completes the steps above, they can configure the Organization’s Management Portal (e.g., create sites, add devices to be monitored/managed, create users).
Creating an OmniVista Cirrus Account
1. Go to https://manage.ovcirrus.com

2. Click on Sign up.

3. Select the region where your company is located and click Next.
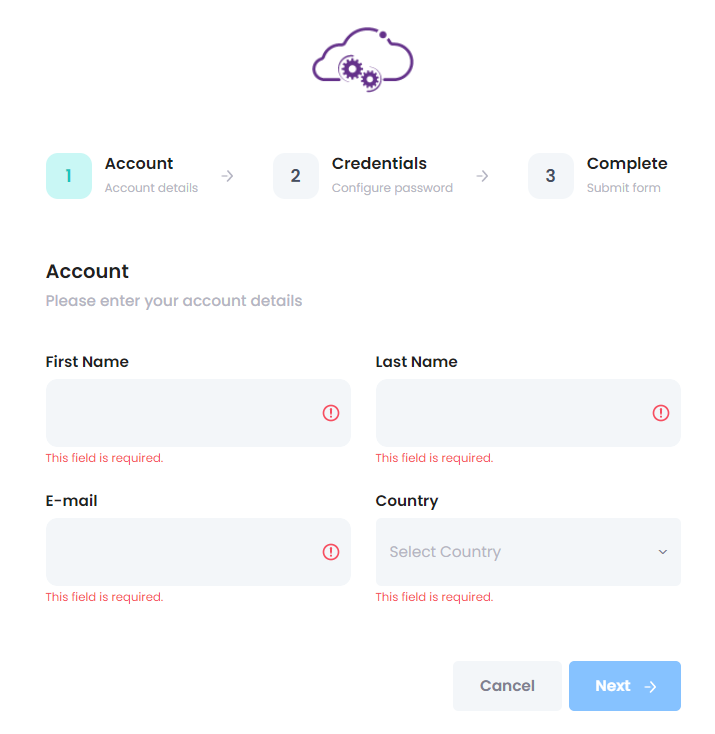
4. Complete the fields on the Account screen. Click Next to move to the next screen.
First Name – Enter your first name.
Last Name – Enter your last name.
E-mail – Enter your e-mail address. This address will be used to contact you to confirm your account completion and subscription activation.
Country – Select your country from the drop-down list.

5. Complete the fields on the Credentials screen. Click Next to move to the next screen.
Your Company Name – Enter your company name. This will be the name of your default Management Portal. (Your company name must have at most 30 characters as per EPP guidelines).
Password – For the MSP admin user, click on the Password Generator to automatically generate the strong password or the user can enter the password manually as per the given guidelines to access OmniVista Cirrus account.

Confirm Password – Confirm the password.
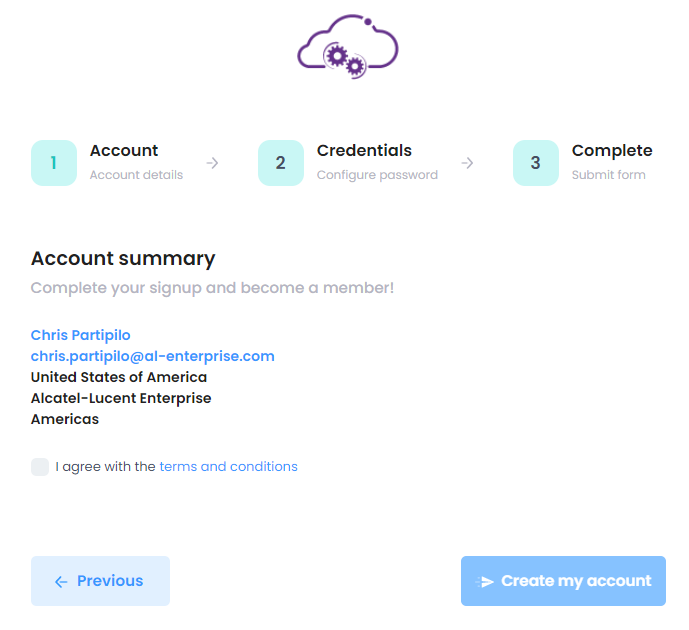
6. Review the Account Summary and accept the terms and conditions.
Click on the Terms and Conditions checkbox.
Click on the Create my account button.
7. Check your e-mail for an e-mail from the OmniVista Cirrus titled “Confirm Your Email”.
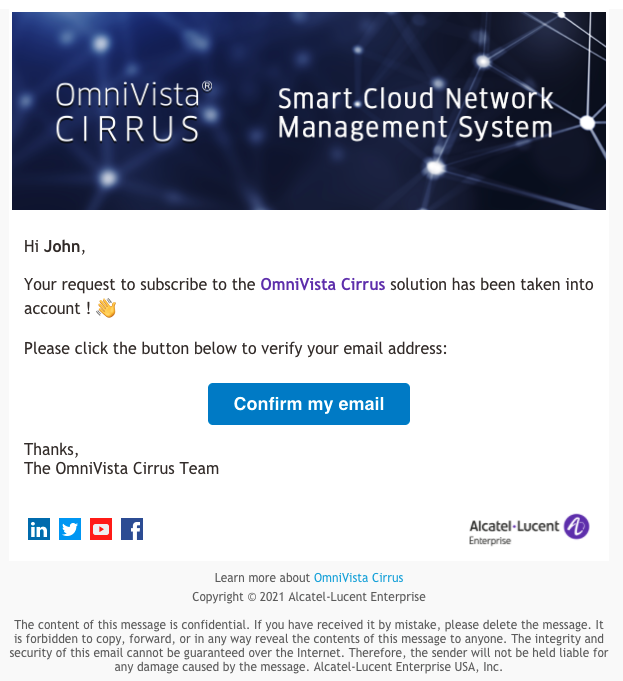
8. Open the email and click on the Confirm my email button.
9. The login screen will appear again. You can now log into OmniVista Cirrus using the e-mail and password that you created in Step 4.
Logging Into OmniVista Cirrus
After clicking on the Confirm my email button in the email, as shown above, the OmniVista Cirrus Login Screen will appear.
Log into OmniVista Cirrus using your e-mail and password. The MSP Dashboard will appear.
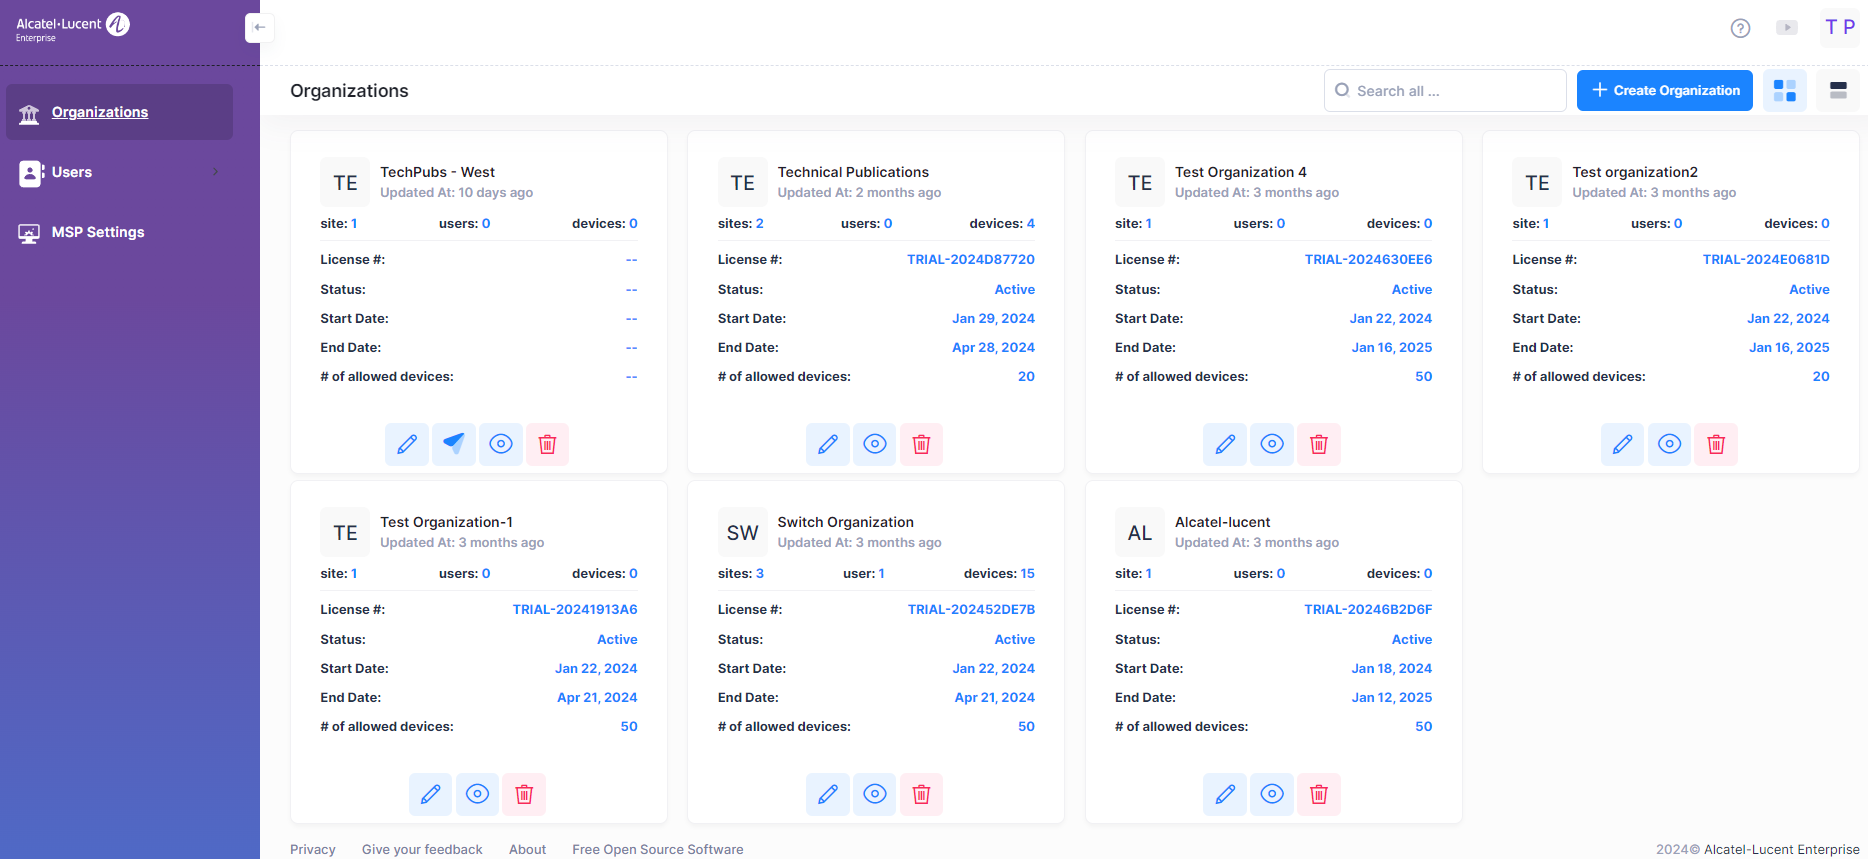
Requesting Access to the Management Portal
When you log into OmniVista Cirrus, the MSP Dashboard appears. By default, an Organization Management Portal is created based on the Company Name you entered when you created your account (e.g., ABC University).
1. Click on the Request Teaser Period button at the bottom of the widget to request access. The Request Teaser Period Form will appear.
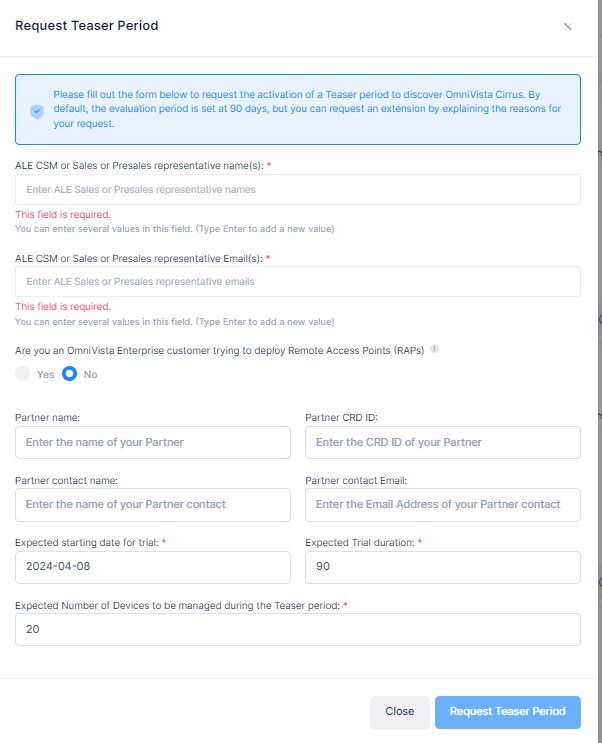
2. Complete the fields as described below, then click on the Request Teaser Period button. You must complete the mandatory fields. Other fields are not required.
ALE CSM or Sales or Presales representative name(s) – The name(s) of the ALE Sales Representative(s) you are working with.
ALE CSM or Sales or Presales representative Email(s) – The Email address(es) of the ALE Sales Representative(s) you are working with.
Are you an OmniVista Enterprise Customer trying to deploy remote access points (RAP’s)- When this option is chosen you will get to exclusively declare and setup your remote access points to talk to OmniVista Cirrus R10 through a management VPN Tunnel. As this option is only for the management of remote access points by OmniVista Cirrus R10, you cannot declare any other Access Points to manage in this Organization.
Partner name – The name of the Business Partner you are working with.
Partner CRD ID – The CRD ID of the Business Partner you are working with.
Partner contact name – The Business Partner contact you are working with.
Partner contact Email – The Business Partner contact Email address.
Expected starting date for trial – The expected start date for the Trial Period. By default, the current date is entered.
Expected Trial duration – By default, the Trial Duration is 90 days.
Expected Number of Devices to be managed during the Teaser period – By default, you can manage up to the default number of 20 network devices.
Business argument (when the duration is more than 90 days or devices more than 20) – If you request a longer Trial Duration or higher number of devices, enter a reason for the request.
Your request will be sent to the OmniVista Cirrus Product Line Manager for approval. You will receive an email notification when the request is approved. Once it is approved, you will have access to the Organization.
Configuring Your Organization’s Management Portal
Once you have access to an Organization's Management Portal, you can configure the Organization for network management. Configuring a Management Portal for an Organization includes the tasks listed below. Any MSP User or Organization User with Admin privileges can perform these tasks. The order shown below is suggested; however, you can create sites, buildings, floors, devices, and users at any time. Click on a task hyperlink for more detailed procedures.