UPAM integration with the Celona Private Wireless solution is implemented through configuration of an Access Policy with the IMSI/IMEI database selected as the Authentication Source. The Celona Edge first performs user authentication based on Sim. The users are then authorized by validating that the SIM card (IMSI) or the device (IMEI) has a corresponding entry in the UPAM IMSI/IMEI database.
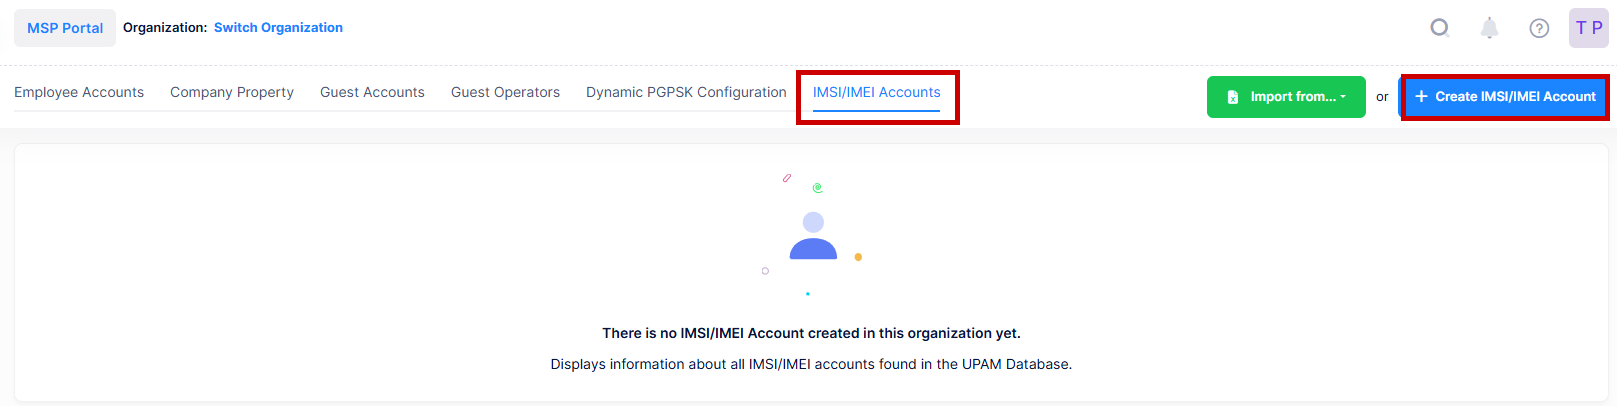
The IMSI/IMEI Accounts screen displays information about all of the configured IMSI/IMEI accounts in the UPAM database. This screen also allows you to create, edit, and delete accounts. To access the IMSI/IMEI Accounts screen, click on Network Access > Accounts > IMSI/IMEI Accounts under the “Configure” section of the OmniVista Cirrus Menu.
Creating an IMEI/IMSI Account
There are two methods for creating IMEI/IMSI Accounts for Celona device authorization: Import an Excel XLSX file with multiple IMEI/IMSI entries or manually create an account.
To manually add a new IMEI/IMSI Account, click on Create IMEI/IMSI Account to display the Create IMSI/IMEI Account screen.
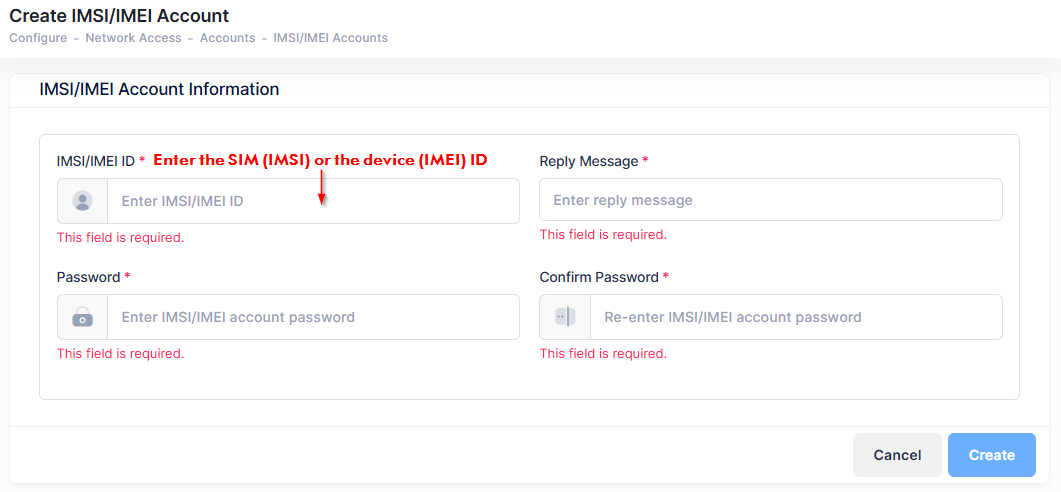
Complete the IMSI/IMEI Account Information as described below, then click Create.
-
IMSI/IMEI ID - Enter the SIM (IMSI) or the device (IMEI) ID for the Celona device.
-
Reply Message - Enter the name of the Celona Role Profile to which the device is assigned for network access.
-
Password - Enter the user password for the account.
-
Confirm Password - Enter the user password again to confirm.
Import Multiple User Accounts from an Excel Sheet
To import multiple IMSI/IMEI accounts from an existing Excel sheet (.xlxs), click on Import from… and select XLSX template file. You will then be prompted to download an XLSX template file that contains steps on how to define the IMSI/IMEI account in the Excel file to create multiple accounts.

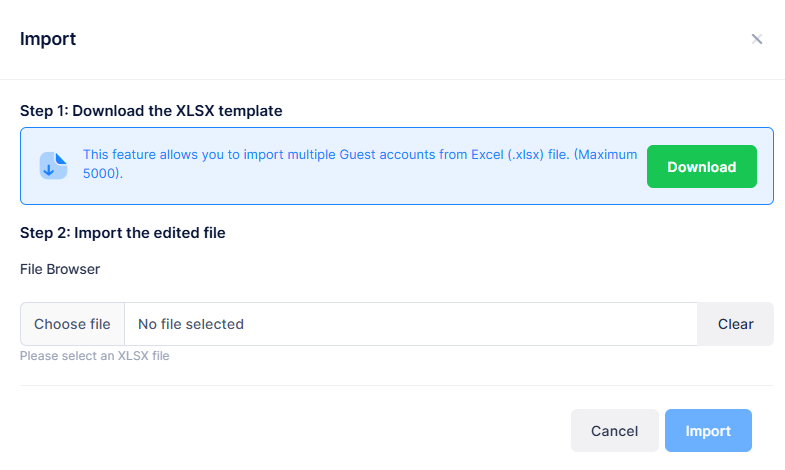
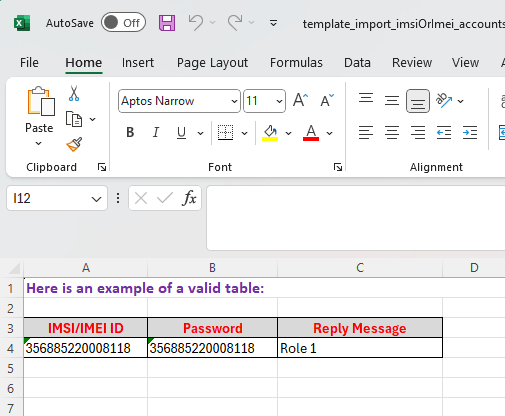
Step 1: Click on Download and specify where you would like to save the template file. When you open the template file, an example shows how to define each IMSI/IMEI account that you want to add to the UPAM database.
Step 2: Import the edited file
-
File Browser - Click in this field to find and select the existing template file to import.
Once the Import form is complete, click on Import. The IMSI/IMEI Account list is populated with the imported IMSI/IMEI Accounts.
Editing an IMSI/IMEI Account
To edit an IMSI/IMEI Account, click on the Edit icon under the “Actions” column next to the account entry. The Edit IMSI/IMEI Account screen appears.

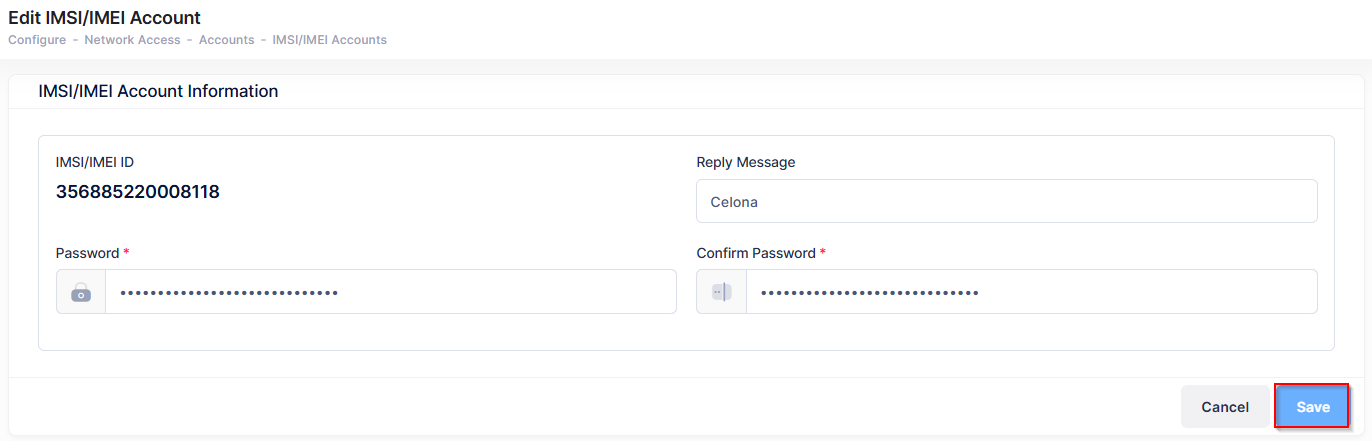
Edit the fields as described above, then click on Save.
Note that you can only change the value of the “Reply Message” and “Password/Confirm Password” fields; you cannot change the value of the “IMSI/IMEI ID” field.
Deleting an IMSI/IMEI Account
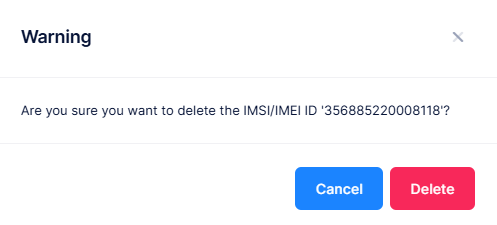
Select an IMSI/IMEI Account from the list and click on the Actions button and select Delete from the drop-down menu, or click on the Delete icon under the “Actions” column. When the following confirmation prompt appears, click on Delete to delete the account.
Display IMSI/IMEI Account Information
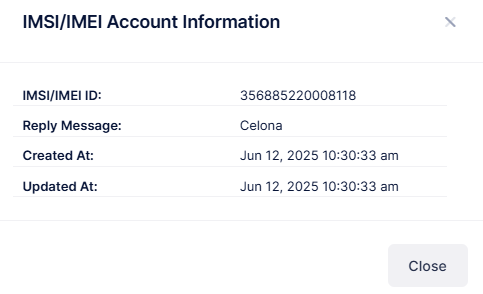
The IMSI/IMEI Accounts list displays information for the configured IMSI/IMEI accounts. To display detailed information about a specific account, click on the Additional Information icon under the “Actions” column. The information displayed on this screen is defined below.

-
IMSI/IMEI ID - The SIM (IMSI) or the device (IMEI) ID for the Celona device.
-
Reply Message - The name of the Celona Role Profile to which the device is assigned for network access.
-
Created At: - The date and time the account was created.
-
Updated At: - The date and time the account information was updated.