The Device Troubleshooting screen is used to send commands to network devices to troubleshoot and resolve device problems. A list of commands is provided. You can use these commands as is, or edit them for your specific situation. Commands previously issued to network devices are displayed in the Assigned Commands Table and can be used to access troubleshooting logs.
To access the Device Troubleshooting screen, click on Diagnostic Tools > Device Troubleshooting under the “Monitor” section of the OmniVista Cirrus Menu.
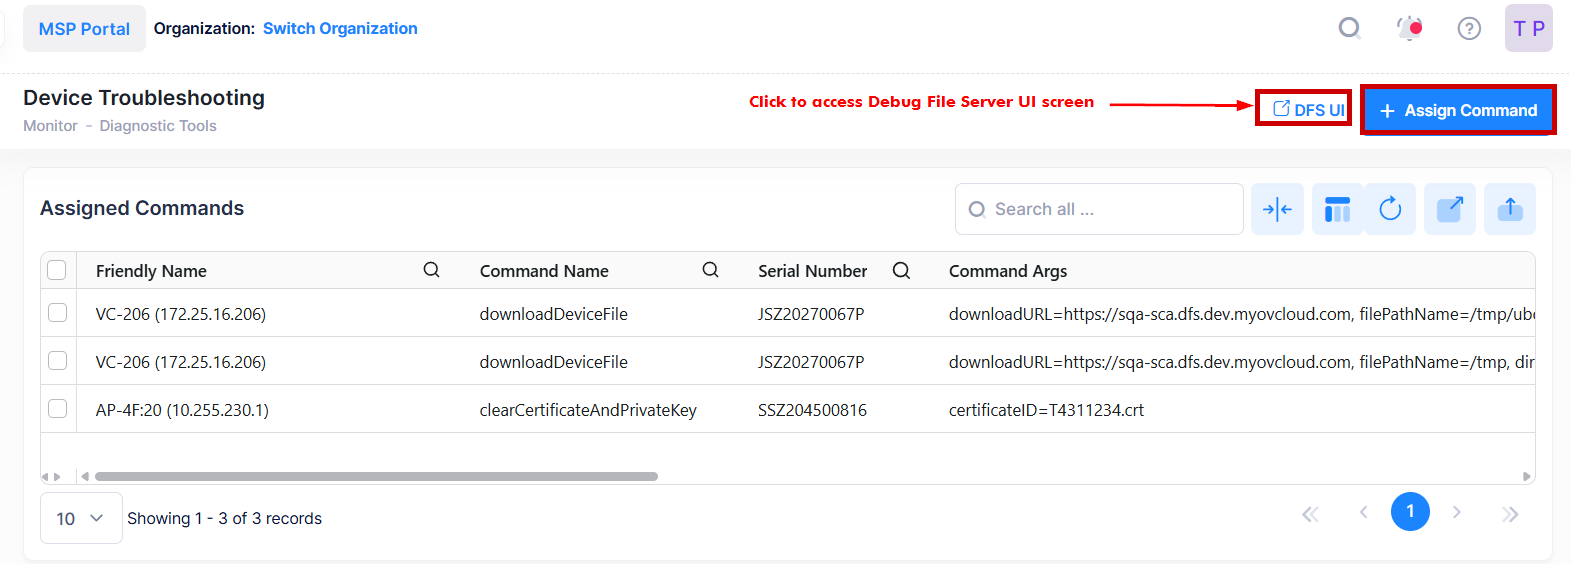
Use the Device Troubleshooting screen to view a list of assigned commands previously issued to network devices, create troubleshooting commands to issue to network devices, edit and delete assigned commands.
Accessing the Debug File Server User Interface
By accessing the DFS UI screen, you can execute a command on multiple devices at once within an Organization user ID.
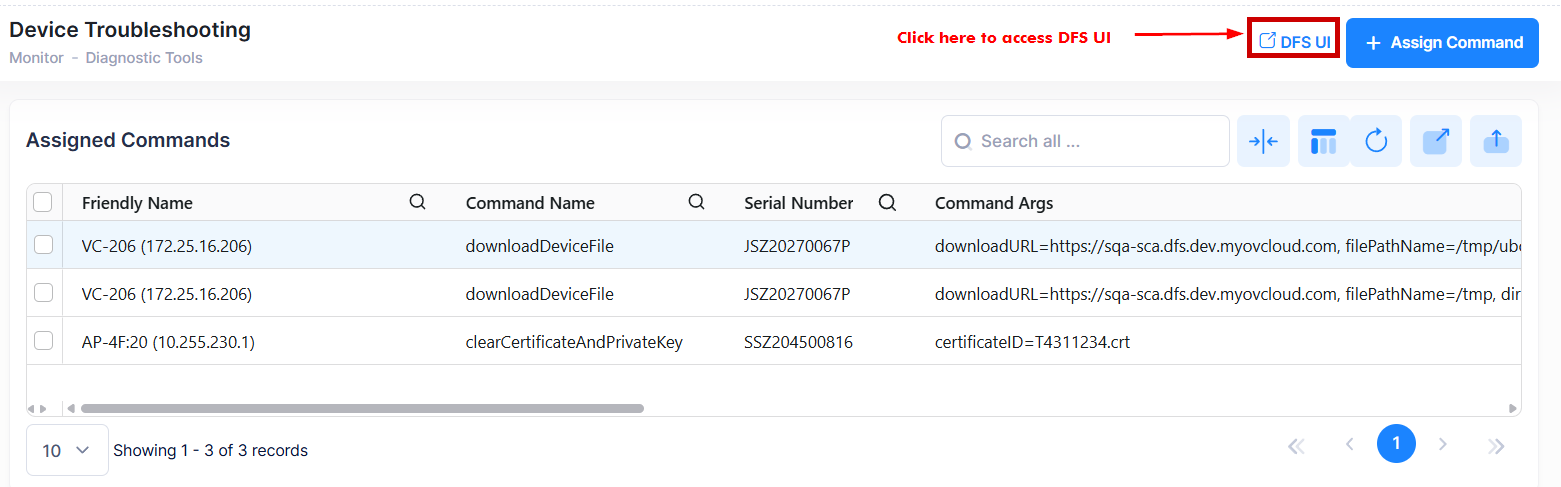
To access the DFS UI, click on the DFS UI tab on Device Troubleshooting screen as shown below:
The following screen will display all the Organizations that the current account can access as shown below:
-
You don’t need to create a different account to access the Debug File Server UI, although you can log in successfully by using the credentials of your existing account.
-
If you log in with a super Admin account, then you will be directed to the MSPs management page. It displays all the MSPs that the current account can access and you can access that MSP by clicking the hyperlink in the MSP name column of the MSP Table or clicking the View MSP button on the card.
-
When you access the DFS UI tab for a specific organization, it displays all active MSPs in the network. Identify the MSP for the organization you are accessing.
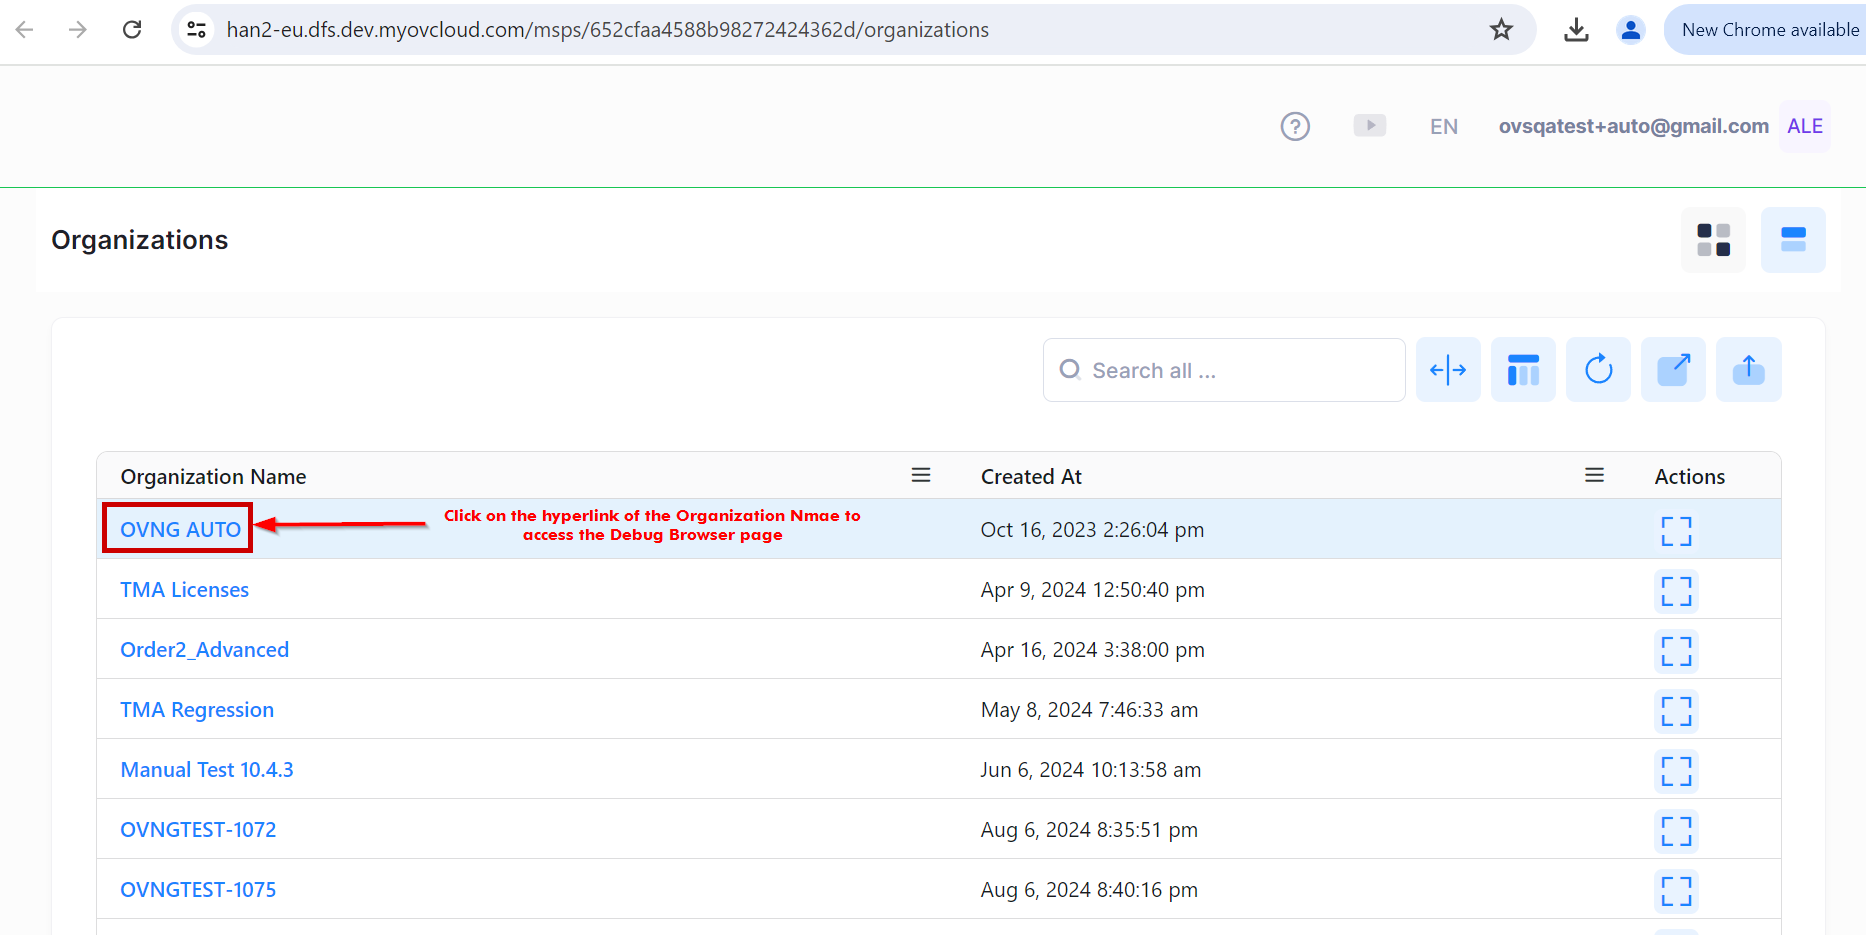
Click on the hyperlink in the Organization name column and it redirects you to the Debug File Browser page as shown below:
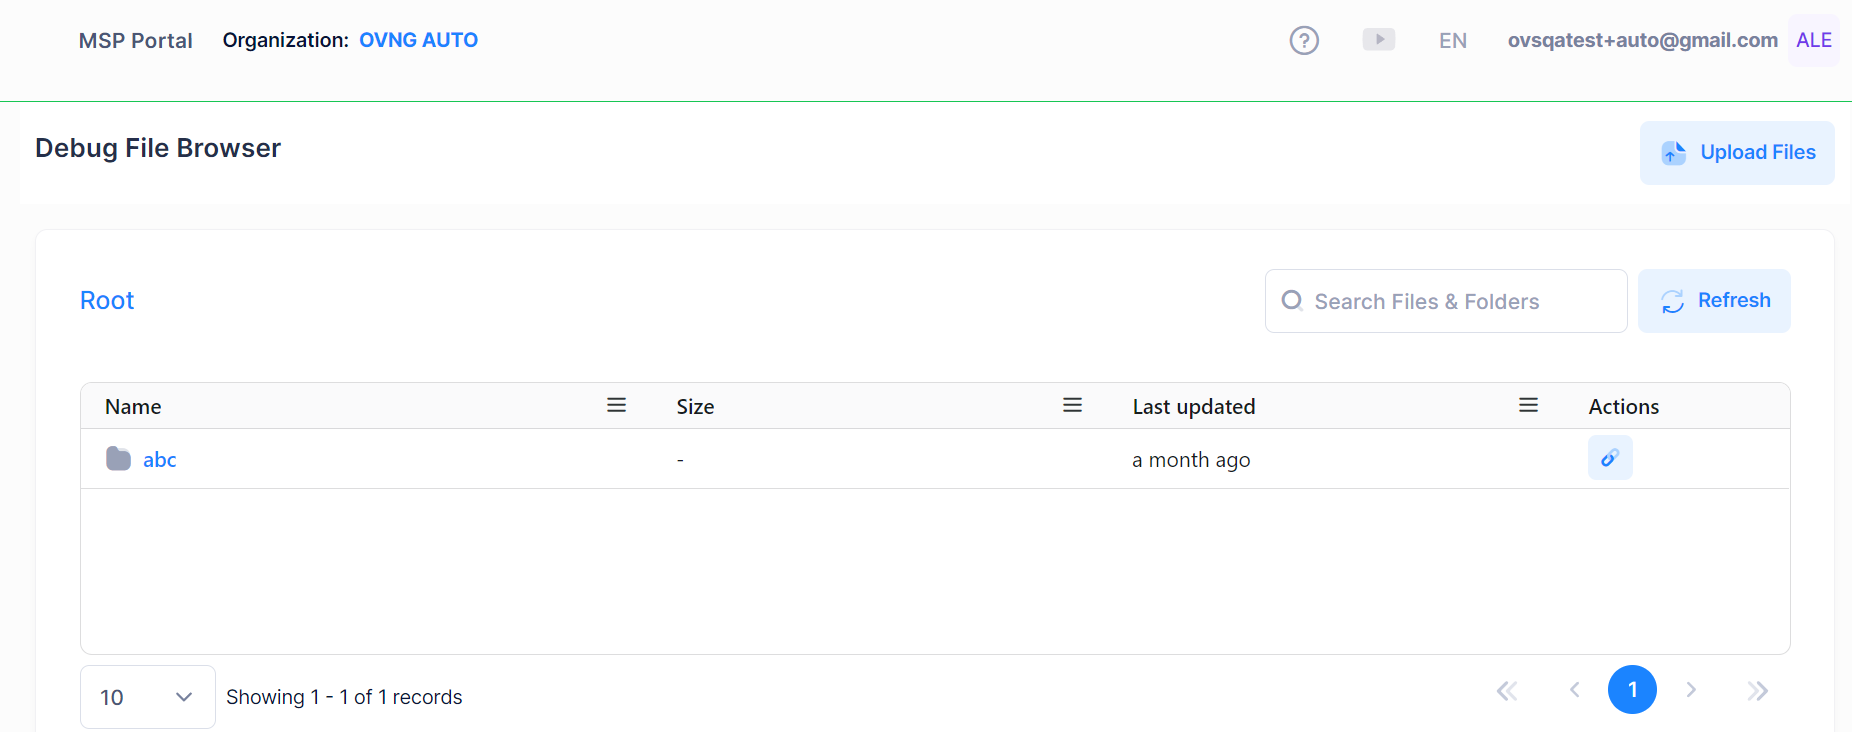
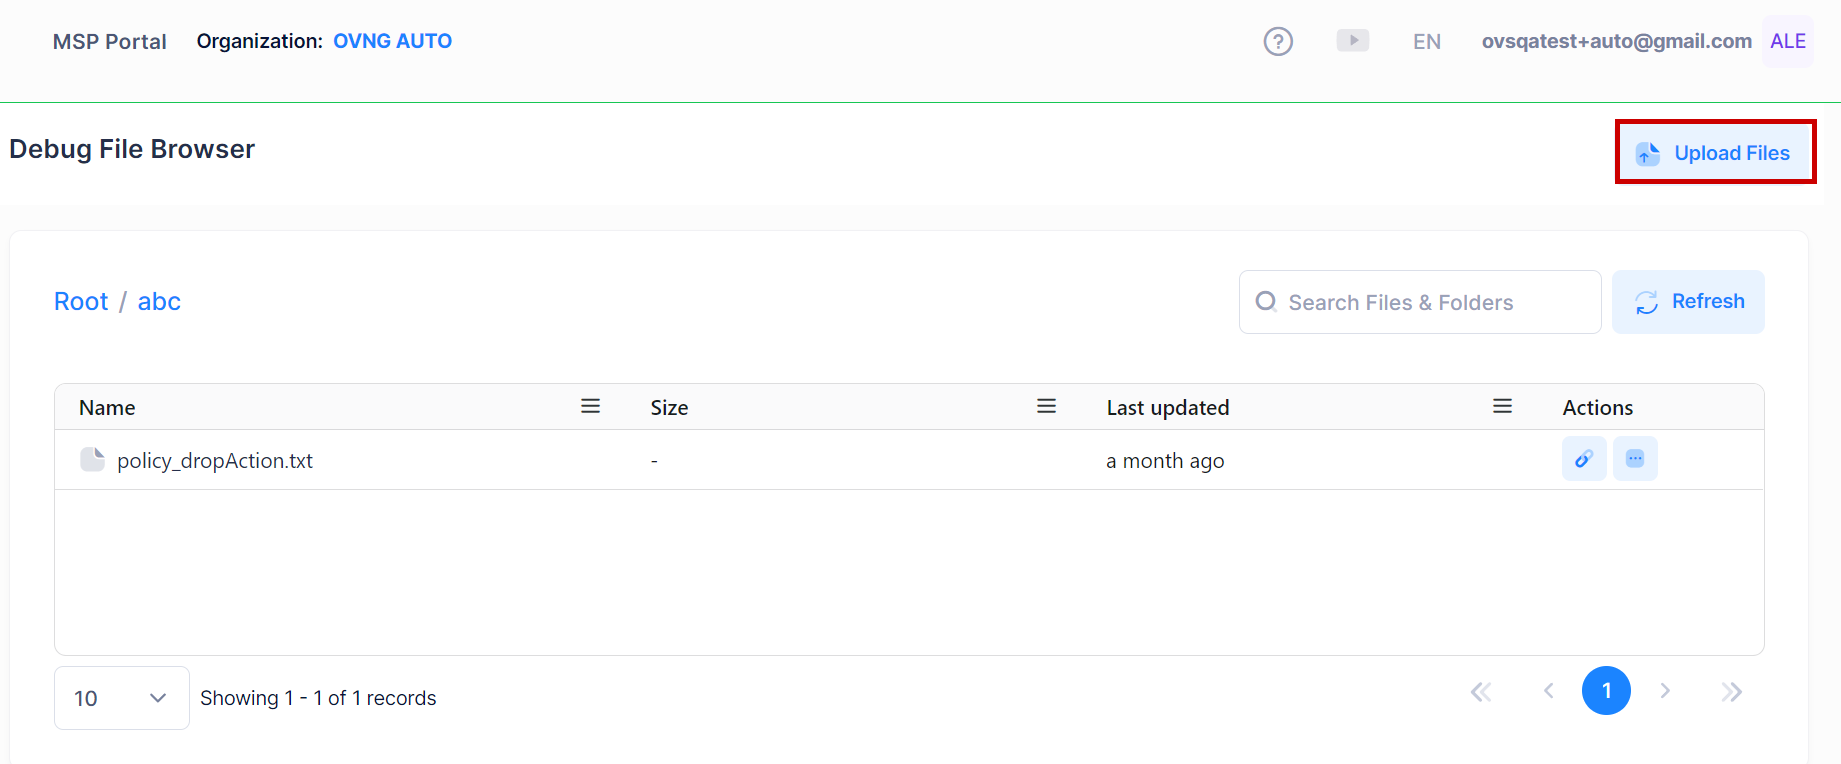
You can view the list of files or directories in the system and the files are grouped by organizations. You can perform different operations like move files/folder, download file, upload file, delete file/directory or retrieve directory listing by using the Actions button.
Upload Device File
You can click on the Upload Files button on the right hand side of the screen to upload files or directories to the destination path on the server.
The following window opens:
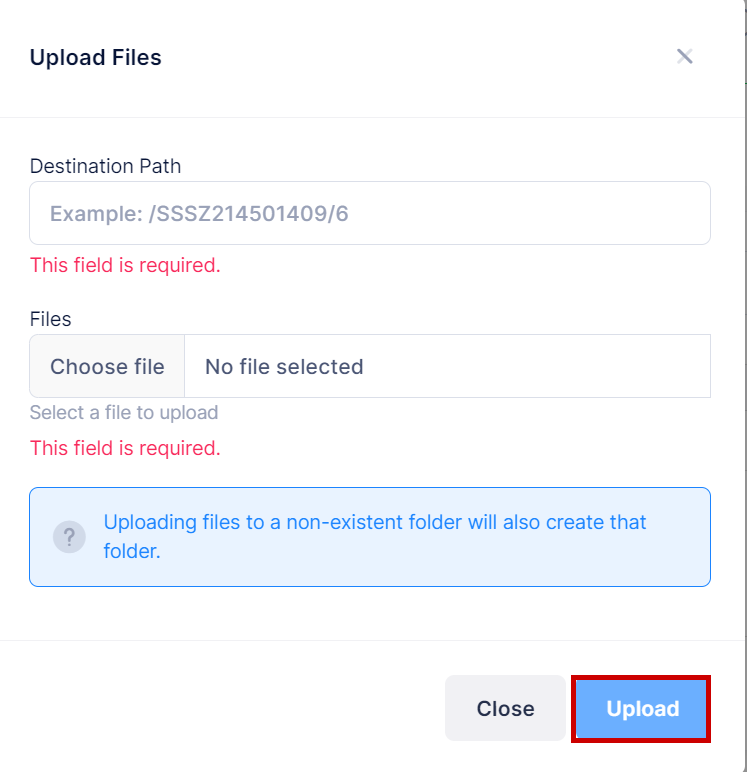
Complete the following field value and click on Upload. The files will be uploaded to the destination directory.
-
Destination Path - Enter the destination path to which you need to upload the file/folder.
-
Files - Select a file to upload from your computer.
Note: While uploading a file, the file will automatically be overwritten if the file already exists on that path.
Retrieve Directory Listing
You can click on a directory name to retrieve the list of child files or child directory.
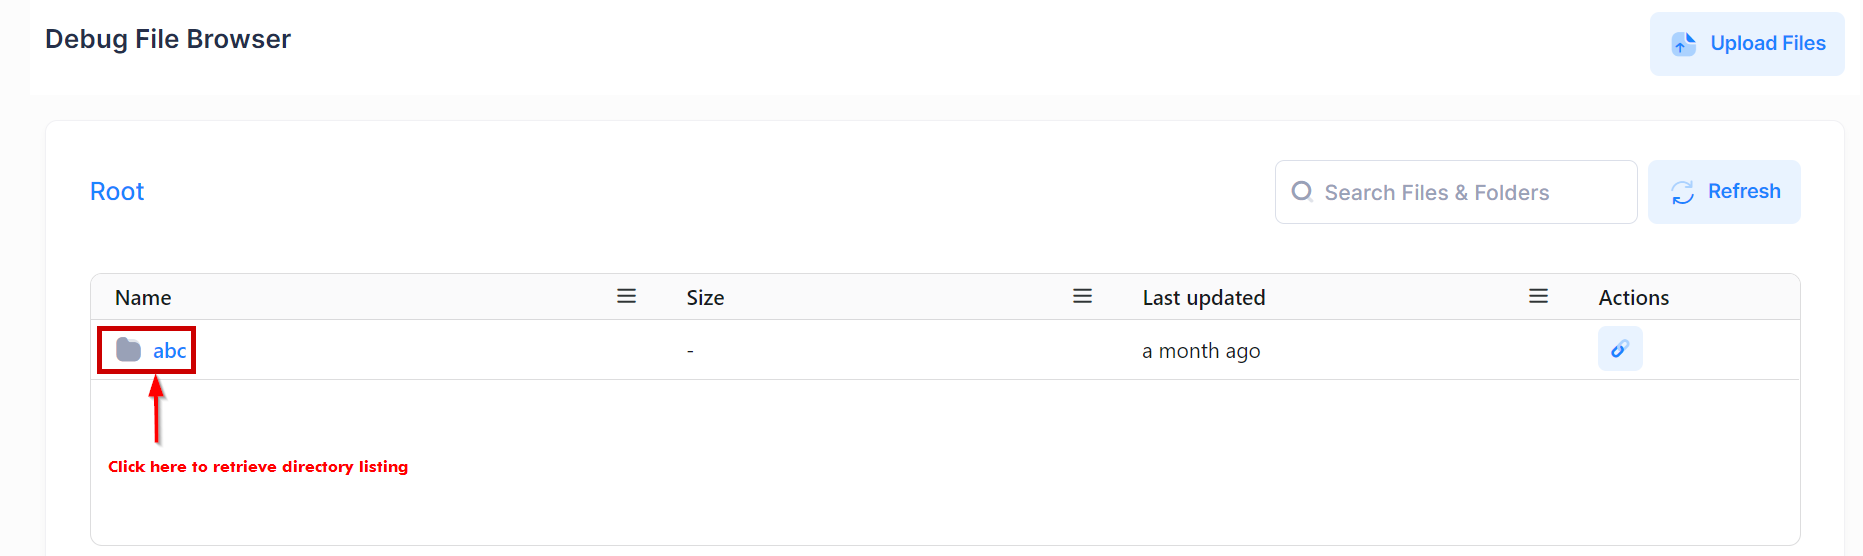
The table then will change and display the contents in that directory as shown below:
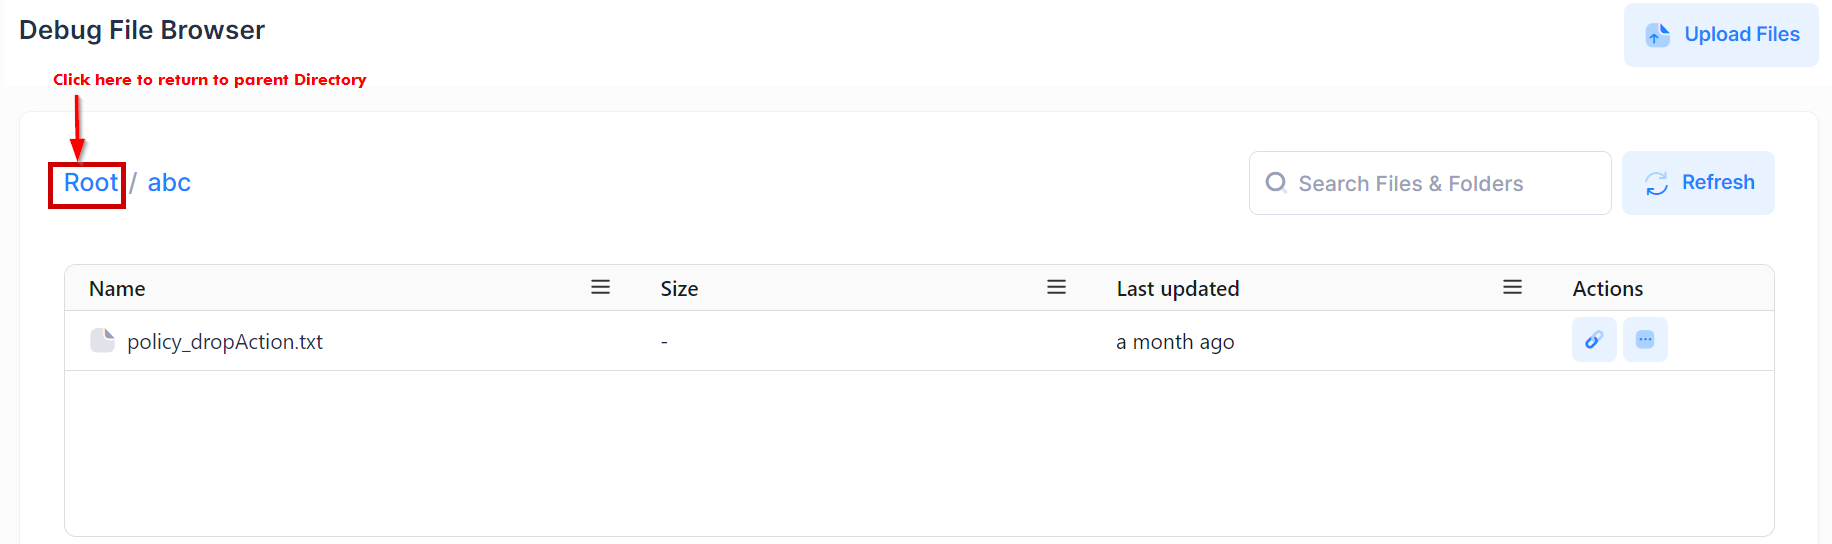
Click on the top left of the table to go back to the parent directory.
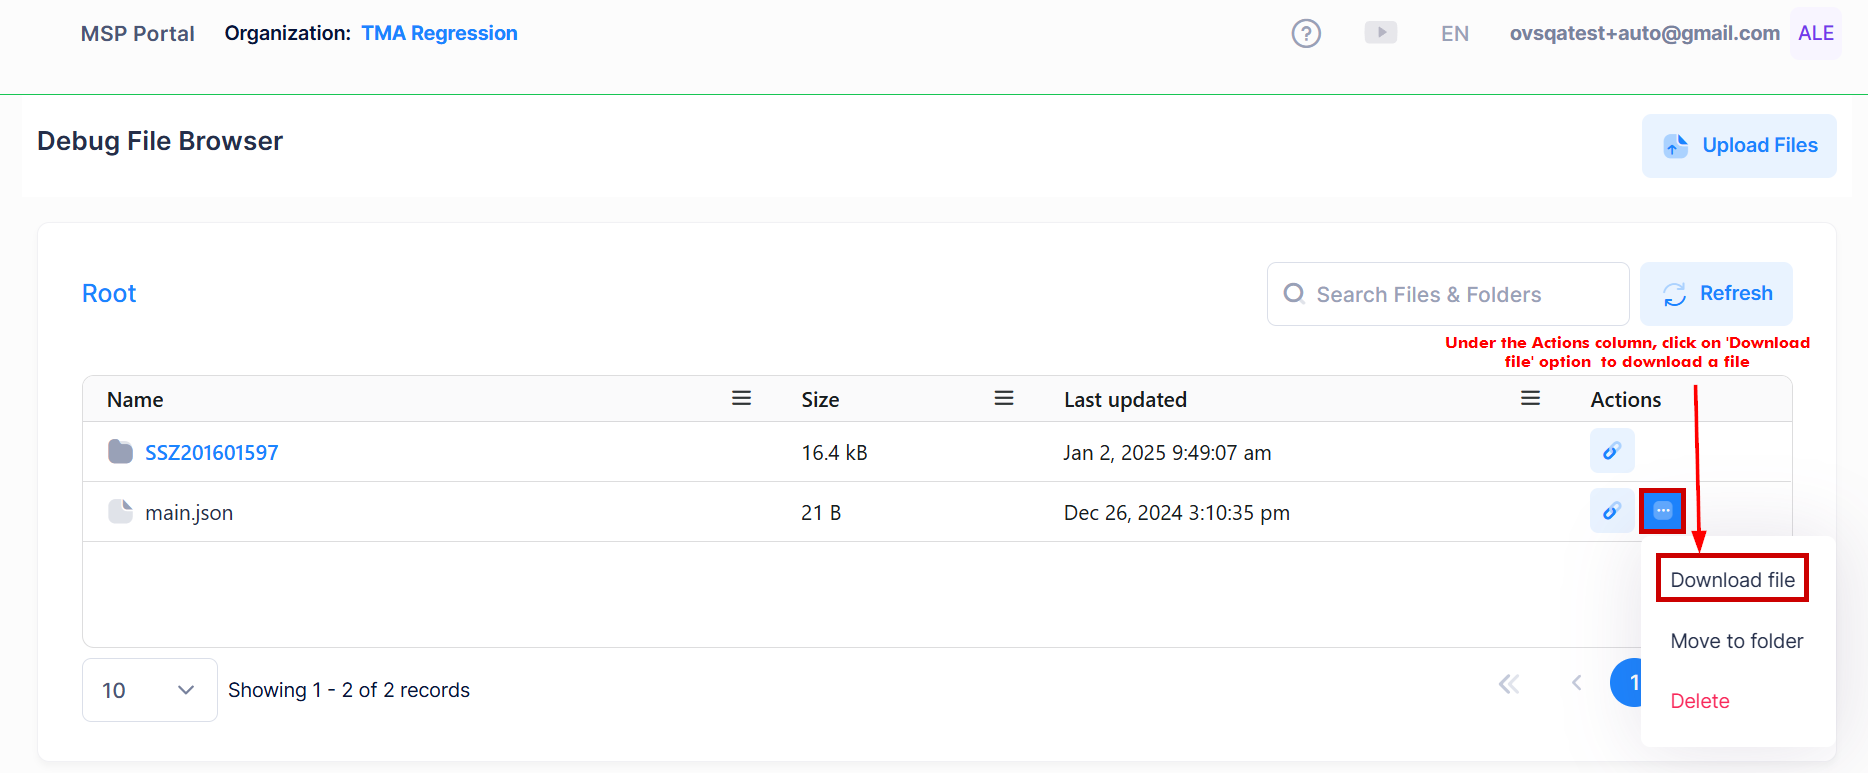
Download Device File
To download the device file from the server, go to the Actions column, and click on the Download File option from the drop-down menu then the file will be downloaded.
Move Device Files
To move the Device files within the Organization, go to Actions column and click on Move to Folder from the drop-down list.
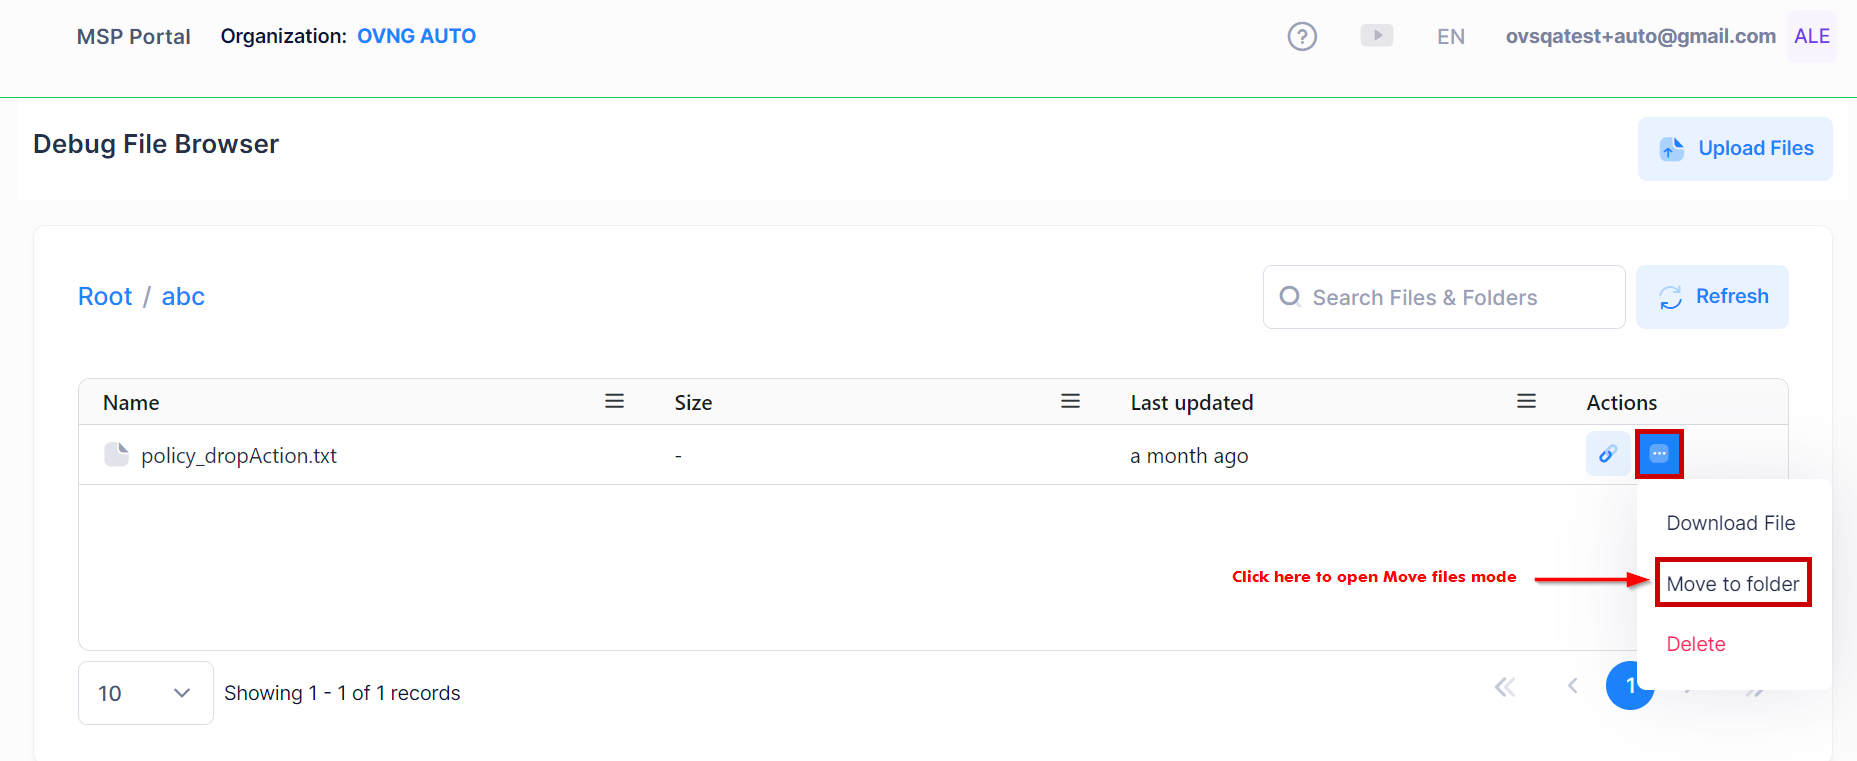
It will open the move files mode as below:
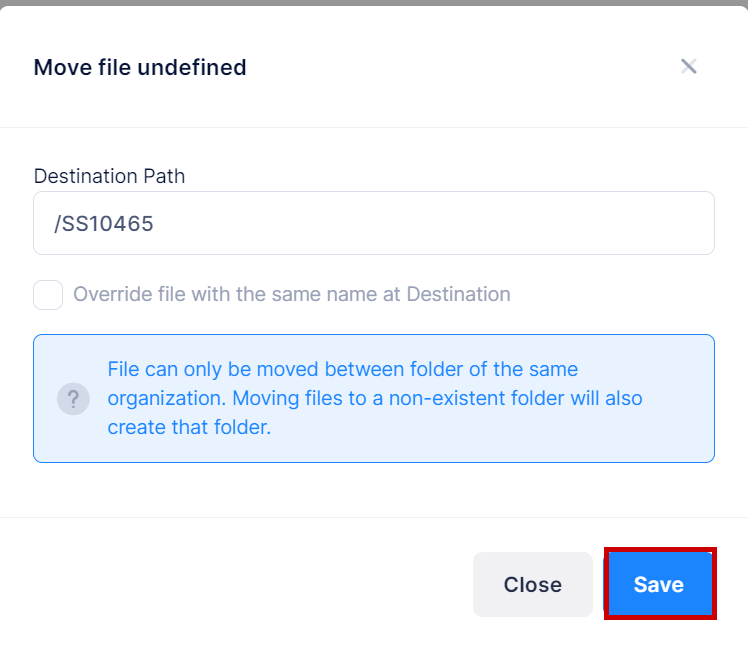
Enter the Destination path to move a file, and if there is a file with the same name at the Destination, you should check in the Override checkbox. The files can only be moved between folders of the same Organization, the Destination path should start with the direct children folder of the Organization. Click on Save button to save changes.
Delete Device File
You can delete the Device Directory or File by clicking on the Delete button in the Actions column of each File/Directory.
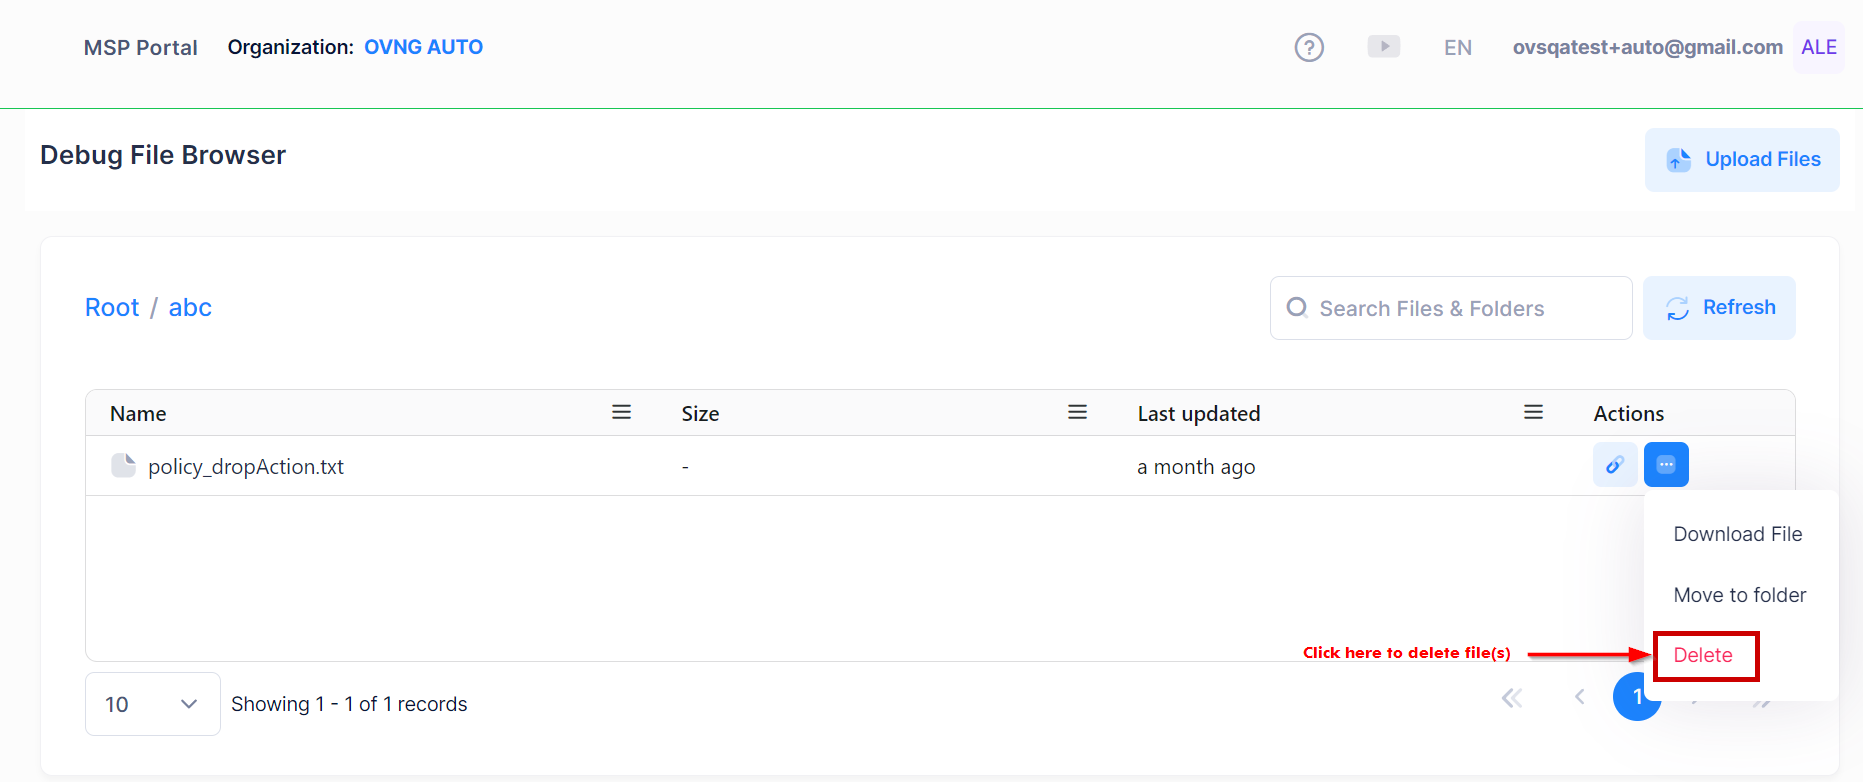
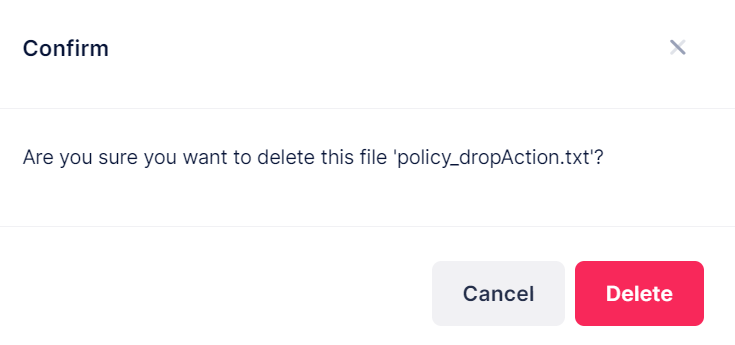
The confirmation window appears, click on Delete to permanent delete a File. All the contents of the child File(s) or child Directory will also be deleted by using this action.
Troubleshooting a Device
To issue a troubleshooting command to one or more network devices, click on Assign Command in the top-right corner of the Device Troubleshooting screen. The Assign Command screen provides the following step-by-step process to create and issue a troubleshooting command to a network device(s):
Step 1. Device Selection - Select the device(s) to which the troubleshooting command will be issued.
Step 2. Command Selection - Select the command to be issued to the selected network device(s).
Step 3. Command Argument Editing - Edit the default command argument, if necessary.
Step 4. Review - Review command details and assign the command to the selected network device(s).
Step 1. Device Selection
Select one or more devices from the list to which you will issue a troubleshooting command, then click Next to move to the next tab (Step 2). You can also apply filters to search for a specific device selection.
Step 2. Command Selection

Select the command that you will issue to the selected device(s), then click Next to move to the next tab (Step 3). You can only select one command at a time. Click here for an overview of the available troubleshooting commands.
Step 3. Command Argument Editing
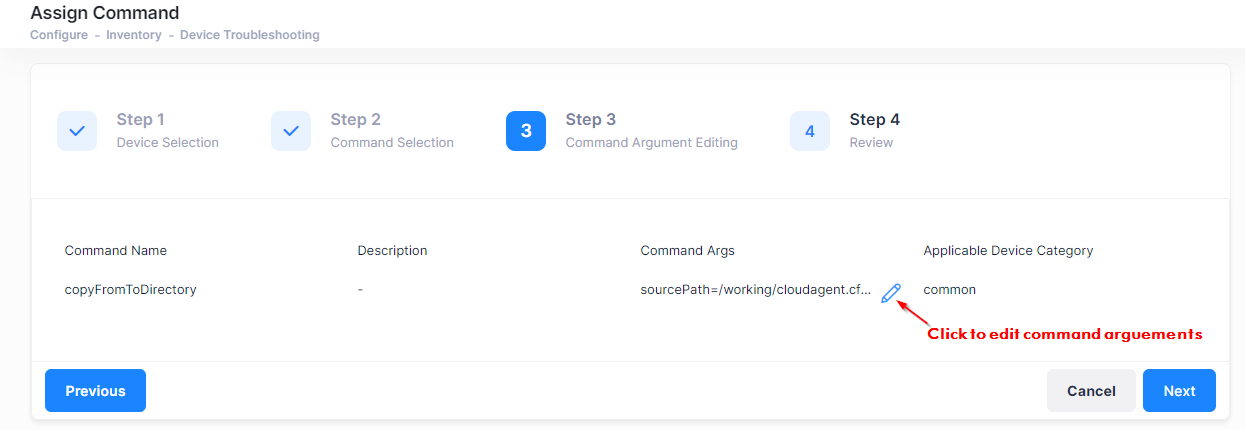
Troubleshooting commands contain default arguments, which are sufficient in most situations. If you do not want to make any changes to the argument, click Next to move to the next tab (Step 4). If you want to edit the command argument, click on the pencil icon next to the command argument. The following Command Argument Editing window opens:
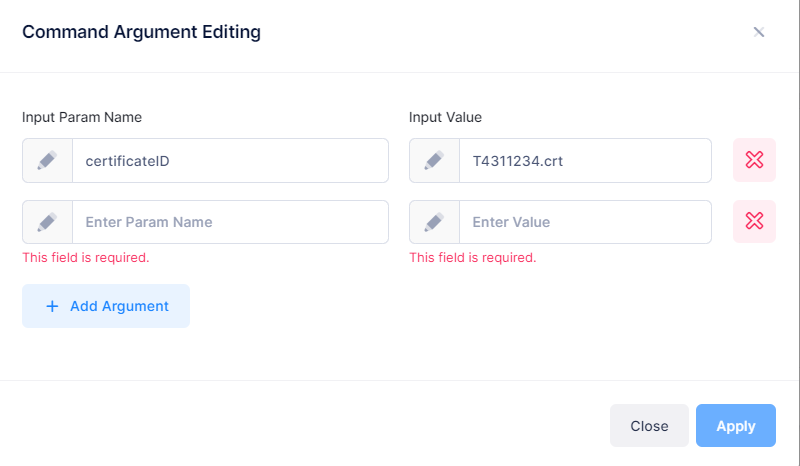
On the Command Argument Editing window, you can do any of the following:
-
Click in the "Input Value" field to edit the argument.
-
Click on the Delete icon to delete an argument from the command.
-
Click on Add Argument to define an input parameter name and input value for a new argument.
When you are done editing and/or adding command arguments, click on Apply to save your changes.
4. Review
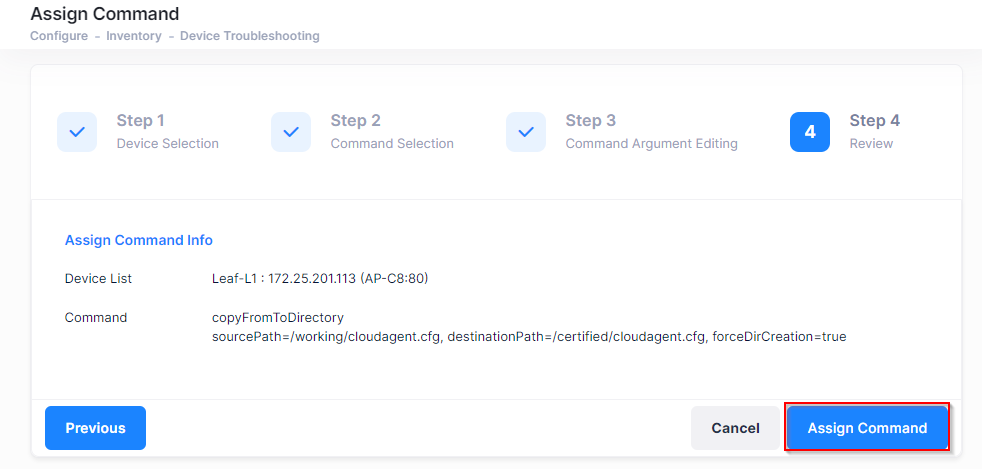
Review the command details. Click Previous to return to a previous step to make changes. Click on Assign Command to complete the troubleshooting command assignment. The command will be issued the next time the device calls home.
Troubleshooting Commands
The following list of commands can be used to troubleshoot/resolve device problems.
|
uploadCertificateAndPrivateKey |
Upload both the certificate and the private key to the device. This command can be used to backup the certificate and the private key. Each of the arguments are expected to use Json String Escape (https://www.freeformatter.com/json-escape.html#ad-output ) to replace newline to ‘\n’ and carriage return to ‘\r’. |
|
resetDeviceToFactoryDefault |
Reset a device to factory default settings. This will remove all the existing configurations on the device. |
|
forceLoadNewCertificateAndPrivateKey |
Push a new certificate and private key to a device. This is useful if a certificate has expired or otherwise disappeared from a device. The certificate and private key will be updated on the next "call home". This command is expected to be used in very rare cases. |
|
clearCertificateAndPrivateKey |
Remove both the certificate and key with the associated base name from a device. This command can be used if the certificate and key on a device have expired or are invalid. This command removes them and updates them on the next "call home". This command is expected to be used in very rare cases. |
|
dumpSystemInfo |
Generate device information logs that can be used to troubleshoot a device. For example, output information to DFS. |
|
uploadDeviceFile |
Upload a device file that can be used for troubleshooting. For example, upload a file from the device to DFS. |
|
copyFromToDirectory |
Copy a file from one directory to another directory. This command can be used to backup important files to another folder (e.g., vcboot.cfg, private key, public key). |
|
removeFileFromDirectory |
Remove a file(s) from the device. This command can be used to remove large, unnecessary files to free up space on the device (e.g., image.bak file, log file). |
|
clearNTPConfig |
Removes all NTP configuration values from the running config and then writes memory. The date is part of the device validation process. This command removes the current NTP and updates the device with a new NTP server. |
|
setDateTime |
Force date and time update on the device. The date is part of the device validation process. This command can be used to update date and time on the device. |
|
downloadDeviceFile |
Downloads a file from DFS to the device. |
|
rebootFromDirectory |
Reboot the device from a specific directory. |
|
certifyDownloadedConfigFile |
Certifies the configuration file that was downloaded to the device. |
|
reboot |
Reboots the device. |