Authentication Role Mapping for On-Premises LDAP enables you to assign different Access Role Profiles and Policy Lists to different sub-user groups by creating mapping rules based on user attributes. For example, you could assign a Premium Access Role Profile with larger bandwidth to the VIP group in LDAP. The Role Mapping for On-Premises LDAP Screen displays information about all configured mappings and is used to create, edit, and delete mappings.
To access the Role Mapping for On-premises LDAP screen, click on Network Access > UPAM-NAC > Role Mapping for LDAP/AD under the “Configure” section of the OmniVista Cirrus Menu.
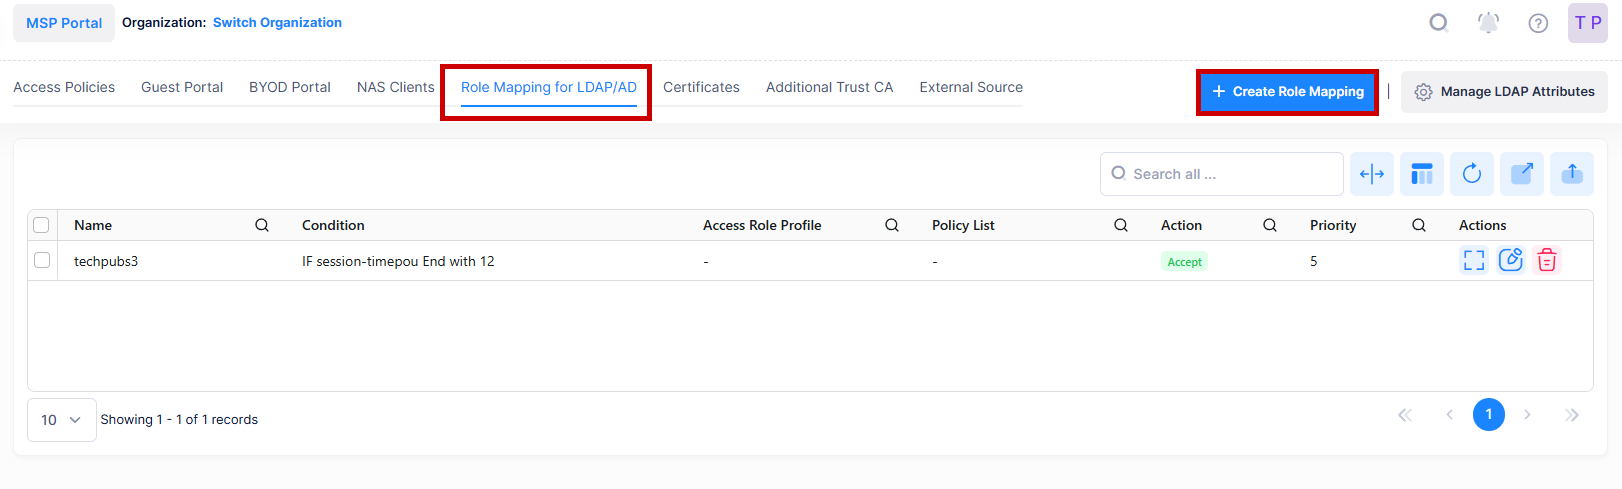
Creating a Mapping
Click on the Create Role Mapping icon to bring up the Create Role Mapping for LDAP/AD screen. Complete the fields as described below, then click on the Create button.
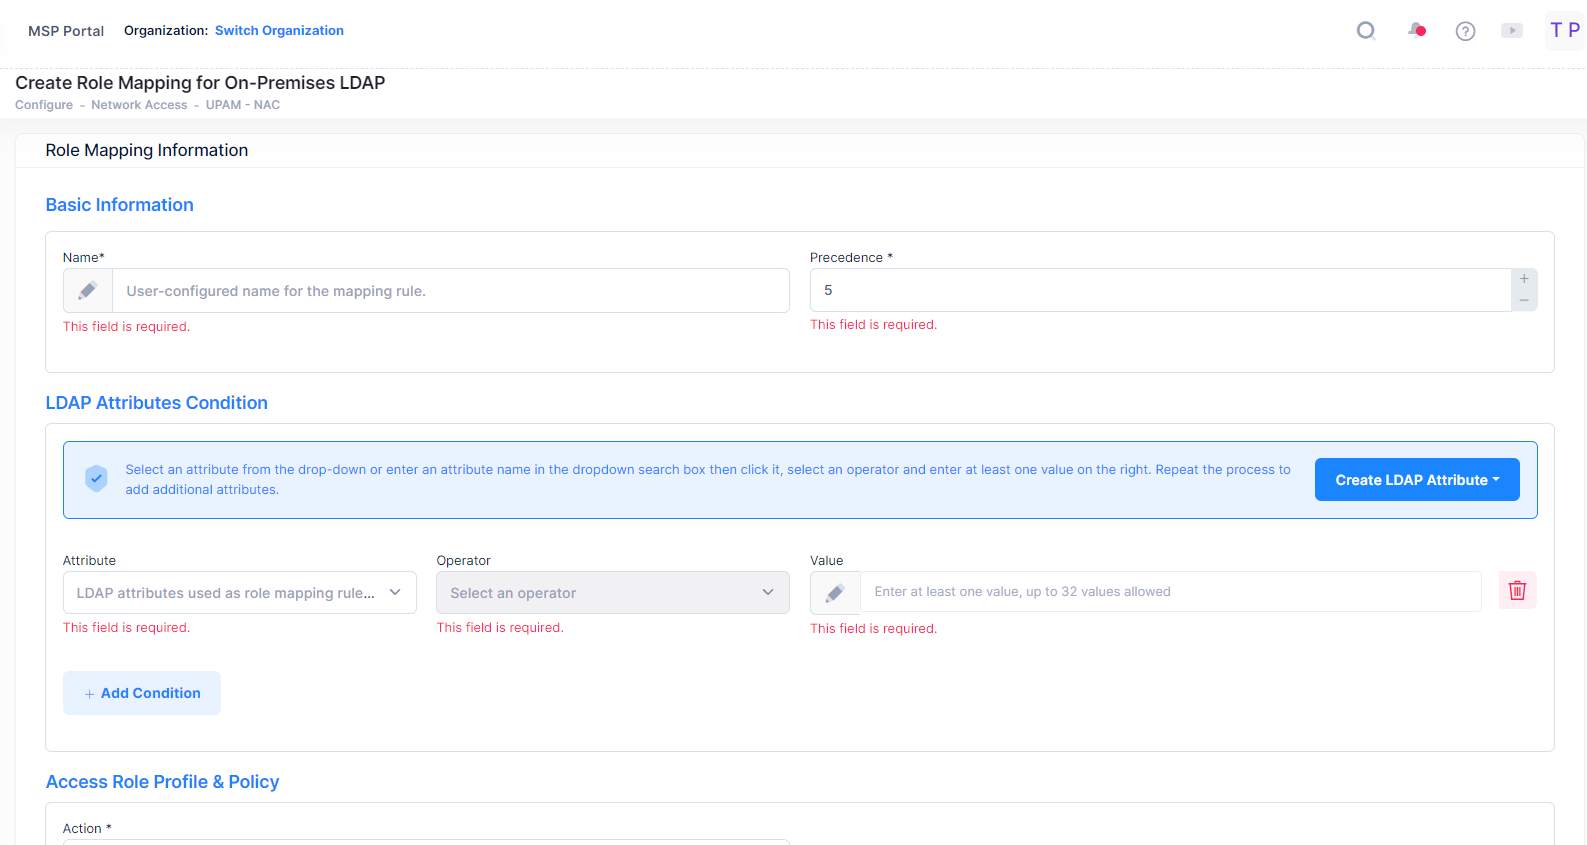
Basic Information
-
Name - Enter user-configured name for the mapping rule.
-
Precedence - Priority of the role mapping rule. A user requesting LDAP authentication may match several role mapping rules; the one with highest priority will take effect after passing authentication. (Range = 1 - 99, 1 is the highest priority and 99 is the lowest).
LDAP Attributes Condition
Select an attribute from the drop-down or enter an attribute name in the dropdown search box then click it, select an operator and enter at least one value on the right. Repeat the process to add additional attributes.
-
Attribute - LDAP attributes used as role mapping rule key.
-
Operator - Select an operator for the attribute's value from the drop down list.
-
Value - Attribute's value on the LDAP Server.
-
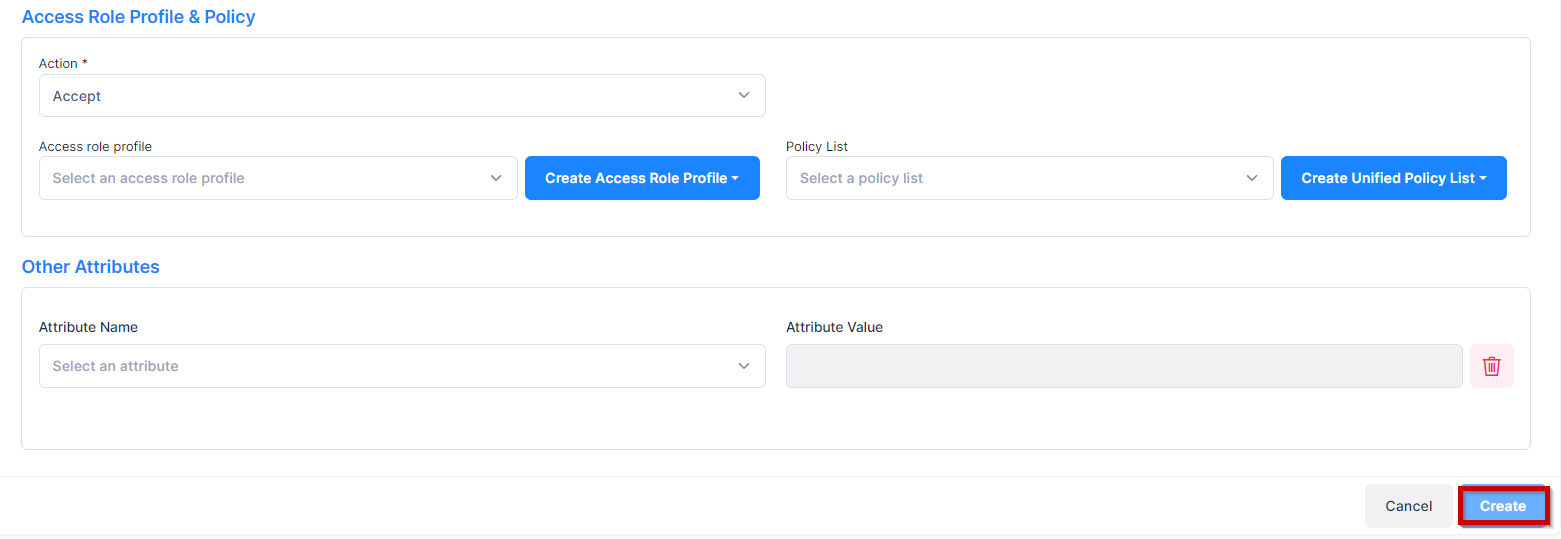
Access Role Profile & Policy
-
Action - Accept or Reject user authentication with 802.1X matching with Access Policy.
-
Access Role Profile - Access Role Profile applied to the user after matching the role mapping rule.
-
Policy List - Policy List applied to the user after matching the role mapping rule.
Other Attributes
Select an attribute from the drop-down menu and enter a value. To add additional attributes, click on Add Attribute.
-
Acct-Interim-Interval - The Accounting Interim Interval for RADIUS accounting, in seconds. If not configured, the device’s default accounting policy will take effect. (Range = 60 - 1200, Default = 600)
-
Session-Timeout - The Session Timeout Interval is the maximum number of consecutive seconds of connection allowed to the user before termination of the session or prompt. If not configured, the device’s default session timeout policy will take effect. (Range = 12000 - 86400, Default = 43200)
-
WISPr-Bandwidth-Max-Up - The user upstream bandwidth, in kbit/s. By default, it is not limited.
-
WISPr-Bandwidth-Max-Down - The user downstream bandwidth, in kbit/s. By default, it is not limited.
After entering the required parameters, click on the Create button to complete.
View Additional Role Mapping List Information
Select the Role Mapping name in the list and click on the Additional Information icon to view additional information for the mapping rule.
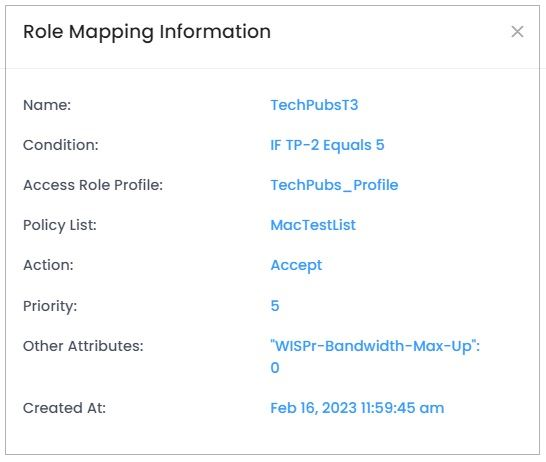
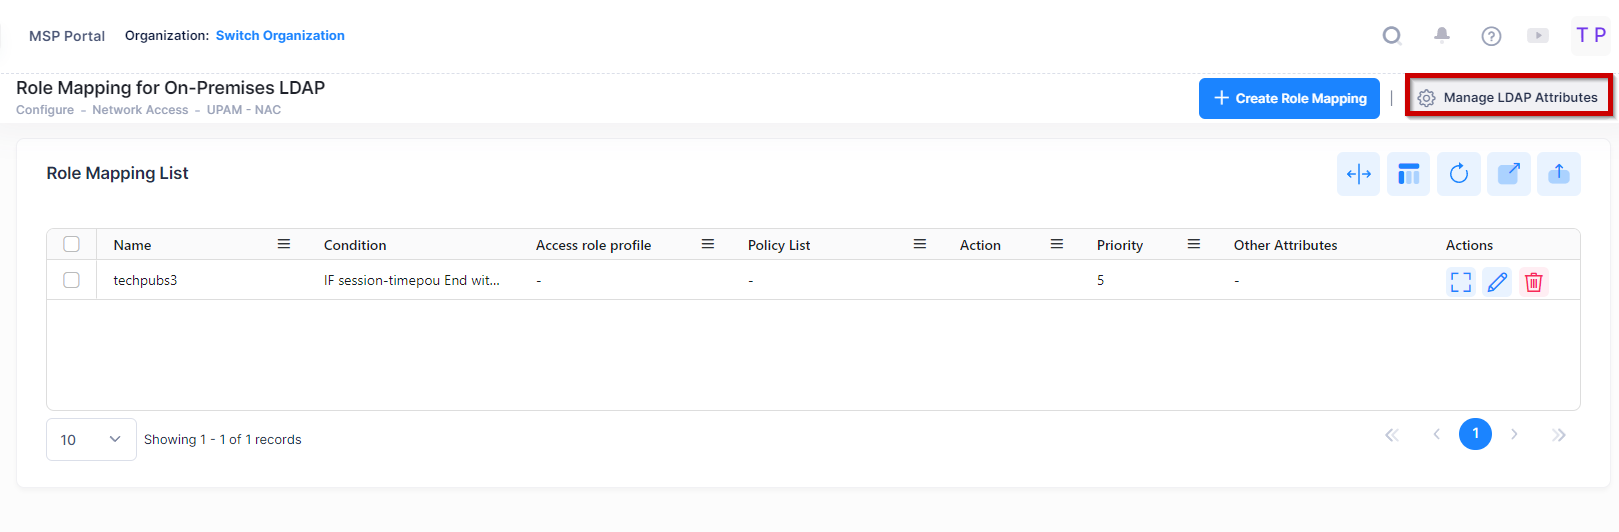
The Role Mapping List displays information about all configured mappings.
-
Name - User-configured name for the mapping rule.
-
Condition - The mapping condition.
-
Access Role Profile - Access Role Profile applied to the user after matching the role mapping rule.
-
Policy List - Policy List applied to the user after matching the role mapping rule.
-
Action - When you choose On-Premise LDAP, for authentication, A new option is introduced to enable or disable Role-Mapping in Registration Strategy. By default, Role-Mapping is disabled.
-
Priority - Priority of the role mapping rule. A user requesting LDAP authentication may match several role mapping rules; the one with highest priority will take effect after passing authentication. (Range = 1 - 99, 1 is the highest priority and 99 is the lowest).
Editing a Mapping
Select a mapping in the Role Mapping List and click on the Edit icon. Edit the field(s) as described above, and click on the Save button. Note that you cannot edit a Mapping Name.

Deleting a Mapping
Select a mapping in the Role Mapping List and click on the Delete icon. Click Delete at the Confirmation Prompt.
Attribute for On-Premises LDAP
The Attribute for On-Premises LDAP screen is used to manage the LDAP attributes for AP authentication through an external on-premises LDAP Server. The attributes can be used as mapping conditions for assigning Role/Access Role Profiles. You can create attributes for the LDAP Server. Attributes in the list can be selected as mapping conditions on the Role Mapping for On-Premises LDAP screen.
To access the Manage LDAP Attributes screen, click on Manage LDAP Attributes at the top right corner of the screen.
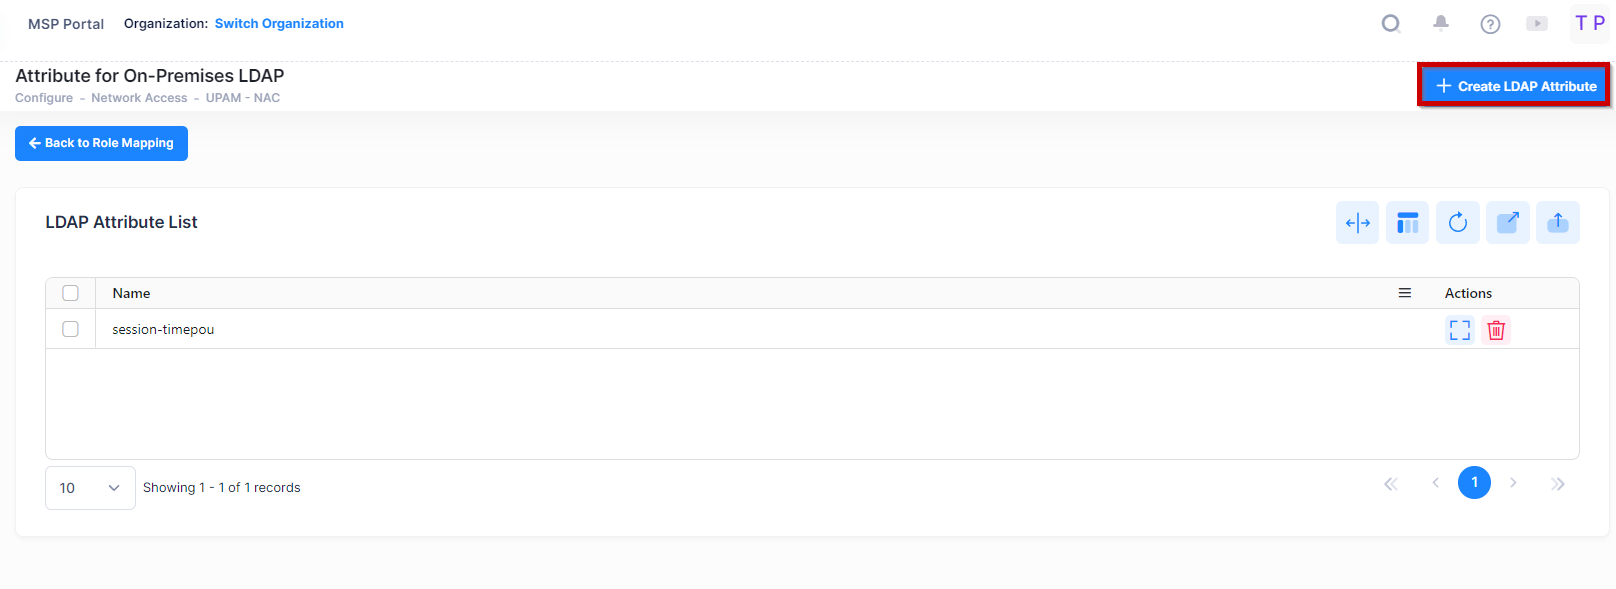
Creating LDAP Attributes
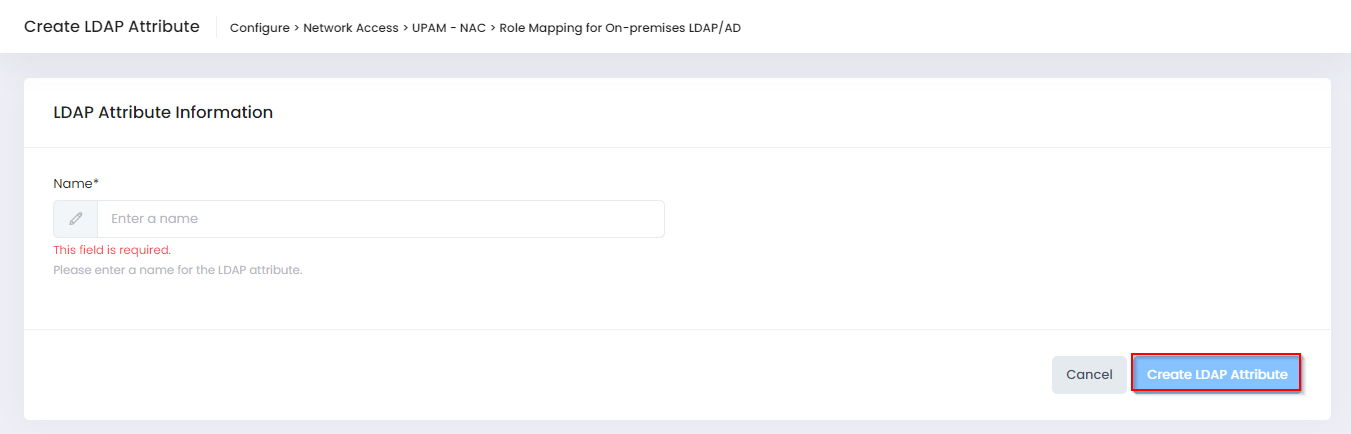
Click on Create LDAP Attribute to open the Create LDAP Attribute screen.
Enter the attribute in the Name field and click on the Create LDAP Attribute.
On the LDAP Attributes List screen, you can click on Back To Role Mapping to go back to the Role Mapping for On-premises LDAP screen.
Deleting LDAP Attributes
Select the attribute(s) in the LDAP Attribute List and click on the Delete icon. Click Confirm at the Confirmation Prompt.