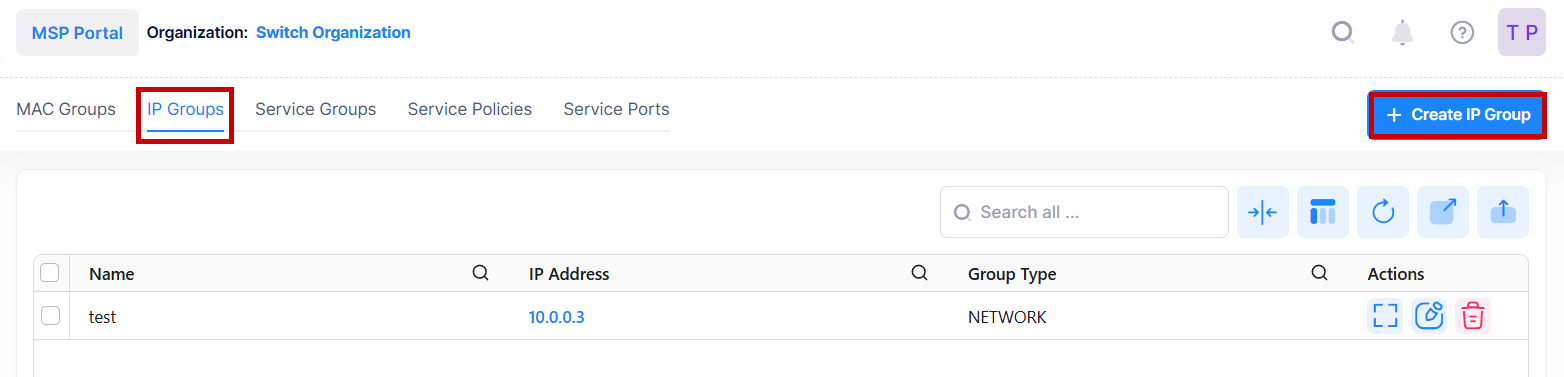
The Groups IP Groups Screen displays all configured Network Groups. The screen is used to create, edit, and delete Network Groups.
To access a IP Group, navigate to the IP Group screen by clicking on Network Access > Groups > IP Groups under the “Configure” section of the OmniVista Cirrus Menu.
Creating a IP Group
To create a IP Group, click on the Create IP Group icon. The following screen appears.
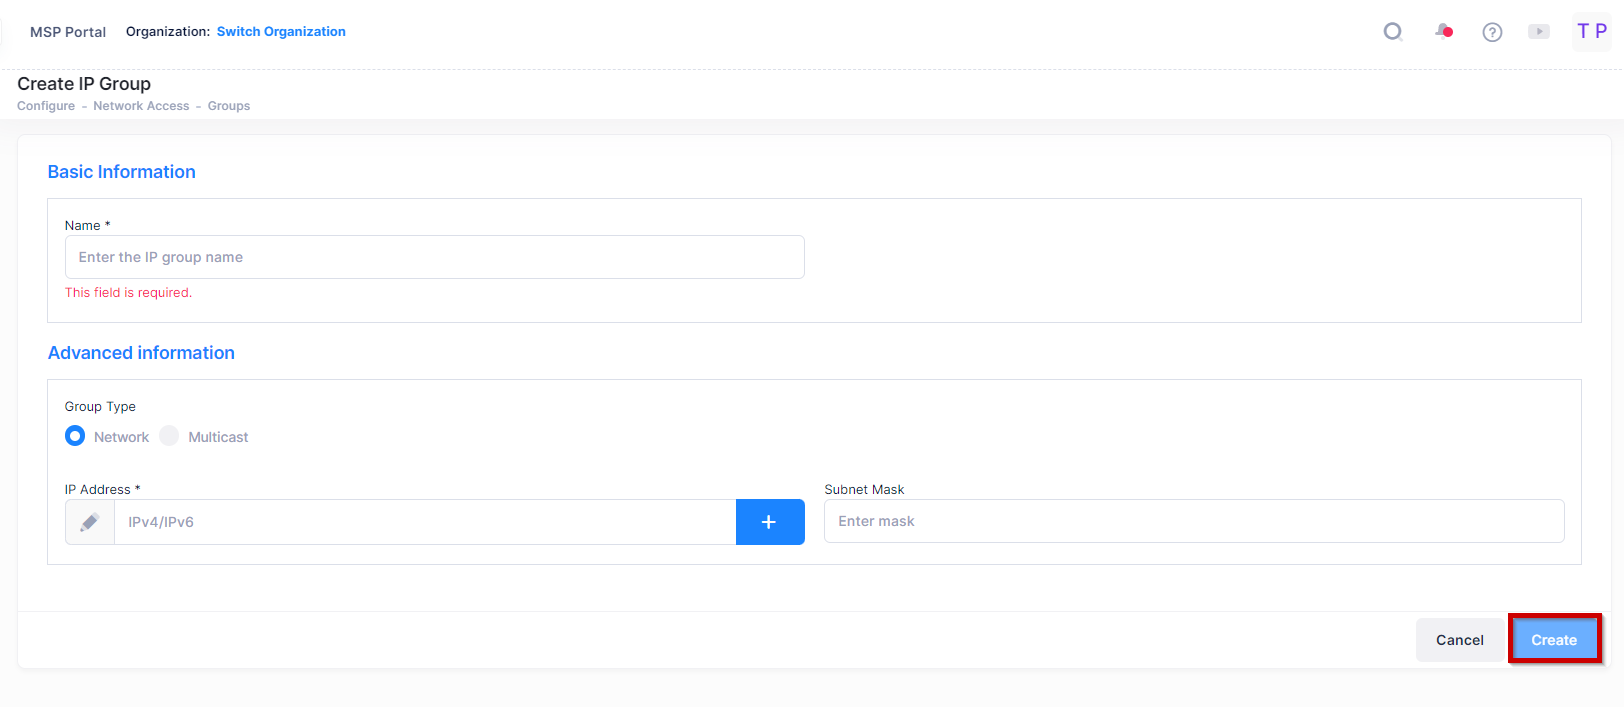
Enter a Name for the IP Group. Enter a Subnet IP/Subnet Mask and click on the Add icon. Repeat to add additional subnets. When you are finished, click on the Create button. The IP Group will appear in IP Groups List. Note that you must enter at least one Subnet IP/Subnet Mask.
Editing a IP Group
Click on the IP Group that you want to edit to view the Subnets in the IP Group. Note that you cannot edit a IP Group name. To edit a IP Group name you must delete the IP Group and create a new one.
-
To add a Subnet Address to the Group, enter a Subnet IP/Subnet Mask and click on the Add icon. Repeat to add additional subnets. When you are finished, click on the Save button.
-
To delete a Subnet, click on the Delete icon next to the Subnet you want to delete. Repeat to delete Subnets. When you are done, click on the Save button.
Deleting a IP Group
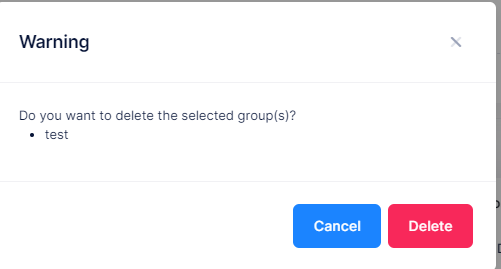
To delete a IP Group(s), select the checkbox next to the group(s) in the list, click on the Delete icon, then click Delete at the confirmation prompt.
IP Groups that are in use by policy conditions cannot be deleted. To delete these IP groups, remove them from the policy conditions.