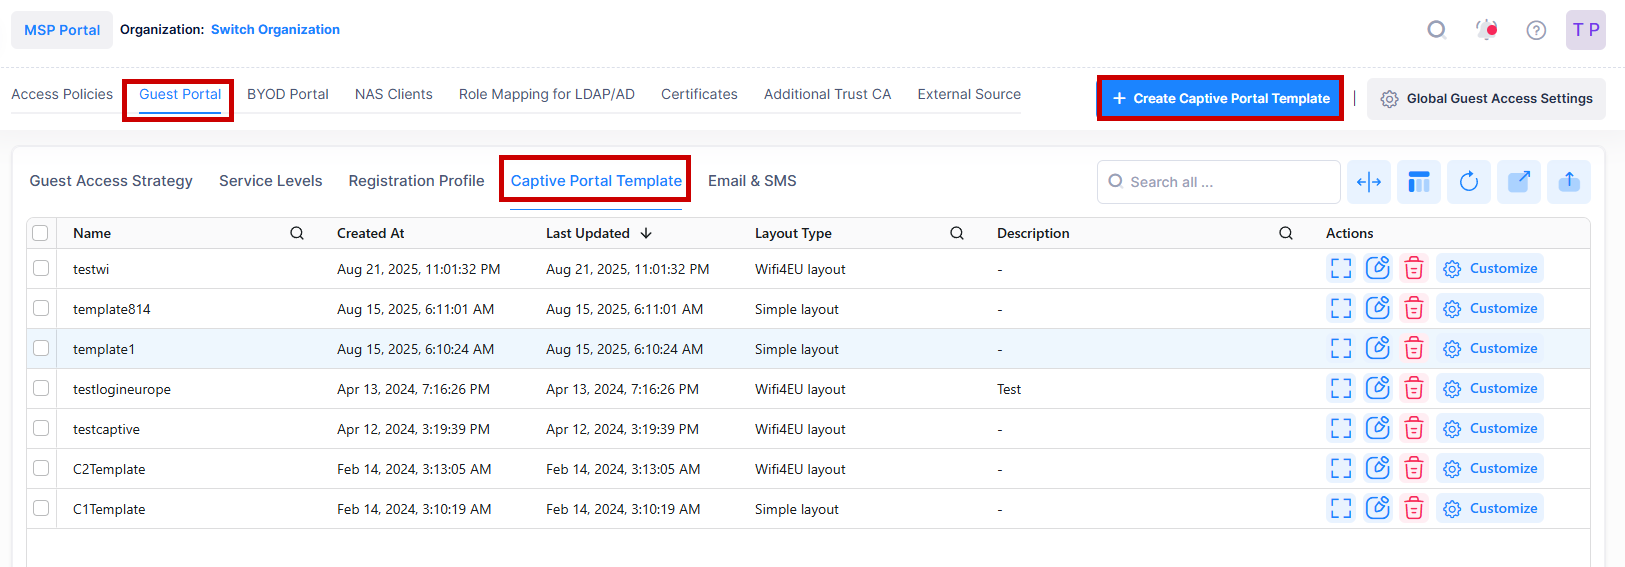
A Captive Portal template defines the login page that is presented to the user for Guest and BYOD login. The Captive Portal Templates screen displays all configured Captive Portal templates and is used to create, edit, delete, and customize Captive Portal templates.
To access the Captive Portal Templates screen, click on Network Access > UPAM-NAC > Guest Portal > Captive Portal Template under the “Configure” section of the OmniVista Cirrus Menu.
Creating a Captive Portal Template
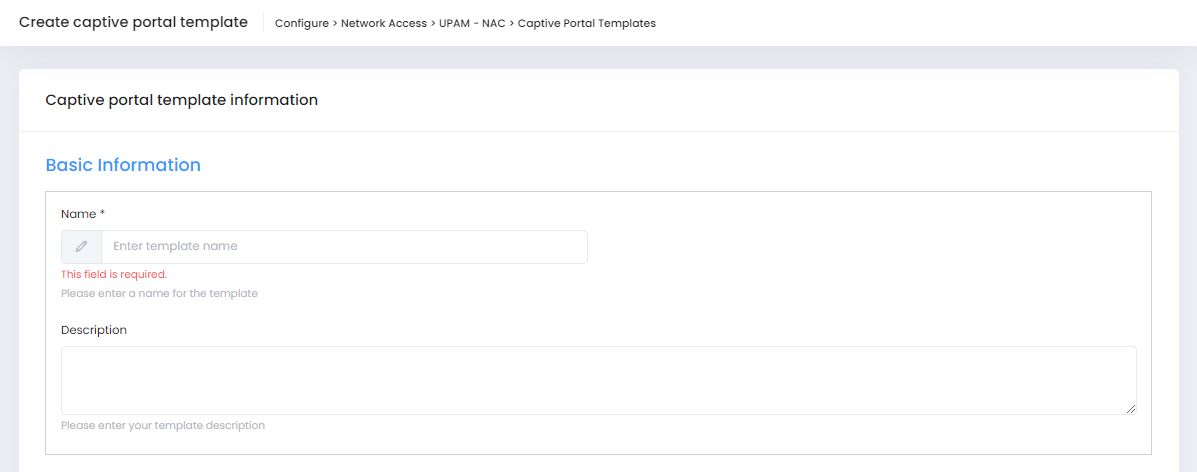
To create a Captive Portal Template, click on Create Captive Portal Template to open the Captive Portal Template Information form. Complete the Basic Information and Layout Information sections, as described below.
Basic Information
-
Name - Enter the name to assign to the template.
-
Description - Enter an optional description.
Layout Information
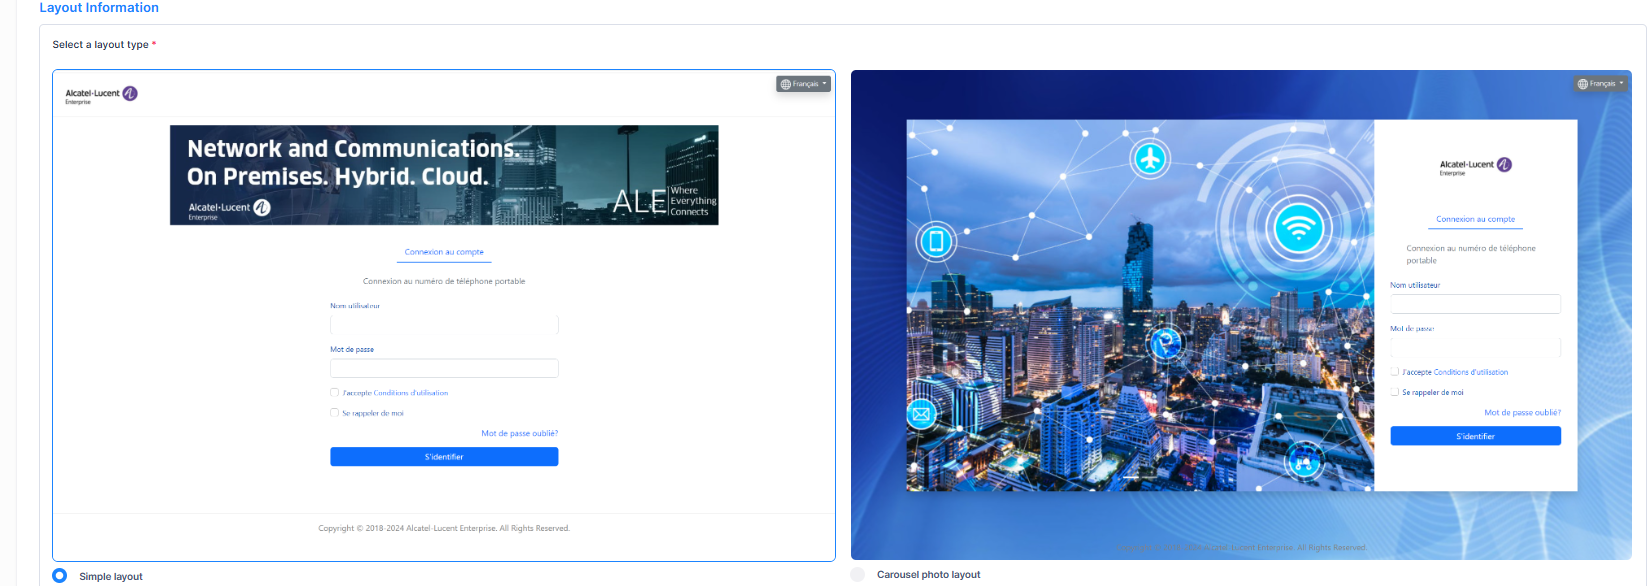
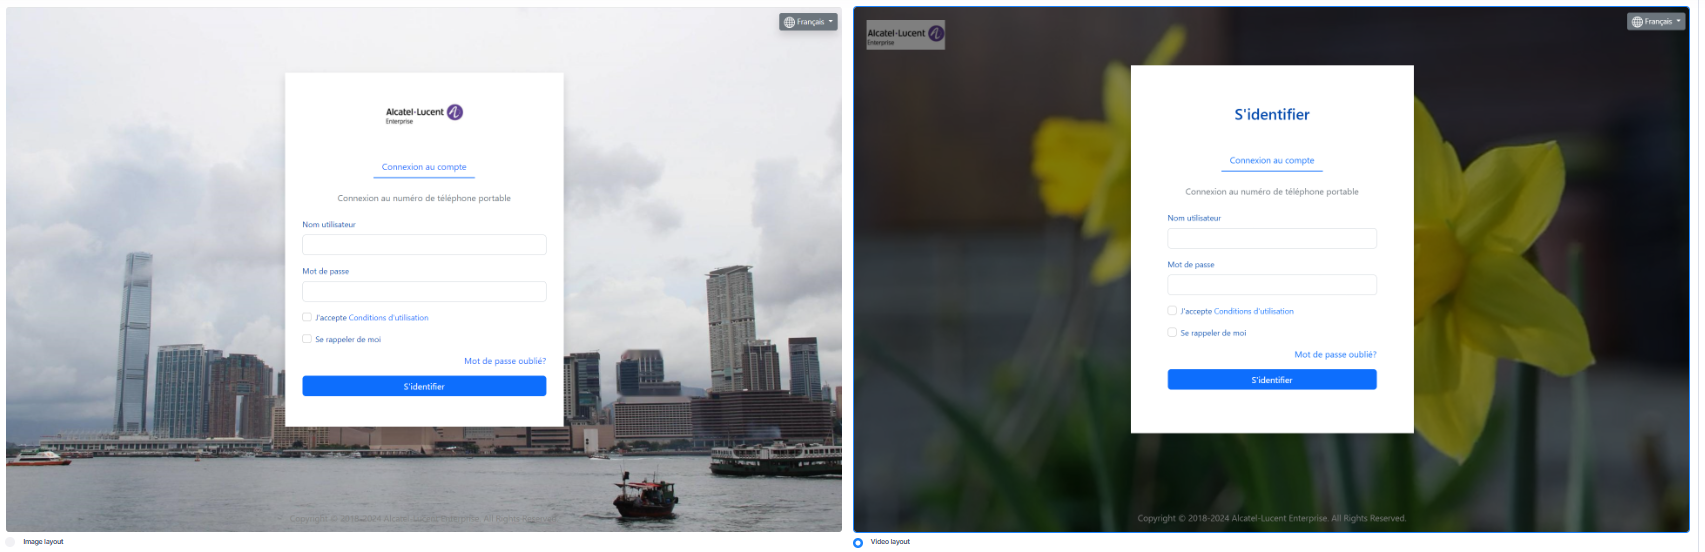
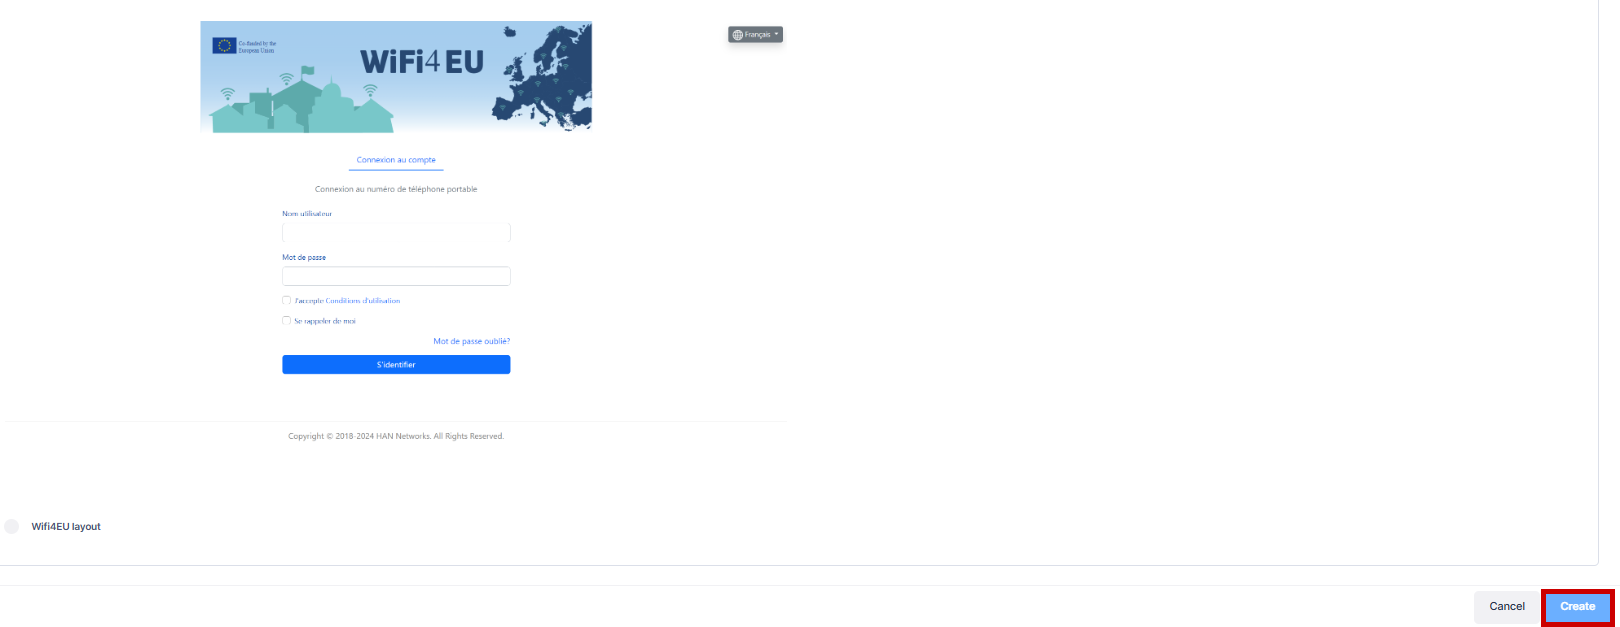
Select one of the five template layouts to use, then click on Create button to create the template. Once you have created the basic template, you can customize the page with different images and welcome message.
Editing a Captive Portal Template
Select a template from the Captive Portal Templates list and click on the Edit icon under the “Actions” column or click on the Actions button and select Edit from the drop-down menu. The Edit Captive Portal Template screen opens on which you can edit the basic information and select a different layout, as described above. Note that you cannot change the name of the template that you specified when the template was created.
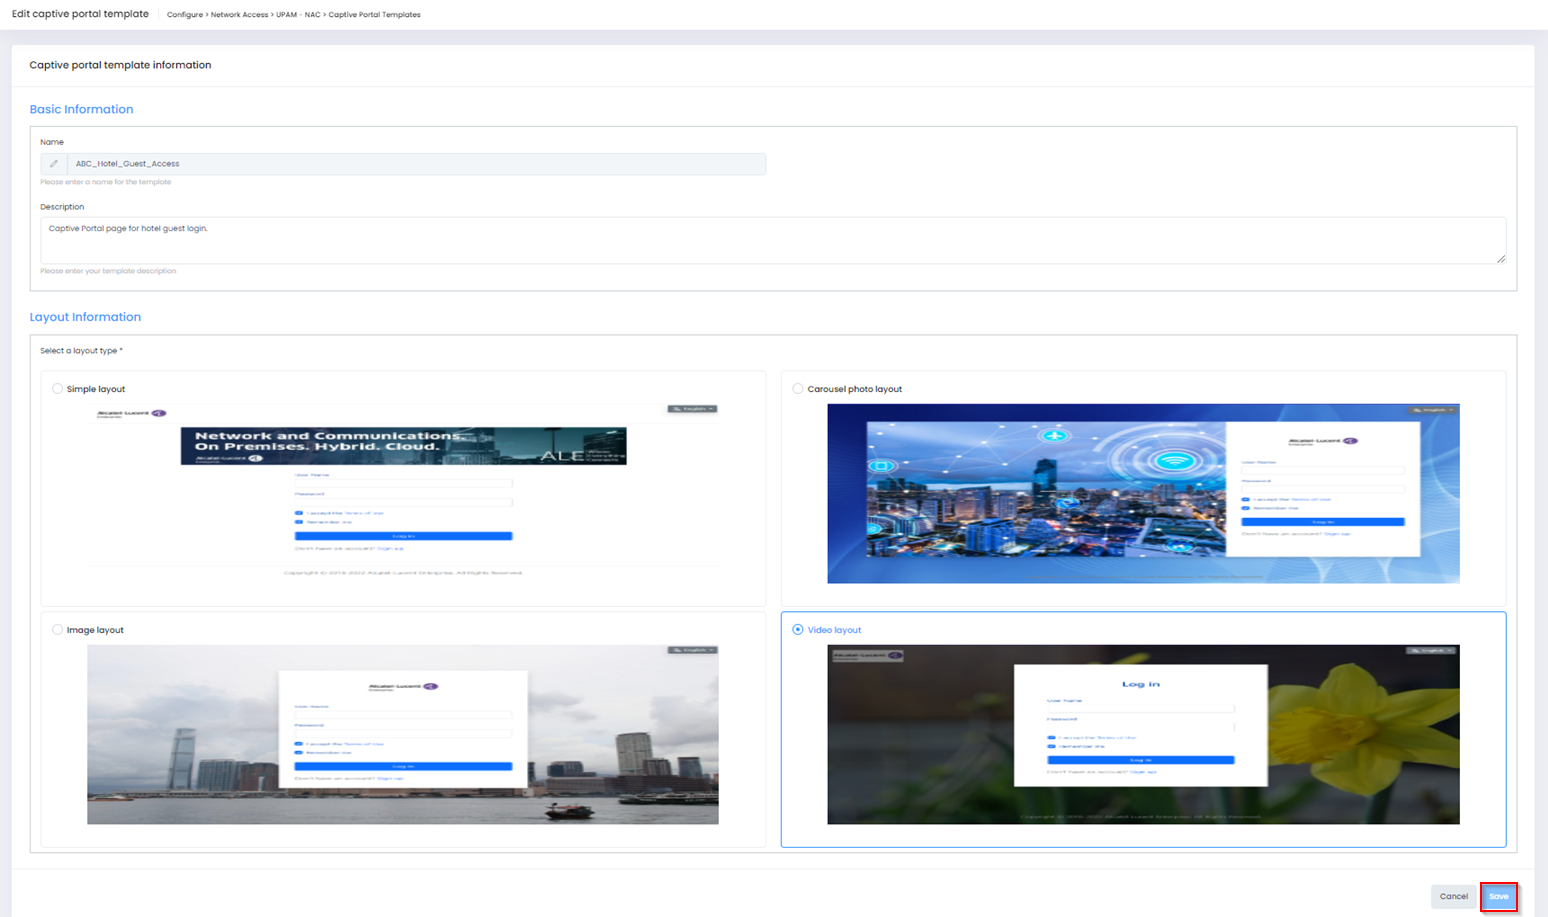
After you have edited the Captive Portal template, click on Save. You can also customize the template layout.
Deleting a Captive Portal Template
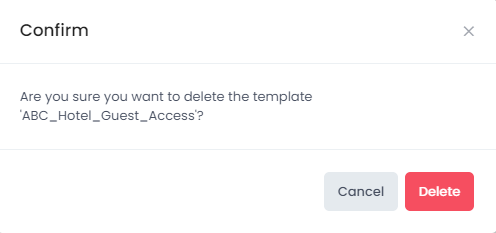
Select a template from the Captive Portal Templates list and click on the Delete icon under the “Actions” column or click on the Actions button and select Delete from the drop-down menu. When the following confirmation prompt appears, click on Delete to delete the profile.
Customizing the Captive Portal Template
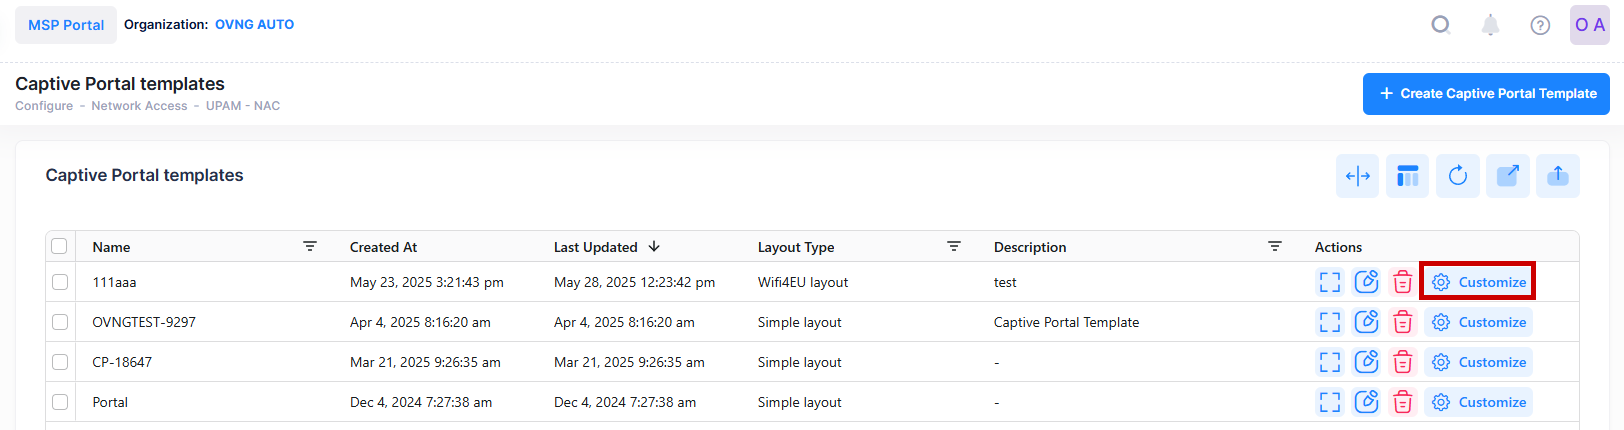
To customize an existing Captive Portal Template, select the template from the Captive Portal Templates list and click on Customize under the “Actions” column.
The Customize Captive Portal Template screen opens with the selected template displayed. The Customize buttons on this screen indicate the page objects that you can customize. For example, if you selected the video format for the template layout, the following screen would appear:
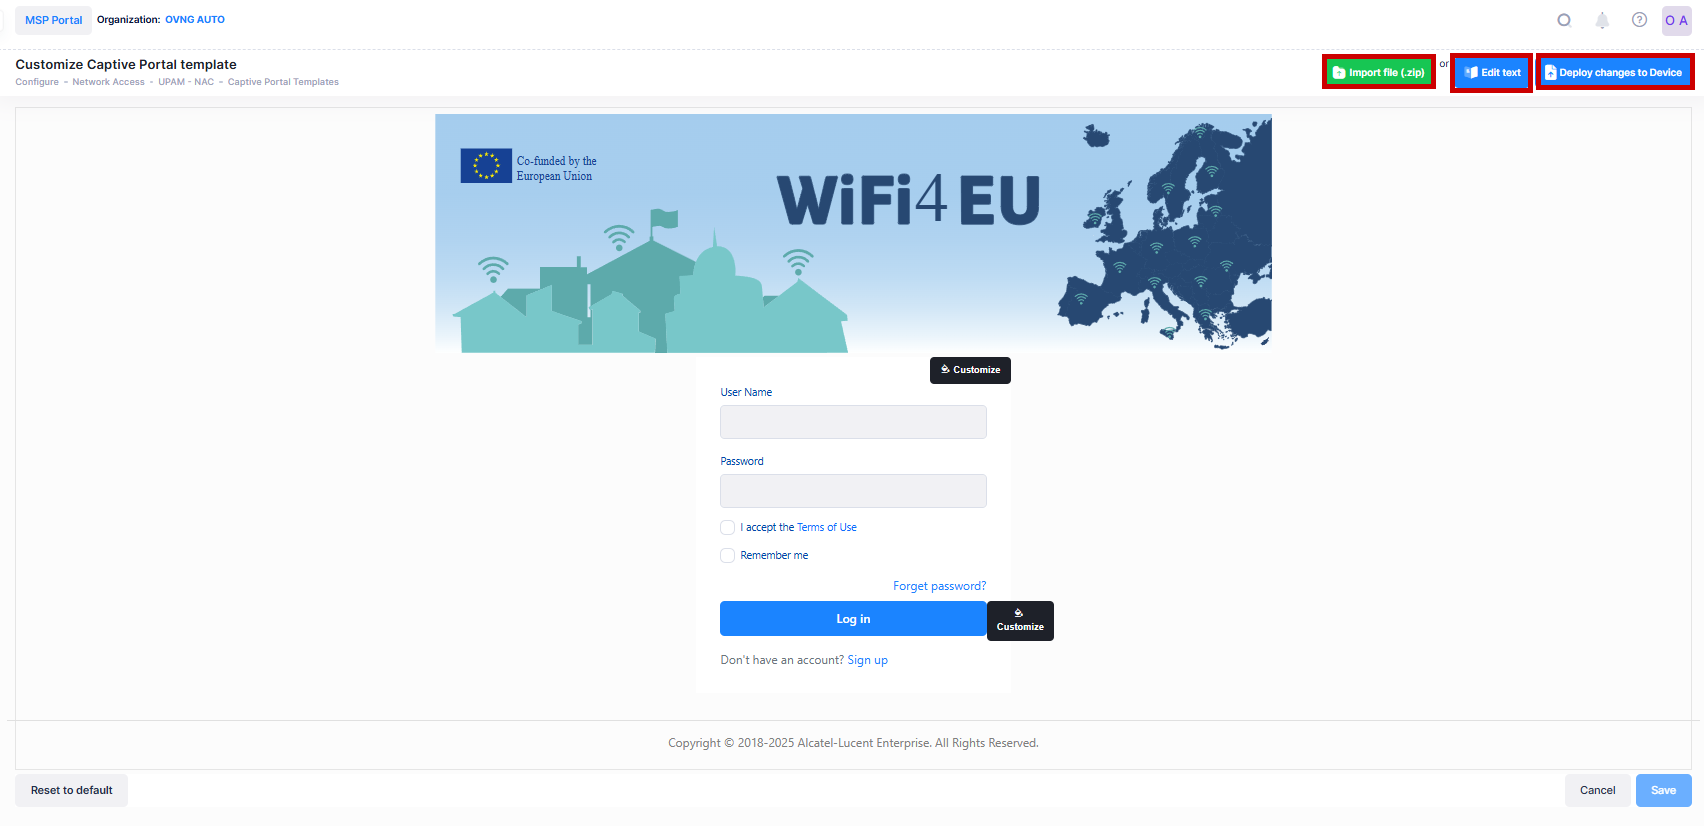
When you click on any one of the Customize buttons, you will then be prompted to modify attributes or upload image/video files, depending on the object you selected to customize.
-
To restore the original settings the template was created with, click on Reset to default.
-
To save the changes you have made, click on Save.
-
To cancel all changes you have made and return to the Captive Portal Templates screen, click on Cancel.
Using the Translation Editor
Click on Translation Editor on the Customize Captive Portal Template screen to edit the text for field labels and messages to the user. The following Translation Editor screen opens:
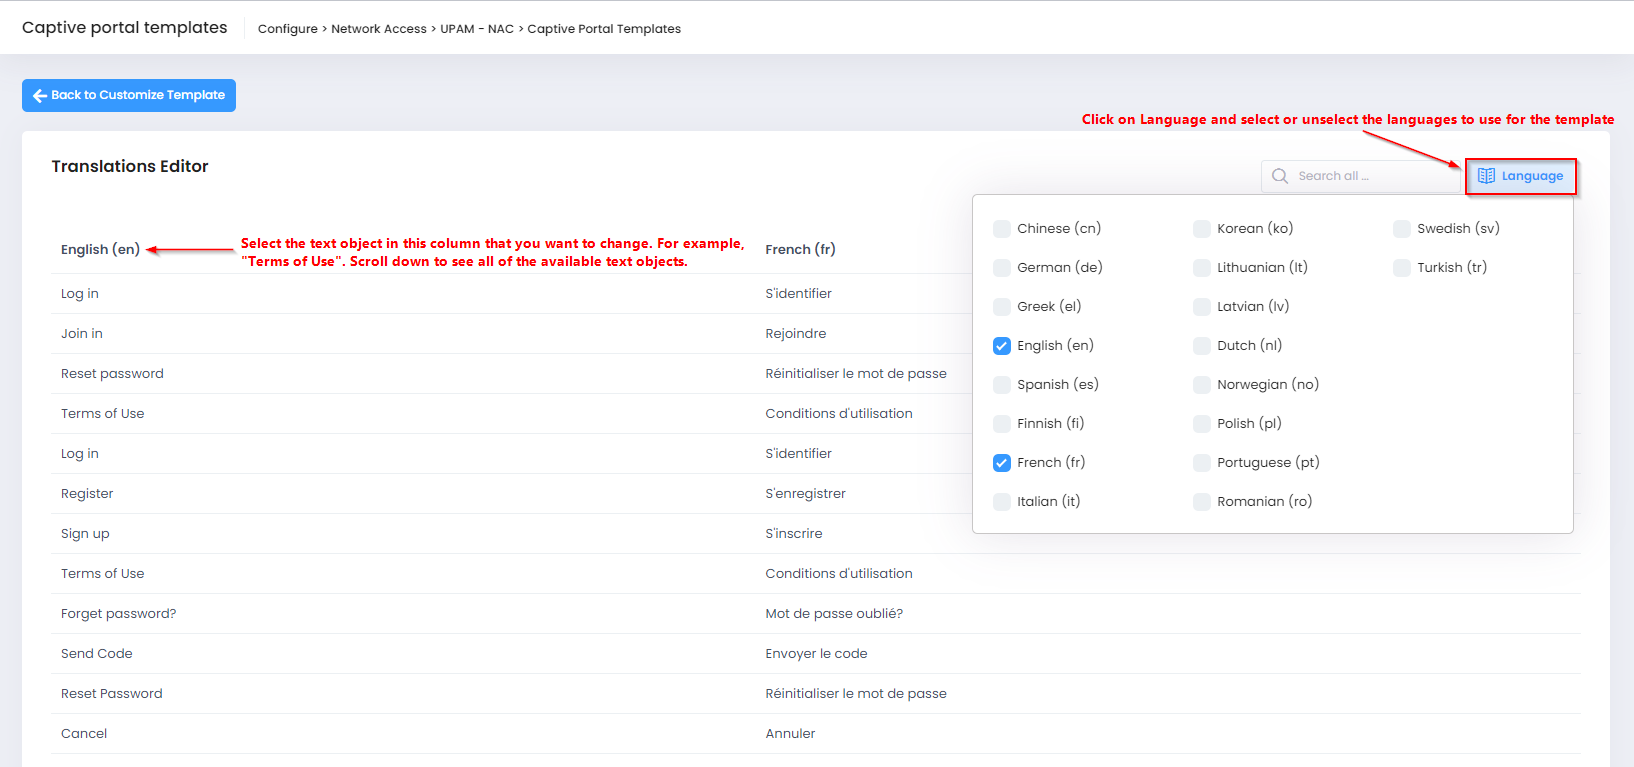
Select the text that you want to change to open the Edit Translation modal.
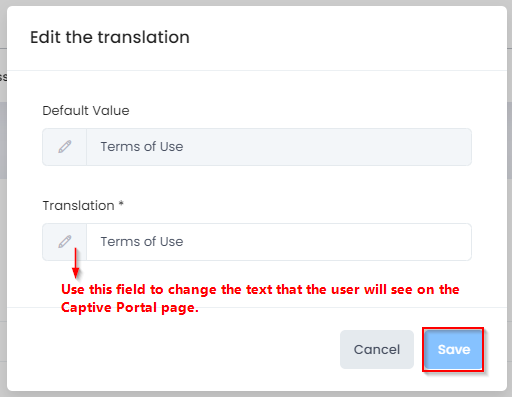
Change the text in the Translation field, as necessary. For example, if you selected the “Terms of Use” text object and changed the text in the Translation field to “Terms and Conditions”, the user would see “Terms and Conditions”. When you are done, click on Save to make the translation change for the selected text object.
You can edit the text objects for any of the selected languages. Click on Languages and select which languages to add or remove from the Translation Editor screen.
Import Default zip File for Customizing Captive portal Template
Click on Import file (.zip) on the Customize Captive Portal Template screen to replace the Captive portal template content with the zip file default template content. The following screen opens:

Select the Default Template button to download a default Captive Portal Template in zip file format. It is recommended that the customization is modified from the code base of this zip. Then re-zip it and select Import button to replace the existing Template with a new one.
After importing the zip file, there is no need to click on the ‘Deploy changes to Device’ button, as the deployment will occur automatically.
Note: Your uploaded file is only loaded in the SSID’s captive portal. To secure the content, do no extract it elsewhere, including not on this page. Once a customized zip is uploaded, the traditional customization is disabled. If you want to deploy the traditional customization, the zip content is overwritten.
Deploying the Custom Captive Portal Template
When you are done customizing the Captive Portal Template, click on Deploy changes to Access Point to apply the updated template to the Access Points in the network. The next time users are presented with this Captive Portal page, they will see the updated, custom version of the page.
If the customized Captive Portal page does not display correctly on the guest device, click on Deploy changes to Access Point again.