During installation of Network Advisor, the administrator will create a Primary Rainbow Bubble where Network Advisor Notifications will appear. Only anomalies with an Active status will create Notifications in the Rainbow Bubble. This Rainbow Bubble is similar to other bubbles in that the Organizer can add and delete members as they choose. Members added to the Bubble can act on Network Advisor Anomaly Notifications (see Rainbow Anomaly Notifications).
Network Advisor allows you to configure multiple Rainbow Bubbles, each one dedicated to reporting specific anomalies. This allows you to segment anomaly notifications across different bubbles. For example, if the IT department is separated into different teams that manage different network operations, you can create a dedicated Rainbow Bubble for each team and assign the related anomalies to each bubble. The IT Bubbles are organized by anomaly type.
OmniVista Network Advisor users must have an active Rainbow account. A dedicated service account is required for the setup of OmniVista Network Advisor. If you don’t yet have an account navigate to the below URL to sign up.
https://web.openrainbow.com
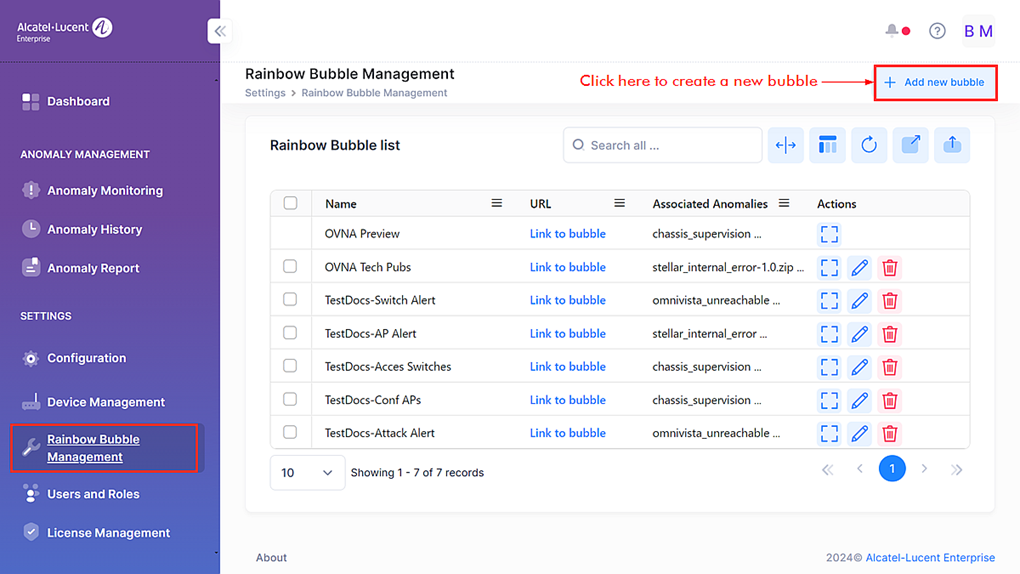
The Rainbow Bubble Management screen displays a list of Rainbow Bubbles that are receiving Network Advisor Anomaly Notifications. To access this screen, click on Rainbow Bubble Management under the “Settings” section of the Network Advisor Dashboard.
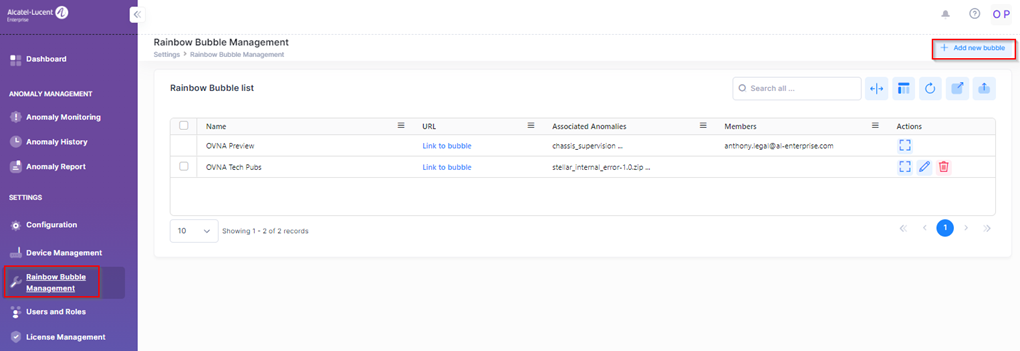
The Rainbow Bubble Management screen displays a list of configured Rainbow Bubbles that provides the following information for each table entry:
-
Name – The name of the Bubble.
-
URL – The URL link used to access and/or create a Notification Bubble in Rainbow.
-
Associated Anomalies – A list of anomaly types associated with the Bubble.
-
Members – Users who were invited to the Bubble. As members of the Bubble, users can interact with anomaly notifications received in the Rainbow Bubble.
In addition to providing a list of configured Rainbow Bubbles, the Rainbow Bubble Management screen allows you to create, edit, and delete custom Rainbow Bubbles. It is important to consider the following when configuring Rainbow Bubbles for Network Advisor:
-
The first bubble created is designated as the Primary Rainbow Bubble and is defined during the Network Advisor installation process. You cannot edit or delete the Primary Rainbow Bubble.
-
A work schedule can be assigned to users so that notifications are sent based on specific hours. Users receive anomaly notifications according to their designated reporting hours. While the anomaly watchdog is always active, the user who gets notified changes based on the work schedule.
-
You can create as many additional Rainbow Bubbles as needed. There is no restriction on the number of bubbles that can be created.
An anomaly type is assigned to only one Rainbow Bubble; you cannot assign the same anomaly to multiple Bubbles.
Creating a Rainbow Bubble
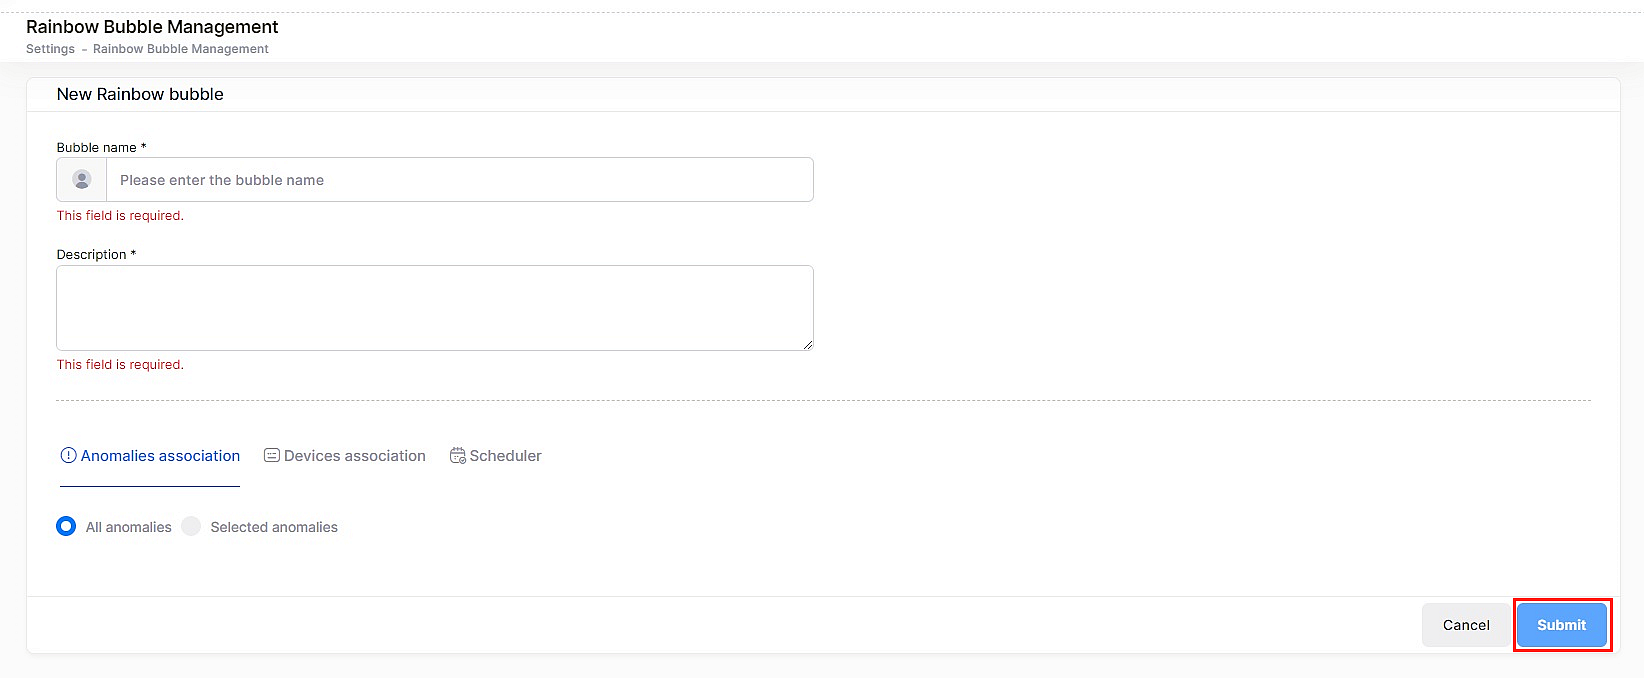
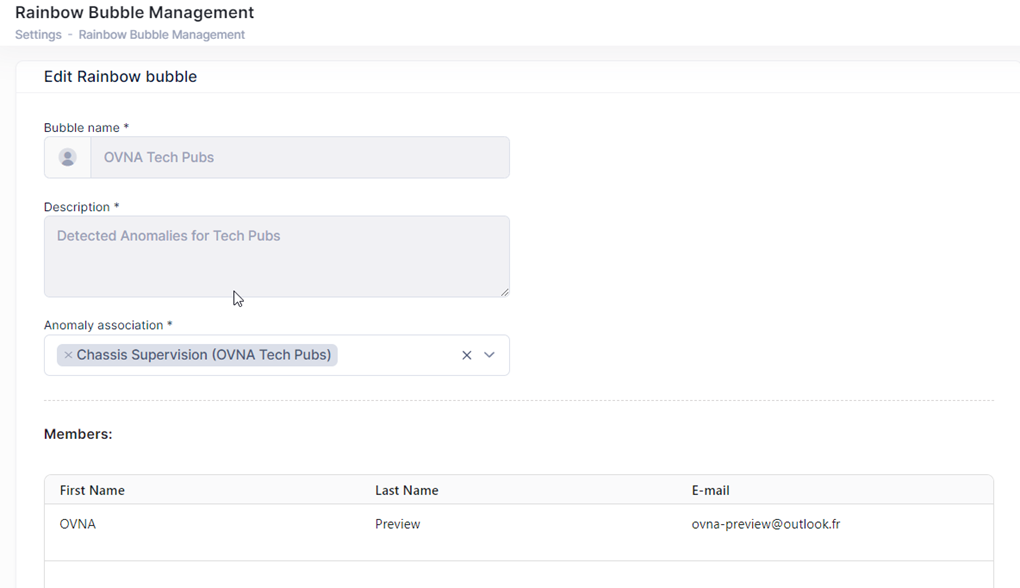
Click on Add new bubble at the top-right corner of the Rainbow Bubble Management screen to configure a custom Bubble for Network Advisor notifications. The following screen will appear. Complete the fields on this screen as described below, then click on Submit.
-
Bubble name – Enter a unique name to assign to the custom Bubble.
-
Description – Enter a description for the custom Bubble.
-
Anomaly association – Click on this field to display a list of anomaly types from which you can select anomalies to assign to the custom Bubble. Note that anomaly types assigned to other Bubbles are grayed out in the drop-down list, as they are no longer available.
-
Devices association – Click on this field to associate all devices or selected choice of devices to be included in the bubble
-
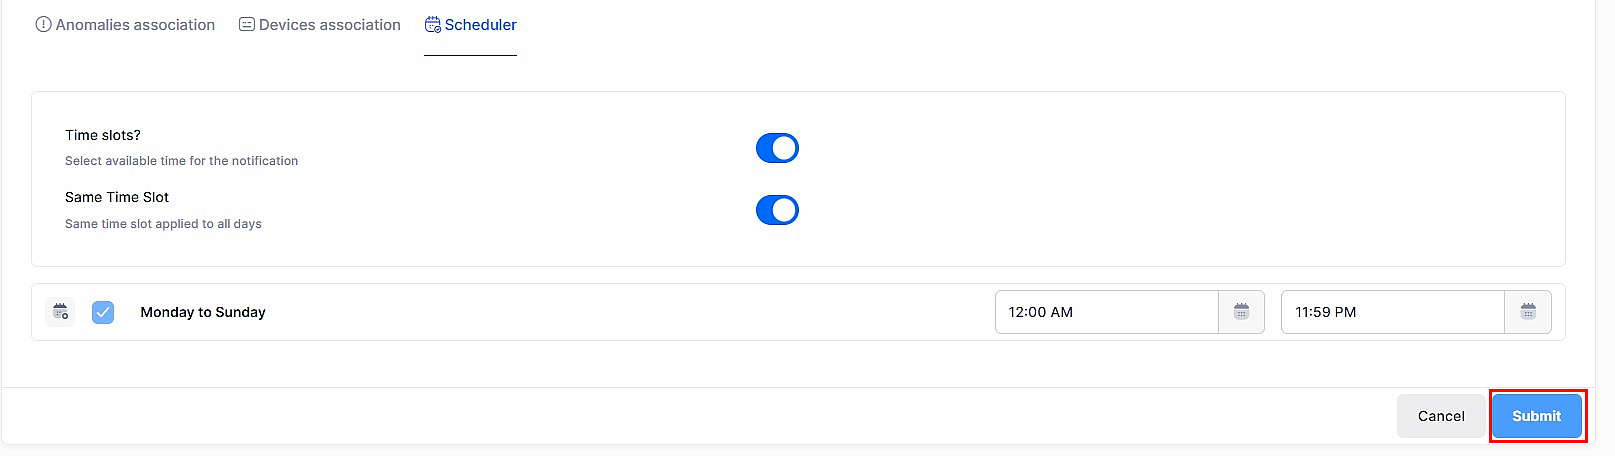
Scheduler – Click on this field to schedule the time for the bubble to be active or not depending on hour and weekday.
-
Time Slots - Enable to select available time for the notification.
-
Same Time Slots - Enable to select same time slot applied to all days or selected weekdays.
-
You can define one timeslot per day and choose whether the same timeslot should be applied each day.
If an anomaly is detected on a device at 8:00 am, but the bubble is only active from 8:30 AM to 12:00 PM, no notification will be sent to the bubble.
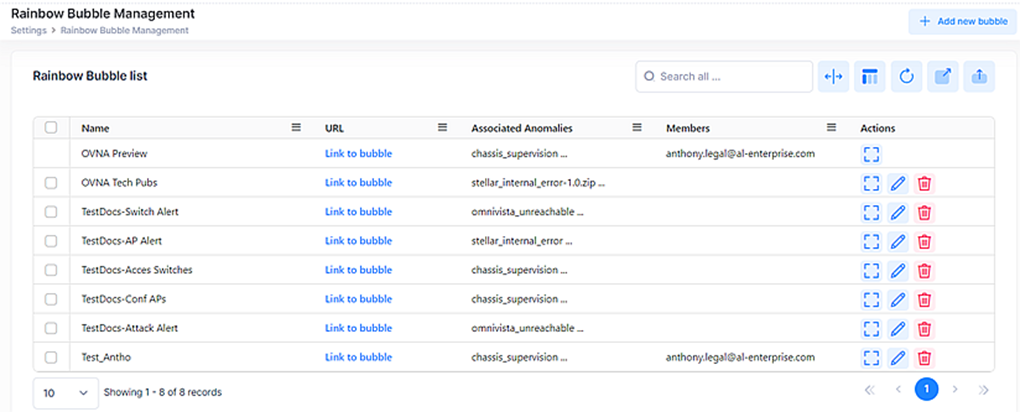
Once the Bubble is created, the new Bubble will appear in the Rainbow Bubbles List. To access the Bubble from Network Advisor, click on Link to bubble.
-
If the Bubble exists in Rainbow, you are taken to that Bubble in Rainbow.
-
If the Bubble doesn’t exist in Rainbow, a new Bubble is automatically created with the specified name, then you are taken to that Bubble.
Create Multiple Bubbles by Devices and Anomalies
Previously, rules were linked exclusively to a single bubble. This implied that if all devices in the network triggered an anomaly for a particular rule, the notification was dispatched to either one specific bubble or the primary bubble.
With the new Anomaly management enhancement, you have the ability to assign devices and anomalies to one or multiple bubbles. The intention behind this enhancement is to enable customers to categorize anomalies and devices into multiple custom bubbles, facilitating easier tracking and monitoring.
Editing a Rainbow Bubble
You can edit a Rainbow Bubble configuration to add more anomaly types to monitor and managed Bubble members. Note that you cannot change the Bubble Name or Description.
Deleting A Rainbow Bubble
The Primary Rainbow Bubble cannot be deleted. You can only delete custom Rainbow Bubbles. To delete a custom Bubble, select the Bubble entry you want to delete and click on the Delete icon.
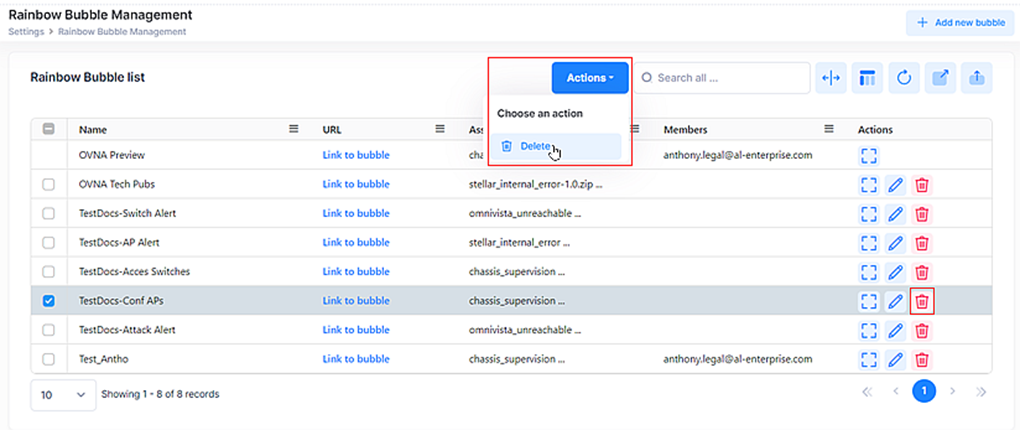
Click Delete on the Confirmation Prompt to remove the custom Bubble entry.