The option to edit widgets is available for all the dashboards in the Organization Dashboard.
You can edit the widgets in the respective dashboards. You can:
-
Move and rearrange widgets on the dashboard.
-
Edit widget titles and descriptions.
-
Remove widgets that are no longer needed.
To edit the widgets:
-
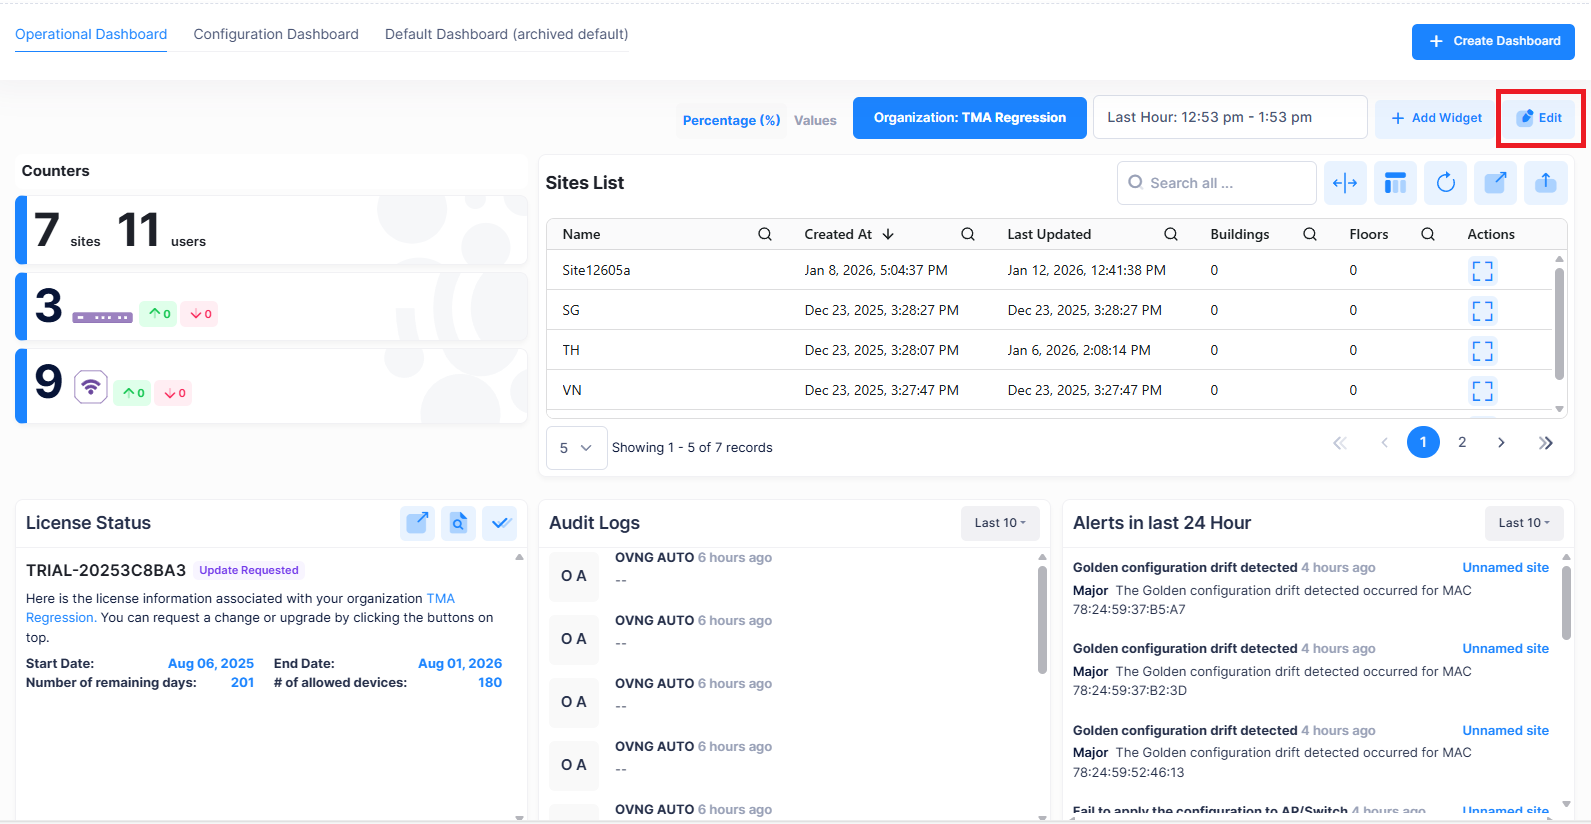
Go to the respective dashboard screen and click on Edit option.
-
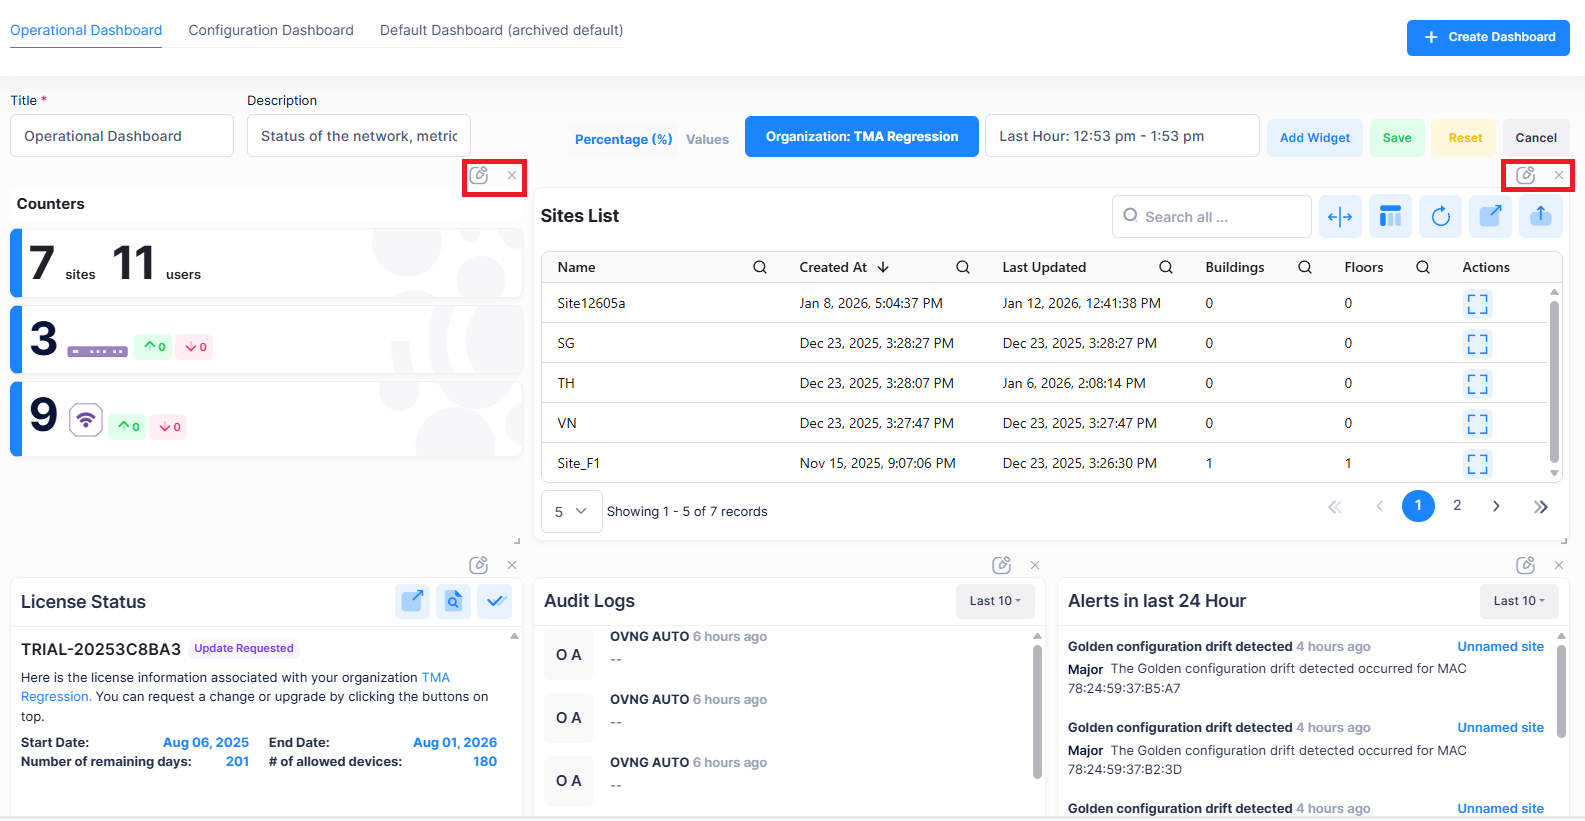
All the widgets in the dashboard are displayed in the edit mode.
-
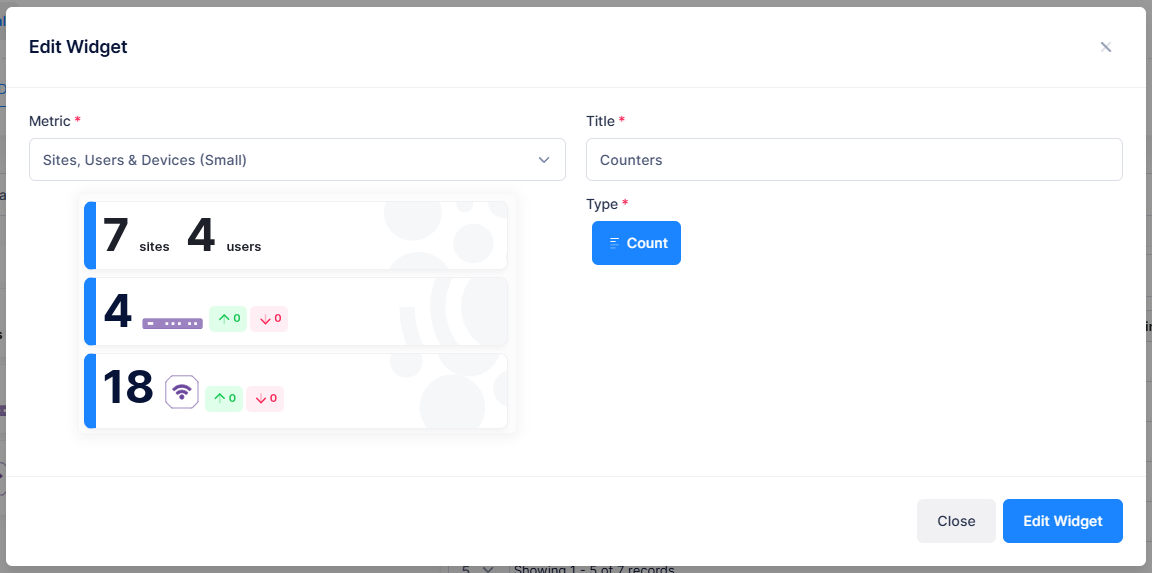
You can click on the edit icon displayed for the respective widget to edit. The “Edit Widget” screen is displayed.
-
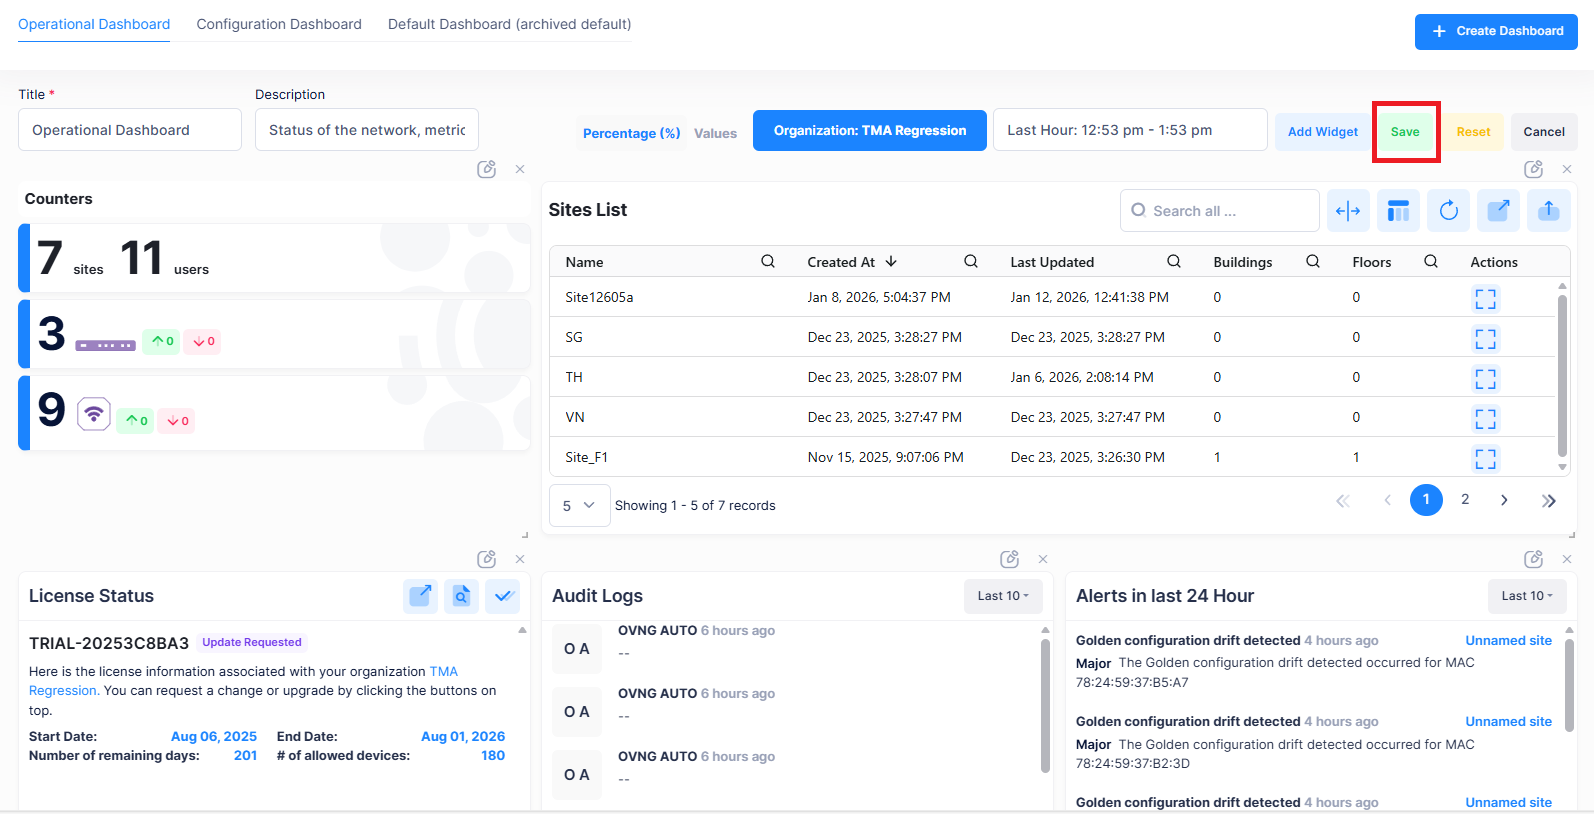
Make the changes and click on Edit Widget to save the changes. To save the overall changes done for the widgets, click Save. This will save the changes to the dashboard.
You can also move around the widget by dragging the widget to the desired position within the dashboard.