Appendix A-Step-by-Step Installation Example
The following provides a step-by-step example of setting up, installing, updating OmniVista Network Advisor 1.4.
OmniVista Network Advisor 1.4 fresh installation
Setting Up the ale-ovna Service
Installing the ale-ovna Service

Selection of IP address to be used for OmniVista Network Advisor.

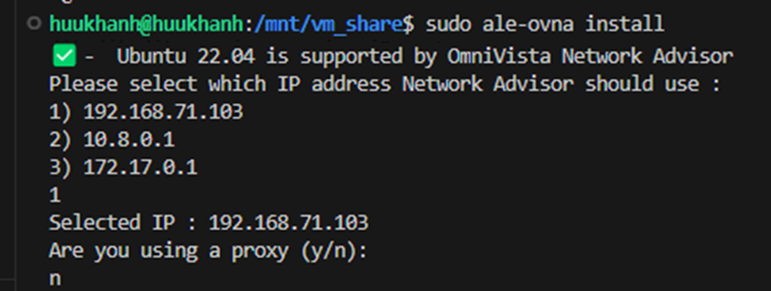
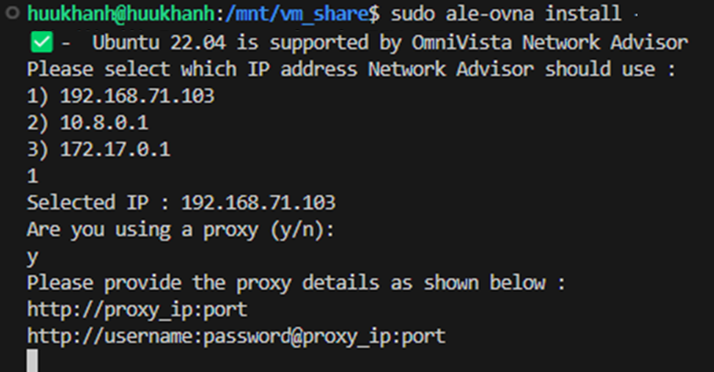
Configuration without proxy, answer ‘n’ Or configuration with an Internet proxy, answer ‘y’
Configuration without TLS support for syslog, answer ‘n’
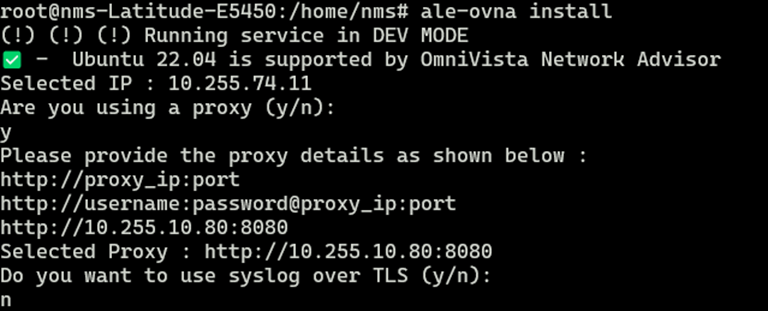
Or configuration with TLS support for syslog, answer ‘y’
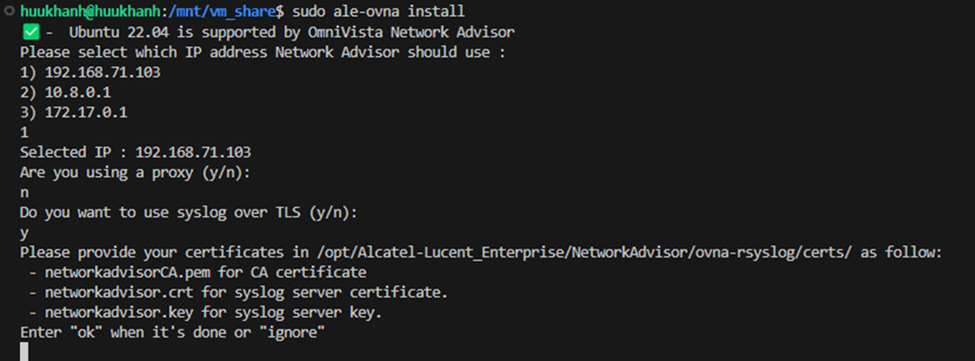
If using TLS, three certificate files must be placed in the following directory. See Appendix B -OVNA With TLS for Syslog for instructions on creating the certificate files.
/opt/Alcatel-Lucent_Enterprise/NetworkAdvisor/ovna-rsyslog/certs/networkadvisorCA.pem
/opt/Alcatel-Lucent_Enterprise/NetworkAdvisor/ovna-rsyslog/certs/networkadvisor.key
/opt/Alcatel-Lucent_Enterprise/NetworkAdvisor/ovna-rsyslog/certs/networkadvisor.crt
The service downloads the required packages starting with ‘k3s’ and continues with the deployment of the downloaded images. The deployment time will vary depending on Internet connectivity, server bandwidth and other factors. The progress is updated as the components are installed.

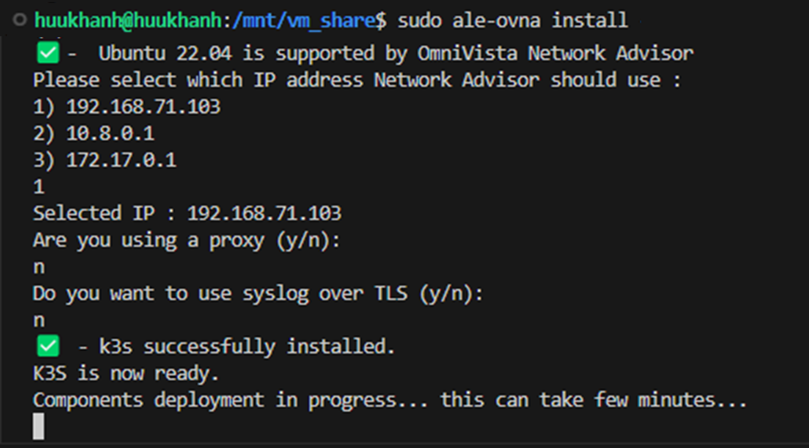
Once the installation is complete a connection can be made to the Web application to start the setup or restore.

a previous backup of an installation.
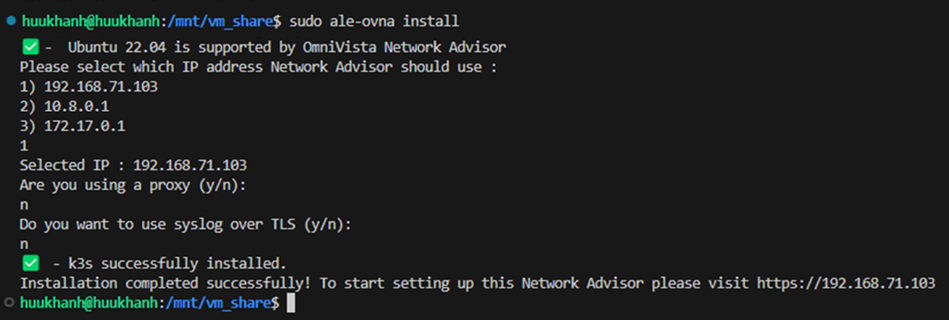
The Fresh Installation of OmniVista Network Advisor is Complete.
Upgrade to OmniVista Network Advisor 1.4
To update the package, use the following commands:
-> sudo ale-ovna update
For example::

The Update of OmniVista Network Advisor 1.4 is Completed.
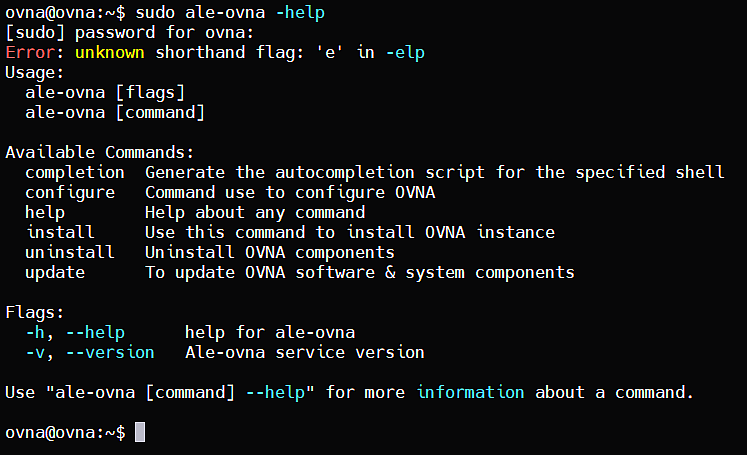
You can use the command sudo ale-ovna --help to view help on OmniVista Network Advisor commands. For Example:
