The Anomaly History screen displays a history of detected anomalies that you can analyze to detect patterns of network behavior. For example, how many anomalies were from a specific device. To access the Anomaly History screen, click on Anomaly History under the “Anomaly Monitoring” section of the OmniVista Network Advisor menu.
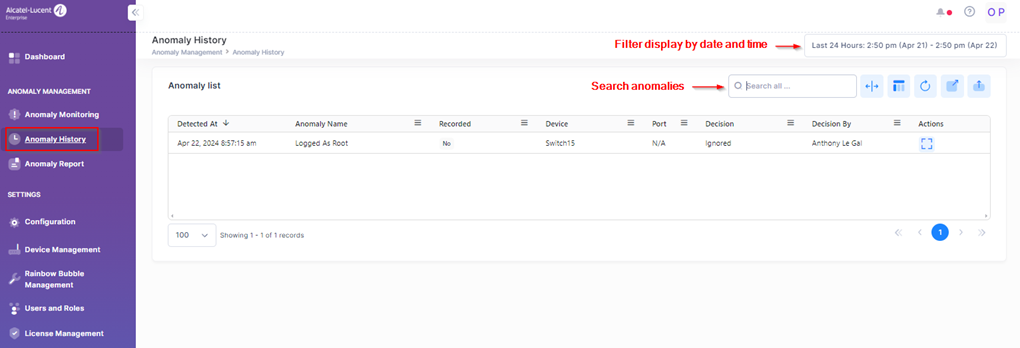
The Anomaly History screen automatically refreshes on a regular basis to display new anomaly notifications that were received. The top section of the screen provides display filters to display anomalies detected during a specific window of time and/or search for a certain type of anomaly.
Viewing the Anomaly History
All anomalies collected during the specified time range are displayed. The Anomaly History screen provides the following information for each detected anomaly.
-
Detected At – The date and time the anomaly was detected.
-
Anomaly Name – The name of the anomaly.
-
Recorded – Whether a recommended action was taken (Yes, No, Auto -remediation set to remember, or Monitor - if monitor mode is set).
-
Device – The host name of the device from which the anomaly was detected.
-
Port – The device port number on which the anomaly was detected.
-
Decision - The decision that was made through a Rainbow Alert message to remedy the anomaly or there was a timeout before a decision was made or the decision made failed.
-
Decision By – Displays the Rainbow username of the decision maker to help determine who acted on the detected anomaly.
-
Decision At – The date and time the remediation decision was made.
-
Rollback By – Displays the Rainbow username of the user who cleared the remediation action by re-authorizing the device.
-
Rollback At – The date and time the device was re-authorized to clear the remediation action.
-
Description – Additional information about the detected anomaly.
Next to each anomaly entry, there are icons under the “Actions” column that you can click on to view additional information.
-
Additional Information – Click to view field values for the anomaly entry.
Export the Anomaly History
To export the Anomaly History to a file, click the Export icon on the Anomalies List and select Excel, CSV or PDF from the drop-down menu.
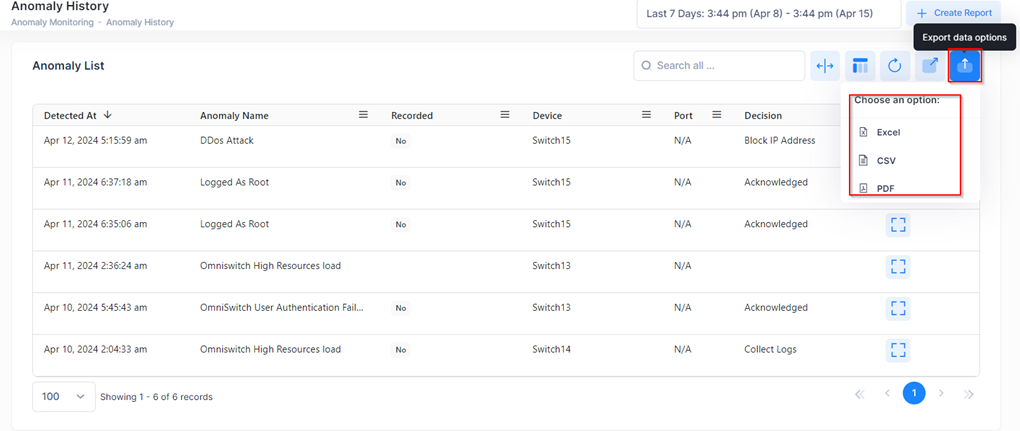
Browse to the location on your system where you want to export the Anomaly History file and click Save.